D-Link DSL-1252 Quick Installation Guide
Summary
This robust 48-port Smart Switch is designed for network professionals needing high-performance, scalable connectivity. The manual serves as your comprehensive guide to deploying the device, covering everything from optimal physical installation and rack mounting to advanced configuration via web interface. Learn how to manage features like VLANs, spanning tree protocols, and port settings, ensuring seamless integration into any professional LAN environment. Get started quickly with detailed instructions for connecting cables and optimizing network performance.
Page 1 Text Content
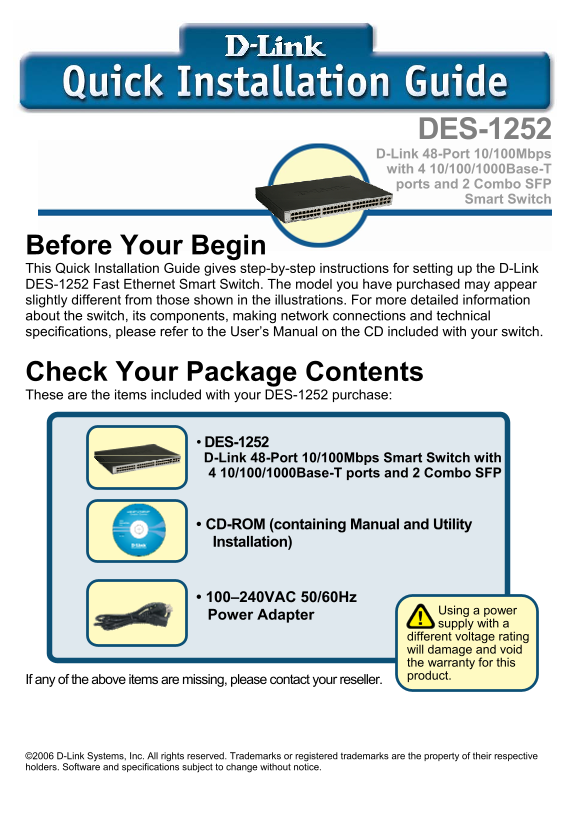
DES-1252 D-Link 48-Port 10/100Mbps with 4 10/100/1000Base-T ports and 2 Combo SFP Smart Switch
Before Your Begin This Quick Installation Guide gives step-by-step instructions for setting up the D-Link DES-1252 Fast Ethernet Smart Switch. The model you have purchased may appear slightly different from those shown in the illustrations. For more detailed information about the switch, its components, making network connections and technical specifications, please refer to the User’s Manual on the CD included with your switch.
Check Your Package Contents These are the items included with your DES-1252 purchase:
• DES-1252 D-Link 48-Port 10/100Mbps Smart Switch with 4 10/100/1000Base-T ports and 2 Combo SFP
• CD-ROM (containing Manual and Utility Installation)
• 100–240VAC 50/60Hz Power Adapter Using a power
supply with a different voltage rating will damage and void the warranty for this product.
If any of the above items are missing, please contact your reseller.
©2006 D-Link Systems, Inc. All rights reserved. Trademarks or registered trademarks are the property of their respective holders. Software and specifications subject to change without notice.
Page Summary Contents For D-Link DSL-1252 Quick Installation Guide
Manual Details
| Brand | D-Link |
|---|---|
| Pages | 11 |
| File Size | 568.74 KB |
| Published | May 28, 2026 |
Enter the captcha to get the download link:

Frequently Asked Questions
What environmental conditions should I keep the switch in?
Install it in a cool, dry place, free from strong electromagnetic fields, vibration, dust, and direct sunlight.
Does this switch automatically adjust for different network cables?
Yes, every port supports Auto-MDI/MDI-X, allowing any type of cable (straight or crossover) to be used.
How can I back up my switch's configuration settings?
Configuration backup and restore can be done using the 'Tool' menu options on the main page.