D-Link DKVM-IP1 Quick Installation Guide
Summary
The DKVM-IP1 is an Ethernet KVM switch designed for IT professionals who need centralized control of multiple PC, server, and console systems. This comprehensive manual provides step-by-step guidance covering physical hardware installation—including VGA, PS/2, USB, and Ethernet connections—and detailed network configuration via web browser. Users will learn how to successfully connect the unit, set up static IP addresses, install necessary viewing software (Windows or Java clients), and establish a streamlined console environment for efficient management across demanding corporate setups.
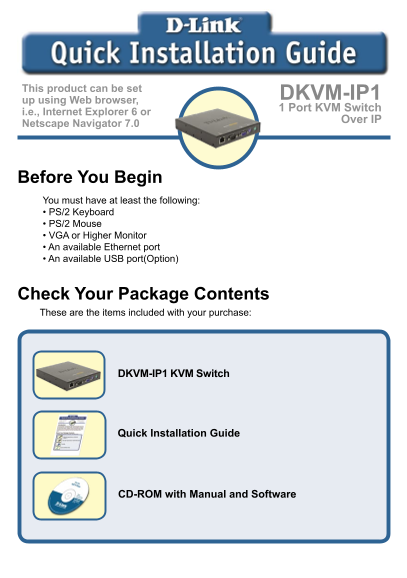
Page 1 Text Content
This product can be set
DKVM-IP1
up using Web browser,
1 Port KVM Switch
i.e., Internet Explorer 6 or
Over IP
Netscape Navigator 7.0
Before You Begin You must have at least the following: • PS/2 Keyboard • PS/2 Mouse • VGA or Higher Monitor • An available Ethernet port • An available USB port(Option)
Check Your Package Contents These are the items included with your purchase:
DKVM-IP1 KVM Switch
Quick Installation Guide
CD-ROM with Manual and Software
Page Summary Contents For D-Link DKVM-IP1 Quick Installation Guide
Manual Details
| Brand | D-Link |
|---|---|
| Pages | 9 |
| File Size | 567.72 KB |
| Published | May 28, 2026 |
Enter the captcha to get the download link:

Frequently Asked Questions
What operating systems can be used for initial setup?
It can be configured using Web browser, Internet Explorer 6, or Netscape Navigator 7.0.
What equipment is needed before setting up the DKVM-IP1?
You need a PS/2 Keyboard, PS/2 Mouse, VGA or Higher Monitor, an Ethernet port, and optionally, a USB port.
Where should I connect the various peripherals during installation?
Connect the keyboard and mouse connectors to the console port. The screen connects to the monitor's console port, and the power adapter goes into the receptor.
How do I configure the network settings for the DKVM-IP1?
You must input a static IP address in the same range (e.g., 192.168.0.xx) using the Web browser by navigating to http://192.168.0.70.