Netgear GS724AT - 24-Port Gigabit Smart Switch With Advanced Features Installation Guide
Summary
Effortlessly enhance your home or office network with this reliable Gigabit Smart Switch. This comprehensive guide walks you through connecting and configuring your smart switch for optimal performance across multiple devices. The manual provides detailed instructions on initial setup, including verifying package contents, running the SmartWizard utility program, correctly assigning IP addresses (DHCP/Static), and establishing robust connectivity between PCs and your network backbone. Designed for users needing reliable and easy-to-manage networked infrastructure, this guide ensures a seamless networking experience from unboxing to full operation.
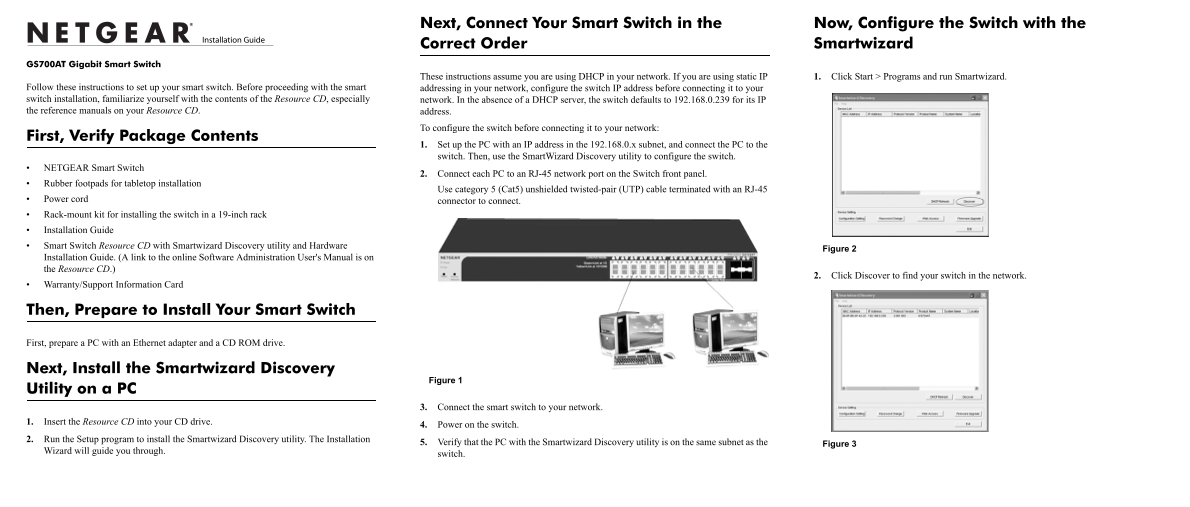
Page 1 Text Content
Next, Connect Your Smart Switch in the Now, Configure the Switch with the Correct Order Smartwizard
GS700AT Gigabit Smart Switch
These instructions assume you are using DHCP in your network. If you are using static IP 1. Click Start > Programs and run Smartwizard.
Follow these instructions to set up your smart switch. Before proceeding with the smart addressing in your network, configure the switch IP address before connecting it to your switch installation, familiarize yourself with the contents of the Resource CD, especially network. In the absence of a DHCP server, the switch defaults to 192.168.0.239 for its IP the reference manuals on your Resource CD. address.
To configure the switch before connecting it to your network:
First, Verify Package Contents
1. Set up the PC with an IP address in the 192.168.0.x subnet, and connect the PC to the switch. Then, use the Smart Wizard Discovery utility to configure the switch.
NETGEAR Smart Switch
2. Connect each PC to an RJ-45 network port on the Switch front panel.
Rubber footpads for tabletop installation
Use category 5 (Cat5) unshielded twisted-pair (UTP) cable terminated with an RJ-45
Power cord connector to connect. Rack-mount kit for installing the switch in a 19-inch rack Installation Guide Smart Switch Resource CD with Smartwizard Discovery utility and Hardware
Figure 2
Installation Guide. (A link to the online Software Administration User's Manual is on the Resource CD.)
2. Click Discover to find your switch in the network.
Warranty/Support Information Card
Then, Prepare to Install Your Smart Switch
First, prepare a PC with an Ethernet adapter and a CD ROM drive.
Next, Install the Smartwizard Discovery
Figure 1
Utility on a PC
3. Connect the smart switch to your network.
1. Insert the Resource CD into your CD drive.
4. Power on the switch.
2. Run the Setup program to install the Smartwizard Discovery utility. The Installation
5. Verify that the PC with the Smartwizard Discovery utility is on the same subnet as the Figure 3
Wizard will guide you through.
switch.
Page Summary Contents For Netgear GS724AT - 24-Port Gigabit Smart Switch With Advanced Features Installation Guide
Manual Details
| Brand | NETGEAR |
|---|---|
| Pages | 2 |
| File Size | 260.71 KB |
| Published | June 06, 2026 |
Enter the captcha to get the download link:

Frequently Asked Questions
What IP address subnet should be used for initial PC setup?
The PC must have an IP address in the 192.168.0.x subnet.
How should I power on and troubleshoot connection issues?
Turn off both the smart switch and computer, then turn on the smart switch first and wait two minutes before turning on the computer.
Is DHCP required for connecting this switch?
Most computers should be configured to obtain an IP address automatically via DHCP.
What is needed to install in a rack environment?
You need a rack-mount kit for installing the switch in a 19-inch rack.