Netgear GS752TPP - 48-Port Gigabit Ethernet PoE+ Smart Switch With 4 SFP Ports and Cloud Management Installation Guide
Summary
Introducing the powerful 48-Port Gigabit PoE+ Smart Managed Switch, designed for businesses and advanced residential networks requiring robust connectivity. This manual provides comprehensive, step-by-step guides covering initial installation, network discovery using tools like NETGEAR Insight, and full configuration management. Learn how to utilize both the web GUI and remote cloud monitoring for maximum flexibility. Perfect for IT professionals or smart home users needing high-power (PoE+) reliability and scalable network expansion.
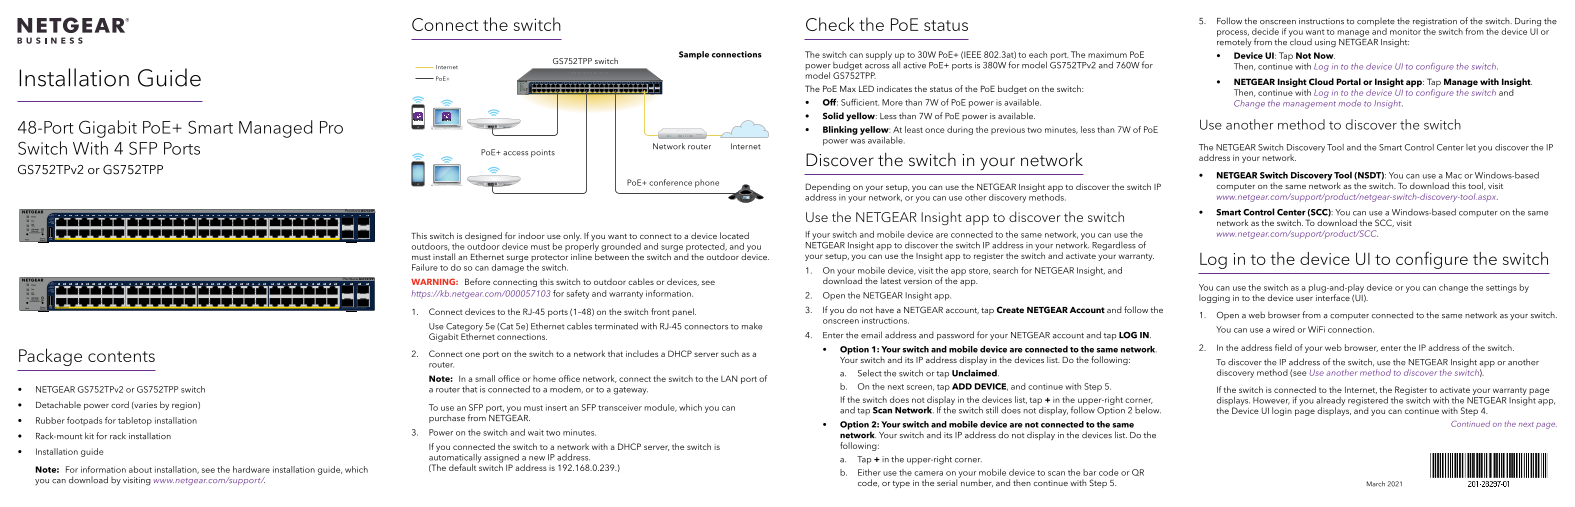
Page 1 Text Content
5. Follow the onscreen instructions to complete the registration of the switch. During the
Connect the switch Check the Po E status
process, decide if you want to manage and monitor the switch from the device UI or remotely from the cloud using NETGEAR Insight:
Sample connections The switch can supply up to 30W Po E+ (IEEE 802.3at) to each port. The maximum Po E Device UI: Tap Not Now.
GS752TPP switch
Internet power budget across all active Po E+ ports is 380W for model GS752TPv2 and 760W for Then, continue with Log in to the device UI to configure the switch. model GS752TPP.
Installation Guide Po E+
NETGEAR Insight Cloud Portal or Insight app: Tap Manage with Insight.
The Po E Max LED indicates the status of the Po E budget on the switch:
Then, continue with Log in to the device UI to configure the switch and
Off: Sufficient. More than 7W of Po E power is available. Change the management mode to Insight. Solid yellow: Less than 7W of Po E power is available.
48-Port Gigabit Po E+ Smart Managed Pro Use another method to discover the switch
Blinking yellow: At least once during the previous two minutes, less than 7W of Po E power was available.
Network router Internet The NETGEAR Switch Discovery Tool and the Smart Control Center let you discover the IP
Switch With 4 SFP Ports Po E+ access points
address in your network.
Discover the switch in your network
GS752TPv2 or GS752TPP
NETGEAR Switch Discovery Tool (NSDT): You can use a Mac or Windows-based
Po E+ conference phone
Depending on your setup, you can use the NETGEAR Insight app to discover the switch IP computer on the same network as the switch. To download this tool, visit address in your network, or you can use other discovery methods. www.netgear.com/support/product/netgear-switch-discovery-tool.aspx. Smart Control Center (SCC): You can use a Windows-based computer on the same
Use the NETGEAR Insight app to discover the switch
network as the switch. To download the SCC, visit If your switch and mobile device are connected to the same network, you can use the www.netgear.com/support/product/SCC.
This switch is designed for indoor use only. If you want to connect to a device located
outdoors, the outdoor device must be properly grounded and surge protected, and you NETGEAR Insight app to discover the switch IP address in your network. Regardless of must install an Ethernet surge protector inline between the switch and the outdoor device. your setup, you can use the Insight app to register the switch and activate your warranty.
Log in to the device UI to configure the switch
Failure to do so can damage the switch.
1. On your mobile device, visit the app store, search for NETGEAR Insight, and WARNING: Before connecting this switch to outdoor cables or devices, see download the latest version of the app.
You can use the switch as a plug-and-play device or you can change the settings by
https://kb.netgear.com/000057103 for safety and warranty information. 2. Open the NETGEAR Insight app.
logging in to the device user interface (UI).
1. Connect devices to the RJ-45 ports (1–48) on the switch front panel. 3. If you do not have a NETGEAR account, tap Create NETGEAR Account and follow the
1. Open a web browser from a computer connected to the same network as your switch.
onscreen instructions.
Use Category 5e (Cat 5e) Ethernet cables terminated with RJ-45 connectors to make
You can use a wired or Wi Fi connection.
Gigabit Ethernet connections. 4. Enter the email address and password for your NETGEAR account and tap LOG IN.
Option 1: Your switch and mobile device are connected to the same network. 2. In the address field of your web browser, enter the IP address of the switch.
2. Connect one port on the switch to a network that includes a DHCP server such as a
Package contents Your switch and its IP address display in the devices list. Do the following:
To discover the IP address of the switch, use the NETGEAR Insight app or another
router.
a. Select the switch or tap Unclaimed. discovery method (see Use another method to discover the switch).
Note: In a small office or home office network, connect the switch to the LAN port of
b. On the next screen, tap ADD DEVICE, and continue with Step 5.
NETGEAR GS752TPv2 or GS752TPP switch a router that is connected to a modem, or to a gateway. If the switch is connected to the Internet, the Register to activate your warranty page
If the switch does not display in the devices list, tap + in the upper-right corner, displays. However, if you already registered the switch with the NETGEAR Insight app,
Detachable power cord (varies by region)
To use an SFP port, you must insert an SFP transceiver module, which you can
and tap Scan Network. If the switch still does not display, follow Option 2 below. the Device UI login page displays, and you can continue with Step 4.
purchase from NETGEAR.
Rubber footpads for tabletop installation
Option 2: Your switch and mobile device are not connected to the same Continued on the next page.
3. Power on the switch and wait two minutes.
Rack-mount kit for rack installation network. Your switch and its IP address do not display in the devices list. Do the If you connected the switch to a network with a DHCP server, the switch is following:
Installation guide
automatically assigned a new IP address. a. Tap + in the upper-right corner. Note: For information about installation, see the hardware installation guide, which (The default switch IP address is 192.168.0.239.)
b. Either use the camera on your mobile device to scan the bar code or QR
you can download by visiting www.netgear.com/support/.
code, or type in the serial number, and then continue with Step 5. March 2021
Page Summary Contents For Netgear GS752TPP - 48-Port Gigabit Ethernet PoE+ Smart Switch With 4 SFP Ports and Cloud Management Installation Guide
Manual Details
| Brand | NETGEAR |
|---|---|
| Pages | 2 |
| File Size | 1003.48 KB |
| Published | June 06, 2026 |
Enter the captcha to get the download link:

Frequently Asked Questions
How can I find the IP address for initial configuration?
Use the NETGEAR Insight app, the NSDT tool, or connect it to a network with a DHCP server.
What is the maximum PoE power available per port?
The switch can supply up to 30W PoE+ (IEEE 802.3at) to each individual port.
Can I use this switch if the device is located outside?
No, this switch is designed for indoor use only; outdoor connections require grounding and surge protection.
What does a blinking yellow PoE Max LED indicate?
It means that at least once during the previous two minutes, less than 7W of PoE power was available.