# A B C D E F G H I J K L M N O P Q R S T U V W X Y Z

HP LaserJet Enterprise Flow MFP M830 Series - Installation Guide

Summary

The LaserJet Enterprise Flow MFP M830 is a robust multifunction printer designed for demanding office environments. This installation guide provides clear, step-by-step instructions essential for initial setup and optimal operation. The manual walks users through choosing an ideal placement, unpacking materials, connecting accessories like finishing units, establishing network connectivity via cables, setting up fax capabilities, and completing the critical first-run configuration—including language, time zone, and advanced IP addressing. This guide ensures a seamless installation experience for professional users deploying their high-performance device.
📄 Preview PAGE OF 16

Page 1 Text Content

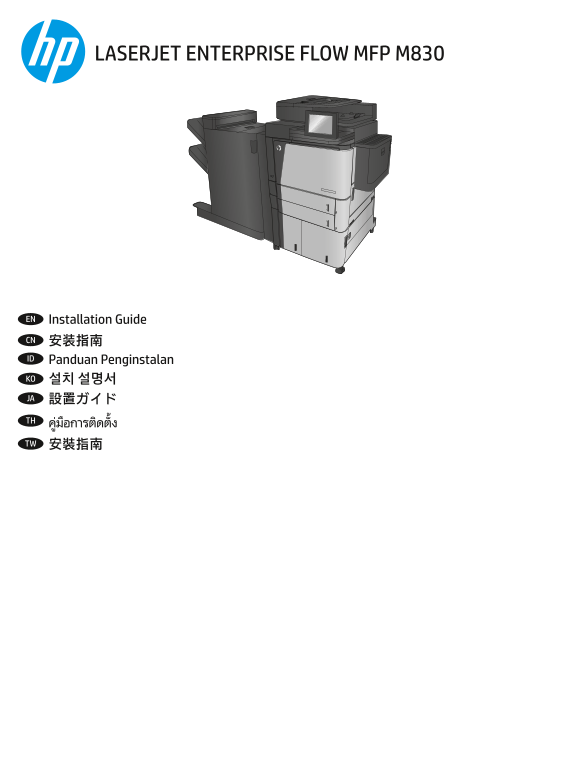
LASERJET ENTERPRISE FLOW MFP M830

EN Installation Guide CN 安装指南 ID Panduan Penginstalan KO 설치 설명서 JA 設置ガイド TH ูม่อืการตดิตัง้

TW 安裝指南

Page Summary Contents For HP LaserJet Enterprise Flow MFP M830 Series - Installation Guide

Page 1 LASERJET ENTERPRISE FLOW MFP M830 EN Installation Guide CN 安装指南 ID Panduan Penginstalan KO 설치 설명서 JA 設置ガイド TH ูม่อืการตดิตัง้ TW 安裝指南
Page 2 EN Select a sturdy, well-ventilated, dust-free area, away from direct sunlight to position the product. CN 选择一个稳固、通风良好、无尘且远离直射日光的区域放置产品。 ID Untuk meletakkan produk, pilih tempat yang kokoh, berventila...
Page 3 CZ994A
Page 4 CZ995A CZ996A CZ285A
Page 5 EN Remove all tape and packing material from outside the product. Open all doors and paper trays, and remove all tape, orange plastic tray inserts, and other packing material from inside the product. ...
Page 6 EN Attach the finishing accessory to the left side of the product. Follow the instructions inside the box for the finishing accessory. CN 将装订附件连接到产品左侧。按照包装箱内的装订附件说明书进行操作。 ID Pasang aksesori penuntas k...
Page 7 EN If you are connecting to a network, connect the network cable now. Caution! Do not connect the USB cable now. CN 如果要连接到网络,则现在连接网络电缆。注意!现在请勿连接 USB 电缆。 ID Jika Anda tersambung ke jaringan, sambungkan...
Page 8 EN Connect the power cable between the product and a grounded ac outlet. Turn on the product. On the control panel, set the language, the keyboard layout, the date/time format, and the time zone. When...
Page 9 TH ตอ่สายไฟจากเคร ือ่งพมิพเ์ขา้กับเตา้เสยีบท ี่ ใช ไฟฟ้ากระแสสลับและมกีารตอ่สายดนิ เปิดเคร ือ่งพมิพ ์ บนแผงควบคมุ ตัง้คา่ภาษา รปูแบบแป้นพมิพท์ ี ่รปูแบบวันท ี/่เวลา และโซนเวลา เม ื่อหนา้จอหลักปรากฏข ึ...
Page 11 EN Windows: Do not connect the USB cable until prompted during the software installation in the next step. Mac: Connect the USB cable now. CN Windows:直到软件安装过程的下一步中出现提示后,再连接 USB 电缆。 Mac:现在连接 USB 电缆。 Wi...
Page 12 Install the product software from the CD. Follow the on-screen instructions. See the Install Notes file on the product CD for more specific EN software installation instructions. NOTE: For advanced se...
Page 13 ตดิตัง้ซอฟตแ์วรข์องเคร ือ่งพมิพจ์ากแผน่ซดี ีทำาตามคำาแนะนำาท ีป่รากฏบนหนา้จอ โปรดดไูฟลห์มายเหตกุารตดิตัง้ในแผน่ซดีเีคร ือ่งพมิพส์ ำาหรบัคำาแนะนำาการตดิตัง้ TH ซอฟตแ์วร โ์ดยเฉพาะ หมายเหตุ: ส ำาหรบัการต...
Page 16 Copyright and License 版权与许可 © Copyright 2015 HP Development Company, L.P. © 2015 版权所有 HP Development Company, L.P. Reproduction, adaptation or translation without prior written permission is prohibite...

Manual Details

Brand HP
Pages 16
File Size 2.73 MB
Published June 18, 2026
6 views

Enter the captcha to get the download link:

captcha

Frequently Asked Questions

Where should I position the printer for optimal use?

Select a sturdy, well-ventilated, dust-free area that is away from direct sunlight.

What are the initial connectivity steps when setting up the device?

If connecting via network, connect the network cable first; however, do not connect the USB cable at this stage.

How do I configure advanced settings for a networked product?

After software installation is complete, you must enter the product's IP address into the address bar of a Web browser to access advanced setup.

What power requirements should I be aware of when connecting the printer?

The product uses either 100-127 Vac or 220-240 Vac at 50/60 Hz, and you must connect it to a grounded AC outlet using only the supplied cable.