# A B C D E F G H I J K L M N O P Q R S T U V W X Y Z

HP Color LaserJet Enterprise Flow MFP M880 Series Installation Guide

Summary

This comprehensive guide provides detailed setup instructions for the professional HP Color LaserJet Enterprise flow MFP M880 series. It walks users through every step, from optimal physical placement to advanced network configuration. Ideal for IT professionals or office managers, this manual ensures a smooth start, covering initial power-up, connecting peripherals (like fax lines/networks), and setting up essential features—allowing you to get your high-performance printer operating efficiently in any commercial environment.
📄 Preview PAGE OF 16

Page 1 Text Content

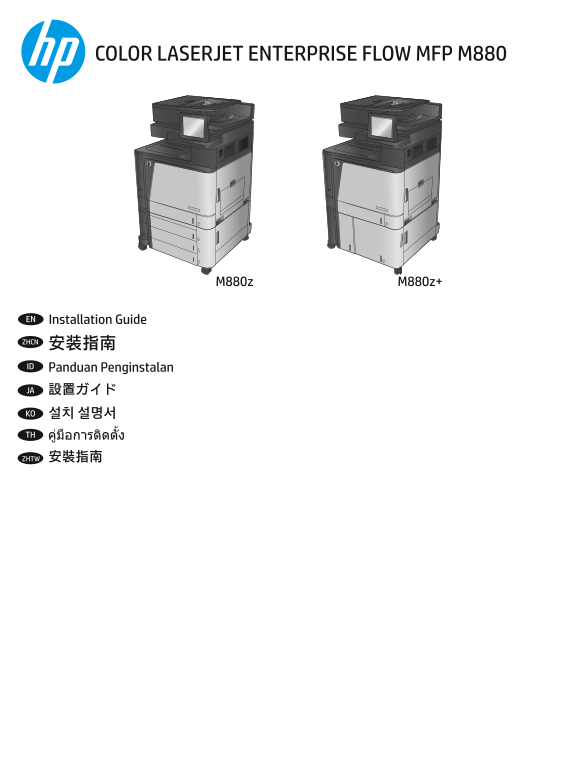
COLOR LASERJET ENTERPRISE FLOW MFP M880

EN Installation Guide ZHCN 安装指南 ID Panduan Penginstalan

JA 設置ガイド

KO 설치 설명서 TH

ZHTW 安裝指南

Azalea_HIG_A2W75-91052.indd 1 23-10-2015 23:10:21

Page Summary Contents For HP Color LaserJet Enterprise Flow MFP M880 Series Installation Guide

Page 1 COLOR LASERJET ENTERPRISE FLOW MFP M880 EN Installation Guide ZHCN 安装指南 ID Panduan Penginstalan JA 設置ガイド KO 설치 설명서 TH ZHTW 安裝指南 Azalea_HIG_A2W75-91052.indd 1 23-10-2015 23:10:21
Page 2 EN Select a sturdy, well-ventilated, dust-free area, away from direct sunlight to position the product. 选择一个稳固、通风良好、无尘且远离直射日光的区域放置产品。ZHCN ID Untuk meletakkan produk, pilih tempat yang kokoh, berventil...
Page 3 Azalea_HIG_A2W75-91052.indd 2 23-10-2015 23:10:26
Page 4 EN Remove all tape and packing material from outside the product. Open all doors and paper trays, and remove all tape, orange plastic tray inserts, and other packing material from inside the product. ...
Page 5 EN If you are connecting to a network, connect the network cable now. Caution! Do not connect the USB cable now. 如果要连接到网络,则现在连接网络电缆。 USB 电缆。ZHCN ID Jika Anda tersambung ke jaringan, sambungkan kabel j...
Page 6 EN Connect the phone cord for fax. A country/region specific adapter for the RJ11 telephone cord may be required to connect to the telephone jack. 连接传真电话线。可能需要 RJ11 电话线的国家/地区特定适配器,才能连接到电话插孔。ZHCN ID Sa...
Page 7 EN Connect the power cable between the product and a grounded ac outlet. Turn on the product. On the control panel, set the language, the keyboard layout, the date/time format, and the time zone. When...
Page 8 ZHTW 使用電源線連接產品及接地的 AC 插座。開啟產品電源。 在控制面板上設定語言、鍵盤配置、日期/時間格式與時區。當主畫面出現 時,點選起始設定,並啟用基本的產品功能。 註:若要進行網路連線產品的進階設定,請在軟體安裝完成後,於網頁瀏覽器的位址列輸入產品 IP 位址。若要尋找 IP 位址,請點選產 品控制面板上的「網路」 按鈕。 注意:確定電源適合本產品的電壓額定。電壓額定請見產品標籤。 本...
Page 9 Azalea_HIG_A2W75-91052.indd 8 23-10-2015 23:10:33
Page 10 Azalea_HIG_A2W75-91052.indd 9 23-10-2015 23:10:36
Page 11 EN Windows: Do not connect the USB cable until prompted during the software installation in the next step. Mac: Connect the USB cable now. ZHCN Windows:直到软件安装过程的下一步中出现提示后,再连接 USB 电缆。 Mac:现在连接 USB 电缆。 ...
Page 12 Windows: Install the product software from the CD. Follow the on-screen instructions. See the Install Notes file on the product CD for more EN specific software installation instructions. Mac: Mac ins...
Page 13 Windows:CD からプリンタのソフトウェアをインストールします。画面の指示に従って実行してください。特定のソフトウェアの JA 詳細なインストール手順については、プリンタ CD のインストール メモ ファイルを参照してください。 Mac:Mac のインストーラ ソフトウェアは CD に含まれません。CD には www.hp.com から Mac のインストーラ ソフトウェアをダウ ンロードす...
Page 14 Azalea_HIG_A2W75-91052.indd 13 23-10-2015 23:10:39
Page 15 Azalea_HIG_A2W75-91052.indd 14 23-10-2015 23:10:39
Page 16 www.hp.com Copyright and License 版权与许可 © Copyright 2015 HP Development Company, L.P. © 2015 版权所有 HP Development Company, L.P. Reproduction, adaptation or translation without prior written permission i...

Manual Details

Brand HP
Pages 16
File Size 3.81 MB
Published June 01, 2026
66 views

Enter the captcha to get the download link:

captcha

Frequently Asked Questions

Where should I place the printer?

Choose a sturdy, well-ventilated, dust-free area, and keep it away from direct sunlight.

What do I remove after unboxing?

Remove all tape, packing material, orange plastic inserts/trays, and other materials from both the exterior and interior of the product.

How do I connect the printer to a network?

If connecting via network, connect the network cable immediately. (Wait until basic setup is complete before connecting the USB cable.)

What should I use for power?

Use only the power cable provided with the product and ensure your source matches the specified 100-127 VAC or 220-240 VAC/50/60 Hz voltage range.

How do I complete the initial setup process?

Connect power, turn it on, set language/date/time zone. On the Home screen, touch 'Initial Setup' to enable basic functions.