Page 1
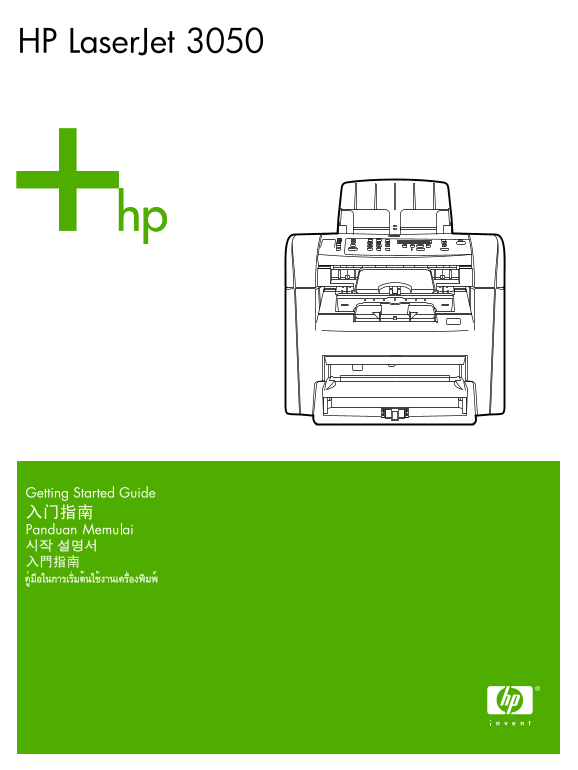
HP Laser Jet 3050
Page 2
Copyright Information please see the numbers in the front of this manual for repair and (or) warranty information. If the trouble is causing harm to the telephone © 2006 Copyright Hewlett-Packard Deve...
Page 3
English Bahasa Indonesia ไทย 430 mm (16.9 inches) (17 .4 mm in ch es Prepare the location. Place the all-in-one on a sturdy, level surface Regulate the environment. Do not place the all-in-one in dire...
Page 4
ไท Ba ha sa In do ne si En gl is Package contents. 1) print cartridge; 2) power cord; 3) fax cord; 7) automatic document feeder (ADF) input tray; 8) output bin 4) media input tray; 5) CD-ROMs containi...
Page 5
Locate the all-in-one parts. 1) tray 1; 2) priority input slot; 3) output 8) interface ports; 9) security-lock slot; 10) power switch; 11) power bin; 4) automatic document feeder (ADF) output bin; 5) ...
Page 6
ไท Ba ha sa In do ne si En gl is Install the control-panel overlay (if not already installed). 3) Press the overlay from the bottom up toward the top until it is 1) Remove the adhesive backing from th...
Page 7
The control panel includes the following areas: 1) fax controls; Install the media input tray. 1) Remove any shipping tape from the 2) alphanumeric buttons; 3) display and menu controls; 4) copy insid...
Page 8
ไท Ba ha sa In do ne si En gl is 3) Open the top of the media input tray. 4) Slide out the media 6) Place the media in the tray, and then adjust the media guides guides. 5) Pull out the long-media sup...
Page 9
Install the output bin support. Insert the pin on one side of the Install the automatic document feeder (ADF) input tray. 1) Align the support into the hole in the all-in-one. Flex the pin on the othe...
Page 10
ไท Ba ha sa In do ne si En gl is Install the ADF output support. Insert the pin on one side of the Install the print cartridge. 1) Press the cartridge-door release to support into the hole in the all-...
Page 11
2) Remove the print cartridge from its packaging, and then rock the 5) Hold the print cartridge by the handle and insert it into the all-in- cartridge gently five or six times. 3) Bend the plastic tab...
Page 12
ไท Ba ha sa In do ne si En gl is CAUTION: If toner gets on your clothing, wipe the toner off with a Note: Hewlett-Packard Company cannot recommend using non-HP clean cloth, wash the items in cold wate...
Page 13
Connect the power cord. 1) Connect the power cord to the power Connect a printer cable to the all-in-one. Note: If you are using the connector on the back of the all-in-one. 2) Connect the other end o...
Page 14
ไท Ba ha sa In do ne si En gl is Note: Do not connect the cable to a computer at this time. Connect to a telephone line. Note: If you are not using the fax functionality, go to step 15. 1) Connect the...
Page 15
Turn on the all-in-one. Press the power switch on the back of the Tip: If the all-in-one has no power and no lights are lit on the control all-in-one. panel, make sure that the power cord is attached ...
Page 16
ไท Ba ha sa In do ne si En gl is Set the control-panel-display language and location (if necessary). Test the hardware setup by printing a configuration report. If prompted by the control panel, selec...
Page 17
Tip: If the page that prints is totally blank, remove the print cartridge, Test the copier by using the automatic document feeder (ADF). make sure that the sealing tape is removed (see step 10), reins...
Page 18
ไท Ba ha sa In do ne si En gl is Tip: If the copy job produces a blank page, make sure that the Complete the hardware setup. If you are using the all-in-one as a original is loaded print-side up and t...
Page 19
Windows Windows Connect to a Windows computer. The all-in-one software supports 1) Close all programs that are running on the computer. 2) Insert a full-featured installation for Windows 2000 and XP. ...
Page 20
ไท Ba ha sa In do ne si En gl is Windows Windows Note: You must have administrative privileges to install the software 5) The software prompts you to connect the all-in-one to a computer. for Windows ...
Page 21
Windows Macintosh 6) Follow the onscreen instructions to install the software. When Connect to a Macintosh computer (Mac OS X V10.3 and 10.4 only). prompted, select the Typical installation type. 1) C...
Page 22
ไท Ba ha sa In do ne si En gl is Macintosh 5) Follow the onscreen instructions, and then click Install. 6) When Fax setup. If you installed the all-in-one software, the HP Laser Jet prompted, restart ...
Page 23
Tip: If the utility does not run automatically, access it in the program If you are using the all-in-one as a standalone fax, complete the group. following steps: 1) Press MENU. 2) Use the < or the...
Page 24
ไท Ba ha sa In do ne si En gl is 6) Complete one of the following: a) For the 12-hour clock, use the 3) Use the < or the > button to select Time/Date. Press . 4) Use < or the > button to m...
Page 25
7) Use the alphanumeric buttons to enter the current date. Use two 8) Use the < or the > button to select Fax setup, then press . digits to specify the month, day, and year. Press . 9) Use the &...
Page 26
ไท Ba ha sa In do ne si En gl is 10) Use the alphanumeric buttons to enter your fax number and Note: For complete information about using the fax features, including how to set up fax features to work...
Page 27
Test the software installation. Print a page from any program to Register the all-in-one. Register at http://www.register.hp.com to make sure that the software is correctly installed. If the installat...
Page 28
ไท Ba ha sa In do ne si En gl is Windows Windows Program the SCAN TO button. 1) Click Start, click All Programs or 4) Select Allow me to scan by pressing the Scan To button on the Programs, and then c...
Page 29
Windows Windows Use the HP Toolbox FX software to set device settings. 1) Click 2) Use the software to set the device settings. See the online User Start, click All Programs or Programs, and then clic...
Page 30
ไท Ba ha sa In do ne si En gl is Support information. For customer support, see http://www.hp.com/ Congratulations! The all-in-one is ready to use. See the online support/lj3050, or see the support fl...
Page 31
Preventing streaks and spots on scans and copies. 1) Unplug the Clearing print jams. 1) Unplug the all-in-one. 2) Remove the print all-in-one. 2) Tilt the control panel forward. 3) Clean the glass str...
Page 32
© 2005 Hewlett-Packard Development Company, L.P. www.hp.com