Page 1
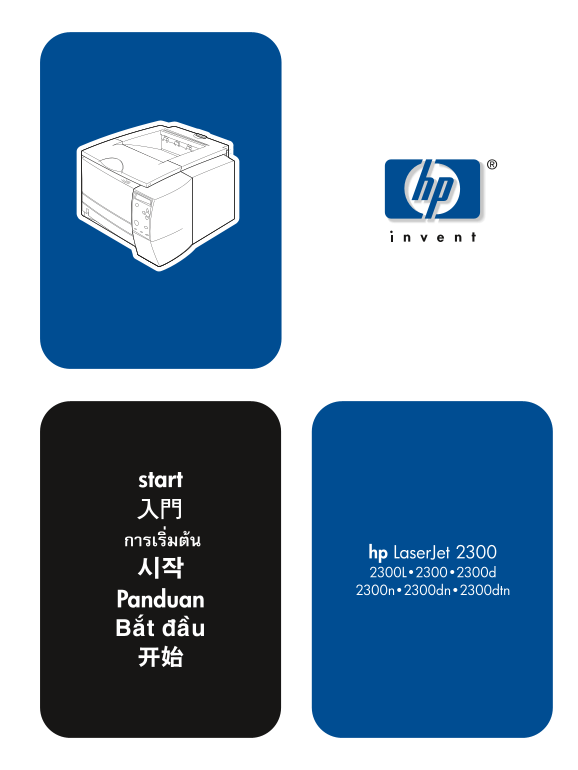
start hp Laser Jet 2300L 2300d 2300n 2300dn 2300dtn Panduan
Page 2
Copyright and license © Copyright Hewlett-Packard Company 2002 All Rights Reserved. Reproduction, adaptation, or translation without prior written permission is prohibited, except as allowed under the...
Page 3
HP Laser Jet 2300L HP Laser Jet 2300dtn HP Laser Jet HP Laser Jet 2300d HP Laser Jet 2300n HP Laser Jet 2300dn Printer configurations. All HP Laser Jet 2300 series printers come with The 2300d, 2300dn...
Page 4
ah as In do ne si lis 1500.0 mm (59.1 in) WARNING! The printer is heavy. To prevent physical injury, two people Prepare the location. Place the printer on a sturdy, level surface in a should lift and ...
Page 5
HP Laser Jet 2300L HP Laser Jet HP Laser Jet 2300 HP Laser Jet 2300n HP Laser Jet 2300dn (with optional 250-sheet tray) 450.3 mm (17.8 in) 7. .2 in 3. .4 in 836.0 mm (32.9 in) HP Laser Jet 2300dtn (wi...
Page 6
ah as In do ne si lis Check the package contents. Make sure that all the parts are included. Identify printer parts. Front view: 1) Top cover (provides access to the 1) Printer; 2) Power cord; 3) Cont...
Page 7
Back view: 7) Extension tray for rear output bin; 8) Rear output bin, Understand the control panel. 1) Graphical display; 2) HELP button; 9) Power switch; 10) Power connector. Note: The 2300dtn model ...
Page 8
ah as In do ne si lis Remove the packing materials. 1) Remove all tape from the printer. Install the print cartridge. 1) Remove the print cartridge from its 2) Remove the plastic film from the control...
Page 9
4) Open the top cover of the printer. 5) Position the print cartridge with the Install optional accessories. If you have purchased separate arrow on top of the cartridge pointing into the printer and ...
Page 10
ah as In do ne si lis Load the 250-sheet tray. (For information about loading the 500-sheet 2) Locate the plastic piece that is holding down the lift plate. Turn it tray, see the use guide on the prin...
Page 11
3) Move the side width guides outward to match the paper size that you 4) On the rear paper length guide, press on the blue tab and adjust it so want. that the pointer matches the paper size that you ...
Page 12
ah as In do ne si lis 5) Add the media and make sure that it is flat in the tray at all four corners. 7) Slide the tray back into the printer. Keep the media below the height tabs on the sides and rea...
Page 13
Attach the power cord. 1) Locate the power switch on the side of the 2) Connect the power cord to the printer and a grounded power strip or an printer and make sure that the printer is turned off (out...
Page 14
ah as In do ne si lis Install the control panel label (ONLY if needed for your Turn the printer power on. Turn the power switch to the on (in) position country/region). 1) Peal the backing off of the ...
Page 15
Change the control panel language (ONLY if needed for your 4) Press (SELECT button). 5) Wait until the languages appear on the country/region). 1) Turn the power off. 2) Press and hold down both the c...
Page 16
ah as In do ne si lis Adjust the brightness of the control panel display (ONLY if the 4) Scroll to DISPLAY BRIGHTNESS, and press (SELECT button). 5) Use display is too light or too dark). 1) Press (SE...
Page 17
Test the printer. To verify that the printer is operating correctly, print a Note: If the configuration page does not print, make sure that there are no configuration page. 1) Press (SELECT button). 2...
Page 18
ah as In do ne si lis Choose ONE of these installations. To install Microsoft® Windows® Install Windows printing system software for direct connection. printing system software for direct connection, ...
Page 19
Parallel port USB port 3) Follow the instructions. Note: When prompted, connect the cable Install printing system software for a network. (The 2300n, 2300dn, between printer and computer. (Parallel an...
Page 20
ah as In do ne si lis 2) Verify that the HP Jetdirect print server is configured correctly for the Note: If an IP address does not appear on the page, you might need to network by printing a configura...
Page 21
3) Insert the printer CD-ROM in the CD-ROM drive and follow the Install Windows printing system software after the parallel or USB instructions. 4) Click Finish. 5) Restart the computer. 6) Go to step...
Page 22
ah as In do ne si lis USB port Network port For Windows 2000 or XP: 1) In the New Hardware Found dialog box, Install Macintosh printing system software for direct or network click Search. 2) On the Lo...
Page 23
2) Insert the printer CD-ROM in the CD-ROM drive and follow the select the printer, and click Add. For Mac OS 8.6 to 9.2.x: From instructions. 3) Double-click the installer icon for the language and f...
Page 24
ah as In do ne si lis Test the software installation. Print a page from any software program Register your printer. Register your printer today at to make sure that the software is correctly installed...
Page 25
Congratulations. Your printer is ready to use. For information about using the printer and troubleshooting, see these sources: 1) The use guide on the printer CD-ROM; 2) The following URL: http://www....
Page 26
printed on recycled paper printed on recycled paper copyright Hewlett-Packard Company printed in Singapore printed in Singapore www.hp.com/support/lj2300