# A B C D E F G H I J K L M N O P Q R S T U V W X Y Z

HP Color LaserJet Managed E65150, E65160 - Installation Guide

Summary

This comprehensive installation guide provides step-by-step instructions for setting up your Color LaserJet Managed E65150 or E65160 printer. It covers everything from preparing the optimal placement—ensuring a stable, ventilated, and dust-free environment—to successfully connecting utilities. Users will learn how to safely connect power and network cables, perform the intricate initial setup procedures (including language and date settings), and handle physical maintenance like closing trays and moving accessories with confidence. Essential reading for new users ensuring maximum operational readiness right out of the box.
📄 Preview PAGE OF 12

Page 1 Text Content

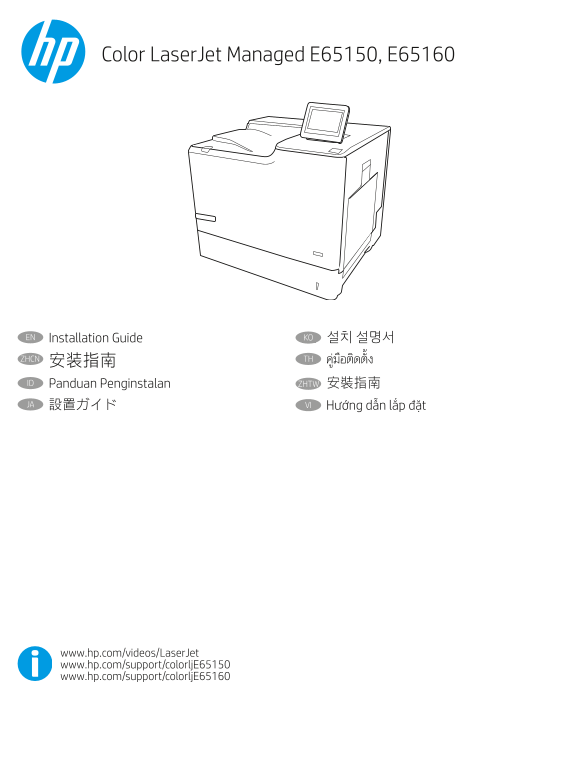
Color Laser Jet Managed E65150, E65160

EN Installation Guide KO 설치 설명서 ZHCN TH 安装指南 ID Panduan Penginstalan ZHTW 安裝指南 JA 設置ガイド VI

www.hp.com/videos/Laser Jet www.hp.com/support/colorlj E65150 www.hp.com/support/colorlj E65160

Page Summary Contents For HP Color LaserJet Managed E65150, E65160 - Installation Guide

Page 1 Color Laser Jet Managed E65150, E65160 EN Installation Guide KO 설치 설명서 ZHCN TH 安装指南 ID Panduan Penginstalan ZHTW 安裝指南 JA 設置ガイド VI www.hp.com/videos/Laser Jet www.hp.com/support/colorlj E65150 www.hp.c...
Page 2 EN Select a sturdy, well-ventilated, dust-free area, away from direct KO 직사광선을 피해 바닥이 단단하고 환기가 잘 되며 먼지가 없는 sunlight to position the printer. 장소를 선택하여 프린터를 내려 놓습니다. ZHCN 选择一个稳固、通风良好、无尘且远离日光直射 TH ZHTW 請...
Page 3 Caution: Do not extend more than one paper tray at a time. KO 주의: 한 번에 용지함을 두 개 이상 확장하지 마십시오. Do not use paper tray as a step 용지함을 계단으로 사용하지 마십시오. Keep hands out of paper trays when closing. 닫을 때 용지함에...
Page 5 EN If you are connecting to a network, connect the network cable now. KO 네트워크에 연결하려면 지금 네트워크 케이블을 연결합니다. Caution: Do not connect the USB cable now. 주의: 아직 USB 케이블을 연결하지 마십시오. not E: The cables are not...
Page 6 EN 3.1 Connect the power cable between the printer and a grounded AC outlet. 3.2 Turn on the printer. 3.3 On the initial Setup screen, set the language, the location, the date/time format, and other f...
Page 7 TH 3.1 3.2 3.3 ZHTW 3.1 使用電源線連接印表機及接地的 AC 插座。 3.2 開啟印表機電源。 3.3 在 initial Setup (起始設定) 畫面中,設定語言、位置、日期/時 間格式和其他功能。 附註:若要進行網路連線印表機的進階設定,請在軟體安裝完成後,於網頁瀏覽器的位址列輸入印表機 IP 位址。如果要尋找 IP 位址, 請選擇「資訊」 按鈕,然後選擇「網路」 圖示...
Page 8 EN The USB port is disabled by default and must be enabled from the KO USB 포트는 비활성화가 기본값이며 프린터 제어판에서 printer control panel. Open the Settings menu, and then select 활성화되어 있어야 합니다. 설정 메뉴를 연 다음 일반>장치 ...
Page 9 Locate or download the software installation files ID Mencari atau men-download file penginstalan perangkat lunak Method 1: Download h P Easy Start (Windows and maco S - clients) Metode 1: Download HP...
Page 10 KO 소프트웨어 설치 파일을 찾거나 다운로드합니다. ZHTW 找出或下載軟體安裝檔 방법 1: h P Easy Start 다운로드 (Windows 및 maco S 클라이언트) 方法 1:下載 h P Easy Start (Windows 和 maco S - 用戶端) 1. 123.hp.com/laserjet로 이동한 다음 다운로드를 클릭합니다. 1. 前往 123.hp...
Page 11 EN For information on firmware updates, advanced configuration using 펌웨어 업데이트, 내장 웹 서버를 통한 고급 구성, HP e Print를 the Embedded Web Server, and remote and mobile printing using 통한 원격 및 모바일 인쇄 방법은 프린터 CD의 사...
Page 12 www.hp.com Copyright and License © Copyright 2019 HP Development Company, L.P. 版权与许可 © Copyright 2019 HP Development Company, L.P. Reproduction, adaptation or translation without prior written permiss...

Manual Details

Brand HP
Pages 12
File Size 4.84 MB
Published June 17, 2026
6 views

Enter the captcha to get the download link:

captcha

Frequently Asked Questions

Where should I place the printer?

Place it in a sturdy, well-ventilated, dust-free area that is away from direct sunlight.

What are the necessary electrical specifications for this printer?

The printer requires 100-127 Vac or 220-240 Vac and operates at frequencies of 50/60 Hz.

After powering on, what is the initial setup process?

Use the initial Setup screen to set your language, location, date/time format, and other features.

What safety precautions must I follow when moving or closing paper trays?

Ensure all trays are closed; keep hands out of trays when closing, and remove loose paper from any accessories before relocation.