# A B C D E F G H I J K L M N O P Q R S T U V W X Y Z

SHARP CD-BA120 Operation Manual

Summary

Upgrade your audio with the CD-BA120 Mini Component System, a complete and reliable stereo solution featuring an integrated main unit and matching speaker system. This comprehensive manual guides you through safe operation, from initial setup and troubleshooting to understanding crucial electrical safety warnings and FCC compliance requirements. Essential reading for all new owners, ensuring optimal performance while keeping your family secure.
📄 Preview PAGE OF 18

Page 1 Text Content

HK <P=001>

MODEL

MINI COMPONENT SYSTEM

CD-BA120

OPERATION MANUAL

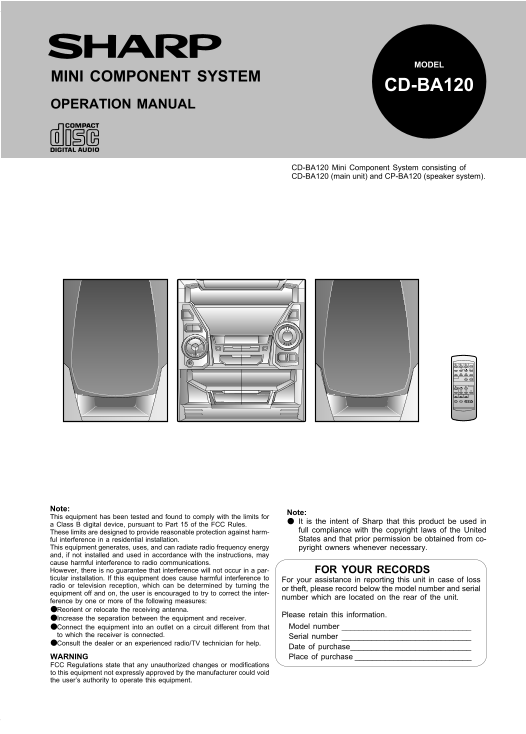
CD-BA120 Mini Component System consisting of CD-BA120 (main unit) and CP-BA120 (speaker system).

Note:

Note:

This equipment has been tested and found to comply with the limits for

It is the intent of Sharp that this product be used in

a Class B digital device, pursuant to Part 15 of the FCC Rules.

These limits are designed to provide reasonable protection against harm- full compliance with the copyright laws of the United ful interference in a residential installation. States and that prior permission be obtained from co-

This equipment generates, uses, and can radiate radio frequency energy pyright owners whenever necessary. and, if not installed and used in accordance with the instructions, may cause harmful interference to radio communications. However, there is no guarantee that interference will not occur in a par- FOR YOUR RECORDS ticular installation. If this equipment does cause harmful interference to For your assistance in reporting this unit in case of loss radio or television reception, which can be determined by turning the

or theft, please record below the model number and serial

equipment off and on, the user is encouraged to try to correct the inter-

number which are located on the rear of the unit.

ference by one or more of the following measures: ●Reorient or relocate the receiving antenna.

Please retain this information.

Increase the separation between the equipment and receiver.

●Connect the equipment into an outlet on a circuit different from that Model number _ _ _ _ _ _ _ _ _ _ _ _ _ _ _ _ _ _ _ _ _ _ _ _ _ _ _ _ _ _

to which the receiver is connected. Serial number _ _ _ _ _ _ _ _ _ _ _ _ _ _ _ _ _ _ _ _ _ _ _ _ _ _ _ _ _ _ ●Consult the dealer or an experienced radio/TV technician for help.

Date of purchase _ _ _ _ _ _ _ _ _ _ _ _ _ _ _ _ _ _ _ _ _ _ _ _ _ _ _ _

WARNING Place of purchase _ _ _ _ _ _ _ _ _ _ _ _ _ _ _ _ _ _ _ _ _ _ _ _ _ _ _ FCC Regulations state that any unauthorized changes or modifications to this equipment not expressly approved by the manufacturer could void the user’s authority to operate this equipment.

CD-BA120(SEC) TINSE0299AWZZ

Page Summary Contents For SHARP CD-BA120 Operation Manual

Page 1 HK &lt;P=001&gt; MODEL MINI COMPONENT SYSTEM CD-BA120 OPERATION MANUAL CD-BA120 Mini Component System consisting of CD-BA120 (main unit) and CP-BA120 (speaker system). Note: Note: This equipment has b...
Page 2 HK &lt;P=001&gt; RISK OF ELECTRIC SHOCK DO NOT OPEN The lightning flash with arrowhead CAUTION: TO REDUCE THE The exclamation point within an equi- symbol, within an equilateral triangle, RISK OF ELEC...
Page 3 INTRODUCTION Thank you for purchasing this SHARP product. To obtain the best performance from this product, please read this manual carefully. It will guide you in operating your SHARP product. CONTEN...
Page 4 PRECAUTIONS General Care of compact discs Compact discs are fairly resistant to damage, however Do not use oil, solvents, gasoline, paint thinners or insec- mistracking can occur due to an accumulatio...
Page 5 PREPARATION FOR USE Unplug the AC power cord from the AC outlet before con- necting or disconnecting any component. Antenna connection Connect the antenna wire to the ANTENNA jack. FM antenna Position...
Page 6 (Continued) Connecting the AC power cord Connect the AC power cord to the AC INPUT jack, then connect the AC power cord plug to an AC outlet. Notes: To an AC outlet Unplug the AC power cord from the A...
Page 7 HK &lt;P=001&gt; SETTING THE CLOCK In this example, the clock is set for the 12-hour (AM 12:00) sys- (Main unit operation) tem. Press the ON/STAND-BY button to enter the stand-by mode. MEMORY/SET Pres...
Page 8 SOUND CONTROL (Main unit) (Remote control) Volume Press the VOLUME button to increase the volume and the VOLUME button to decrease the volume. MAXIMUM..... Extra bass (X-BASS)/Pre-programmed equalizer...
Page 9 COMPACT DISC OPERATION CD playback 5&quot; (12 cm) Press the ON/STAND-BY button to turn the power on. Press the CD button. 3&quot; (8 cm) Press the OPEN/CLOSE button to open the disc tray. Place the C...
Page 10 (Continued) Disc number selection When stopped, press the DISC SKIP button. Press the 0/R (0R) button. DISC SKIP The next disc playback will begin, after which each following disc will be played seque...
Page 11 HK &lt;P=001&gt; (Continued) APMS Selected disc number (Automatic Programmable Music Selector) You can playback the tracks on the CDs in the disc 1 - 3 positions in any order desired. By specifying th...
Page 12 RADIO OPERATION Tuning (Main unit operation) Press the ON/STAND-BY button to turn the power on. Press the TUNER (BAND) button. Press the TUNER (BAND) button to select the desired fre- quency band. (FM...
Page 13 (Continued) To recall a memorized station: Preset memory scan Press the PRESET (X or W) button for less than 0.5 seconds to select the desired station. The stations saved in the preset memory can be s...
Page 14 RECORDING When recording important selections, be sure to Metal and Cr O2 tapes should not be used for recording or make a preliminary test to ensure that the desired dubbing. material is being proper...
Page 15 HK &lt;P=001&gt; HOW TO USE THE BUILT-IN TIMER Before setting the timer, make sure that the clock Timer recording setting is correct. (Page 6) (Main unit operation) Press the ON/STAND-BY button to tur...
Page 16 HEADPHONES Before plugging in or unplugging the headphones, make sure the volume level is reduced. Be sure your headphones have a 1/8&quot; (3.5 mm) diameter plug and are between 16 ohms and 50 ohms i...
Page 17 MAINTENANCE Internal care TAPE 1 Dirty heads, capstans or pinch rollers can cause poor sound and tape jams. Clean these parts with a cotton swab mois- tened with commercial head/pinch roller cleaner o...
Page 18 CONSUMER LIMITED WARRANTY SHARP ELECTRONICS CORPORATION warrants to the first consumer purchaser that this Sharp brand product (the “Product”), when shipped in its original container, will be free fro...

Manual Details

Brand Sharp
Pages 18
File Size 447.51 KB
Published May 29, 2026
66 views

Enter the captcha to get the download link:

captcha

Frequently Asked Questions

What safety hazard should I be mindful of regarding the appliance's internal components?

Do not open the unit cover as it contains voltages dangerous to unqualified service personnel.

If I experience radio or television reception interference, what immediate steps are recommended?

Try reorienting the antenna, increasing separation between the equipment and receiver, or consulting a technician.

What is the warranty period for the CD-BA120 Mini Component System?

It includes one year of parts and labor from the date of purchase.