Page 1
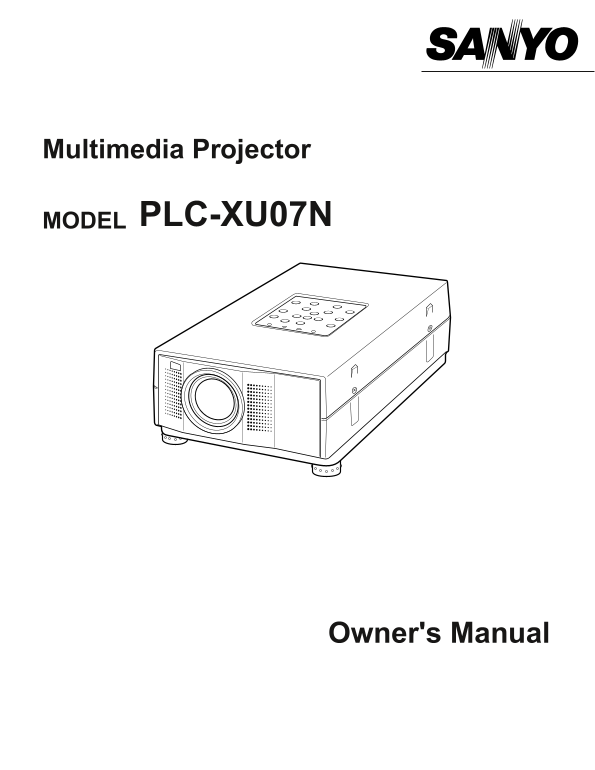
Multimedia Projector MODEL PLC-XU07N Owner's Manual
Page 2
INFORMATION TO THE USER NOTE : This equipment has been tested and found to comply with the limits for a Class A digital device, pursuant to Part 15 of FCC Rules. These limits are designed to provide r...
Page 3
IMPORTANT SAFETY INSTRUCTIONS All the safety and operating instructions should be read before d. If the projector does not operate normally by following the the product is operated. operating instruct...
Page 4
TABLE OF CONTENTS FEATURES AND DESIGN COMPUTER MODE SELECTING COMPUTER MODE SELECTING COMPUTER SYSTEM PC ADJUSTMENT PREPARATION COMPATIBLE COMPUTER SPECIFICATIONS PICTURE IMAGE ADJUSTMENT NAME OF EACH...
Page 5
FEATURES AND DESIGN This Multimedia Projector is designed with most advance technology for portability, durability, and ease for use. The projector utilizes built-in multimedia features, a palette of ...
Page 6
PREPARATION NAME OF EACH PART OF THE PROJECTOR FRONT OF THE CABINET PROJECTION LENS INFRARED REMOTE RECEIVER SPEAKER (Monaural) LENS COVER BACK OF THE CABINET EXHAUST VENT HOT AIR EXHAUSTED ! Air blow...
Page 7
PREPARATION SETTING-UP THE PROJECTOR POSITIONING THE PROJECTOR This projector is basically designed to project on a flat projection surface. The projector can be focused from 4.6'(1.4m) ~ 35.4'(10.8m)...
Page 8
PREPARATION CONNECTING THE AC POWER CORD This projector uses nominal input voltages of 100-120 V AC. The projector automatically selects the correct input voltage. It is designed to work with single-p...
Page 9
PREPARATION MOVING THE PROJECTOR Use the Carry Handle when moving the Projector. Replace the lens cover and rotate the feet fully clockwise (to shorten the feet) when moving the projector to prevent d...
Page 10
CONNECTING THE PROJECTOR TERMINALS OF THE PROJECTOR COMPUTER INPUT TERMINAL MONITOR OUTPUT TERMINAL Connect the computer output Connect to the monitor to this to this terminal. terminal. (Refer to P12...
Page 11
CONNECTING THE PROJECTOR CONNECTING TO THE VIDEO EQUIPMENT Satellite Video Cassette Recorder Video Disc Player TV Turner Video / Audio Output S-VIDEO Output Used cables for connection • VIDEO CABLE ✽ ...
Page 12
CONNECTING THE PROJECTOR CONNECTING TO THE IBM-COMPATIBLE COMPUTER To connect with the IBM-compatible computer, refer to the figure below. Used cables for connection • VGA CABLE • CONTROL CABLE FOR PS...
Page 13
CONNECTING THE PROJECTOR COMPUTER IN MONITOR OUT CONTROL PORT SERIAL AUDIO IN AUDIO OUT ▼� S-VIDEO VIDEOR-AUDIO-L (MONO) AUDIO OUTAUDIO IN MONITOR OUT CONTROL PORT SERIAL COMPUTER IN To disconnect MOU...
Page 14
CONNECTING THE PROJECTOR CONNECTION TO THE MACINTOSH COMPUTER To connect with the Macintosh computer, refer to the figure below. Used cables for connection • VGA CABLE • CONTROL CABLE FOR ADB PORT ✽ •...
Page 15
CONNECTING THE PROJECTOR MAC/VGA ADAPTER (not supplied) Set the switches as shown in the table below depend- ing on the RESOLUTION ON DIP MODE that you want to use before your turn on the projector an...
Page 16
BEFORE OPERATION OPERATION OF THE REMOTE CONTROL This remote control unit is not only able to operate the projector but also usable as a wireless mouse for a PC. POINT button and two CLICK buttons are...
Page 17
BEFORE OPERATION Remote Control Batteries Installation Remove the battery Slide the batteries into Replace the compartment compartment lid. the compartment. lid. Press the lid downward and slide it. S...
Page 18
BEFORE OPERATION TOP CONTROLS AND INDICATORS TEMPERATURE WARNING INDICATOR READY INDICATOR This indicator flashes red This indicator is lit in green LAMP INDICATOR when internal projector when the pro...
Page 19
BEFORE OPERATION OPERATING ON-SCREEN MENU HOW TO OPERATE ON-SCREEN MENU You can control and adjust this projector through ON-SCREEN WIRELESS REMOTE CONTROL MENU. Refer to the following pages to operat...
Page 20
BEFORE OPERATION MENU BAR MENU BAR IN COMPUTER MODE Press MENU BUTTON while being in Computer mode. MODE MENU AUTO IMAGE MENU PC ADJUST MENU SETTING MENU LANGUAGE MENU Used to select Used to adjust Fi...
Page 21
BASIC OPERATIONS TURNING ON / OFF THE PROJECTOR Turning on the Projector Complete the peripheral connections (with Computer, VCR, and etc.) before turning on the projector. (Refer to "CONNECTING ...
Page 22
BASIC OPERATION ADJUSTING THE PICTURE ZOOM Adjustment Press ZOOM / button on the Remote Control Unit or ZOOM ▲/▼ button on the Top Control to turn into the ZOOM mode. Press ZOOM or ▲ button to have th...
Page 23
BASIC OPERATION SOUND ADJUSTMENT Direct Operation It indicates the roughly level of the volume. Sound Volume Adjustment Press the VOLUME (+/–) buttons (located on the Top Control or on the Remote Cont...
Page 24
COMPUTER MODE SELECTING COMPUTER MODE Direct Operation Press the MODE button on the Top Control or the Remote Control Unit. Computer The input source is selected among COMPUTER or VIDEO. The “Computer...
Page 25
COMPUTER MODE PC ADJUSTMENT This Projector can automatically detect display signals from most personal computers currently distributed. However, some computers employ special signal formats which are ...
Page 26
COMPUTER MODE COMPATIBLE COMPUTER SPECIFICATIONS Basically this projector can accept the signal from all computers with the V, H-Frequency below mentioned and less than 165 MHz of Dot Clock. ON-SCREEN...
Page 27
COMPUTER MODE PICTURE IMAGE ADJUSTMENT Adjust Picture Image Manually Press the MENU button and the ON-SCREEN MENU will appear. Press the POINT LEFT/RIGHT buttons to select IMAGE and press the SELECT b...
Page 28
COMPUTER MODE Auto Image Function The Auto Image function is provided to automatically adjust Fine sync., Total dots, and Picture Position for most computers. Press the MENU button and the ON-SCREEN M...
Page 29
COMPUTER MODE PICTURE POSITION ADJUSTMENT The position of the image can be adjusted vertically and horizontally through PICTURE POSITION ADJUSTMENT. Press the MENU button and the ON-SCREEN MENU will a...
Page 30
VIDEO MODE SELECTING VIDEO MODE Direct Operation Press the MODE button on the Top Control or the Remote Control Unit. Video The input source is selected among VIDEO or COMPUTER. The “Video” or “Comput...
Page 31
VIDEO MODE PICTURE IMAGE ADJUSTMENT Adjusting the Picture Image Press the MENU button and the ON-SCREEN MENU will appear. Press the POINT LEFT/RIGHT buttons to select IMAGE and press the SELECT button...
Page 32
SETTING SETTING MENU Press the MENU button and the ON-SCREEN MENU will appear. Press the POINT LEFT/RIGHT buttons to select SETTING and press the SELECT button. Another dialog box SETTING Menu will ap...
Page 33
APPENDIX OPERATING WIRELESS MOUSE The Wireless Remote Control Unit is not only able to operate the projector but also usable as a wireless mouse for a PC. POINT buttons and two CLICK buttons are used ...
Page 34
APPENDIX MAINTENANCE TEMPERATURE WARNING INDICATOR The TEMPERATURE WARNING Indicator flashes red when the internal temperature of the projector exceeds the normal temperature. The Indicator stops to f...
Page 35
APPENDIX LAMP REPLACEMENT Indicator When the Lamp of this projector draws to an end, the LAMP REPLACEMENT indicator lights yellow. When the image become dark or the color of the image become unnatural...
Page 36
APPENDIX TROUBLESHOOTING Before calling your dealer or service station for assistance, check the matters below once again. 1. Make sure you have connected the projector to your equipment a s described...
Page 37
APPENDIX Problem: Try these Solution Check the batteries. Remote Control Make sure anything is blocking between the Remote Receiver and the Remote Unit does not work. Control Unit. Make sure you are n...
Page 38
TECHNICAL SPECIFICATIONS Projector Type Multi-media Projector Dimensions (W x H x D) 8.46" x 4.29" x 12.85" (215mm x 109mm x 326.5mm) Net Weight 9.48 lbs (4.3 kg) LCD Panel System 0.9&q...
Page 39
OPTIONAL PARTS The parts listed below are optionally supplied. When ordering those parts, give the name and the Type No. of it to the sales dealer. Control Cable for Serial Port Type No. POA-MC12SRL C...
Page 40
SANYO INDUSTRIAL VIDEO LCD PROJECTOR LIMITED WARRANTY OBLIGATIONS In order to obtain warranty service, the product must be delivered to and picked up from and Authorized Sanyo Factory Service Center a...