Page 1
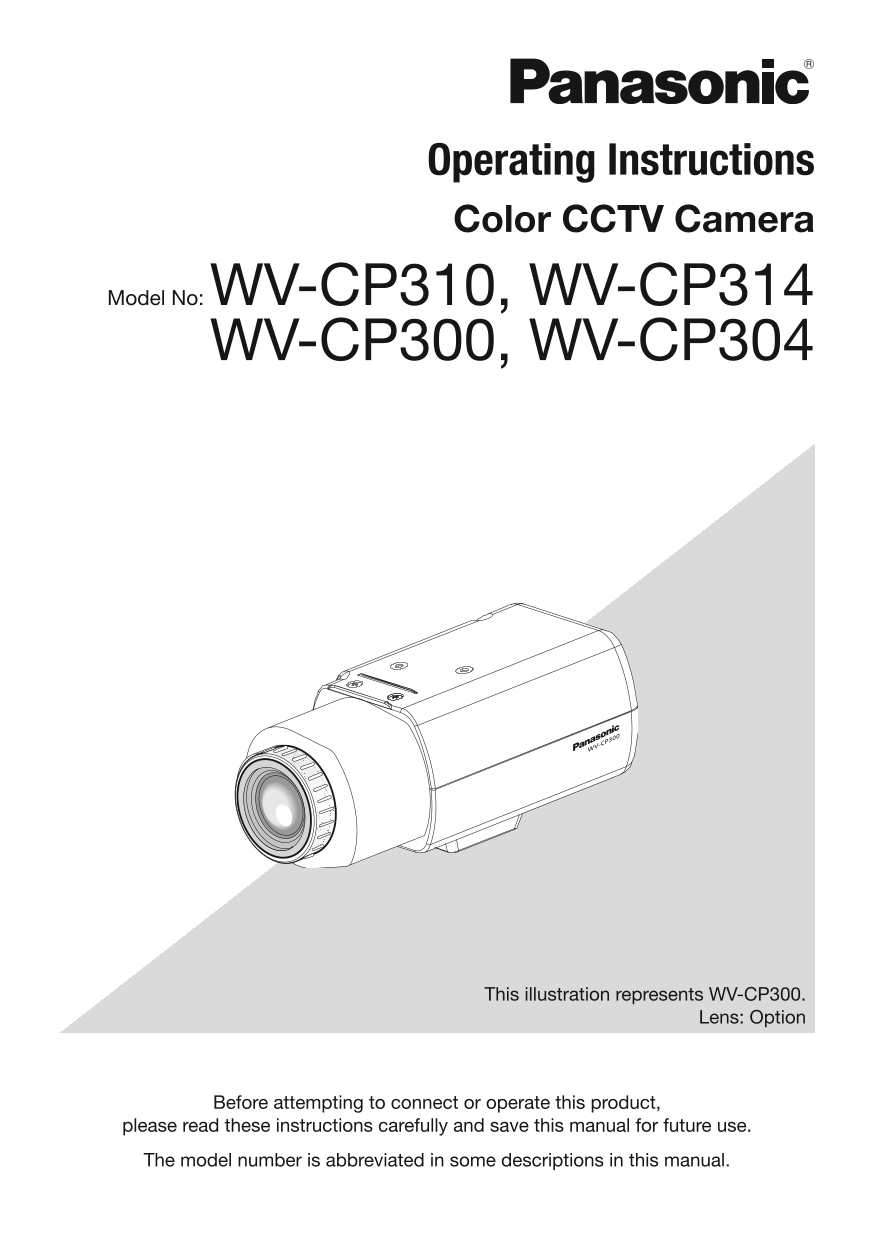
Operating Instructions Color CCTV Camera Model No: WV-CP310, WV-CP314 WV-CP300, WV-CP304 This illustration represents WV-CP300. Lens: Option Before attempting to connect or operate this product, pleas...
Page 2
Preface About the user manuals The operating instructions of the camera consist of 2 sets: these operating instructions (PDF) and Installation Guide. This document explains how to configue the setting...
Page 3
Contents Preface .......................................................................................................................................... About the setup menus .........................
Page 4
About the setup menus Performing each setting item in the setup menu should be completed in advance to use this unit. Perform the settings for each item in accordance with the conditions of the camera...
Page 5
Basic operation The operations in the setup menu are performed with the operation buttons after calling up the setup menu on the connected video monitor. The description below explains how to operate ...
Page 6
Screenshot 3 Step 4 The selected setup screen in the setup menu appears on the screen. Perform the settings for each item. Selection of setting item: **CAMERA SETUP** Press the [UP] button or [DOWN] b...
Page 7
Screen transition diagram CP310 CP310 Top screen “CAMERA ID” screen CP300 MODEL WV-CP310 SERIES **CAMERA ID** CAMERA ID OFF CAMERA ABCDEFGHIJKLM SYSTEM NOPQRSTUVWXYZ SPECIAL LANGUAGE SPACE POSI RET TO...
Page 8
CP310 CP310 CP300 Screen transition diagram Top screen “CAMERA ID” screen MODEL WV-CP300 SERIES **CAMERA ID** CAMERA ID OFF CAMERA ABCDEFGHIJKLM SYSTEM NOPQRSTUVWXYZ SPECIAL LANGUAGE SPACE POSI RET TO...
Page 9
Camera title setting [CAMERA ID] This item specified the camera title. The camera title is named with up to 8 characters when using only Chinese characters, and up to 16 characters when using only Eng...
Page 10
Camera operation setting [CAMERA SETUP] The following settings related to camera actions can be configured on the "CAMERA SETUP" screen displayed from the top screen. Refer to page 5-6 for h...
Page 11
2 Light quantity control method selection [ALC/ELC] The method of controlling the quantity of light is selected from the following in accordance with the lens to be used. ALC (default): The iris of th...
Page 12
Note: When “BLC” is set to “ON”, “ABS” displays “---” and may not be operated. Step 4 When "BLC" is set to "OFF", bright areas of an image are masked to facilitate the visibility o...
Page 13
Note: When "SENS UP" is set to the AUTO mode, “AGC” cannot be set to “OFF”. 5 Electronic sensitivity enhancement setting [SENS UP] Use of the electronic sensitivity enhancement function incr...
Page 14
Step 1 Set "WHITE BAL" to "AWC" and press the [LEf T] button to change to "AWC → PUSH SET". Step 2 Press the [SET] button and adjust the white balance. "AWC → PUSH S...
Page 15
Step 4 Move the cursor to "POSITION" and press the [SET] button. Step 5 Press the [u P], [d Ow N], [r Igh T] and [l Ef T] buttons to move to the upper-left part of the area to be set, and pr...
Page 16
CP310 CP310 CP300 AUTO: Similar to the basic functions of AUTO1, but does not change the IR filter. Switches to black-and-white images when brightness (illuminance) around the camera is lower than app...
Page 17
Note: Images may not be displayed appropriately without burst signals when camera images are displayed in the black-and-white mode depending on a monitor or VCR model to be used. In such a case, set t...
Page 18
Step 2 Move the cursor to "MASK SET" and press the [SET] button. → The “MASK SET” screen appears. “MOTION DET” screen “MASK SET” screen **MOTION DET**(1) LEVEL ....I.. 20 - + DWELL TIME 2S D...
Page 19
Step 6 Move the cursor to “Level”. Use the [RIGHT] or [LEFT] button to adjust the level. Repeat step 5 and 6 to adjust to optimal level. Step 7 Move the cursor to “DWELL TIME ”. Select the dwell time ...
Page 20
Camera system setting [SYSTEM SETUP] Performs the settings relating to the camera system such as synchronization and privacy zone. The following settings can be configured on the "SYSTEM SETUP&qu...
Page 21
→ The "ZONE NUMBER" screen appears. Step 2 Move the cursor to the number at the right of the title and select the zone number using the right or left button. Step 3 Move the cursor to "...
Page 22
When "ON" is selected, the zoom factor and the panning/tilting settings can be configured. Follow the procedure below. “SYSTEM SETUP” screen EL-zoom setting screen Pan/tilt setting screen Zo...
Page 23
Special menu setting [SPECIAL SETUP] The special menu setup is performed including the setting of the camera image quality and the communication configuration when a decoder is used. The following set...
Page 24
J Flaw compensation [PIX OFF] Flaws of pixel in the displayed camera image are corrected. Up to 16 points can be corrected. Follow the procedure below. Step 1 Move the cursor to "PIX OFF" an...
Page 25
L Default resetting [CAMERA RESET] The settings in the setup menu are restored to the default settings. Move the cursor to "→ PUSH SET" of "CAMERA RESET" and hold down the [SET] bu...
Page 26
Camera language selection [LANGUAGE SETUP] The language selection can be made on the "LANGUAGE SETUP" screen displayed from the top screen. Refer to page 5-6 for how to call up the screen. &...
Page 27
Shortcut operation Use of a system controller with the "Camera function" button allows users to perform the shortcut settings with use of the numeric keypad and camera function button. The a...
Page 28
Panasonic System Communications Company of North America, Unit of Panasonic Corporation of North America www.panasonic.com/business/ For customer support, call 1.800.528.6747 Three Panasonic Way, Seca...