Page 1
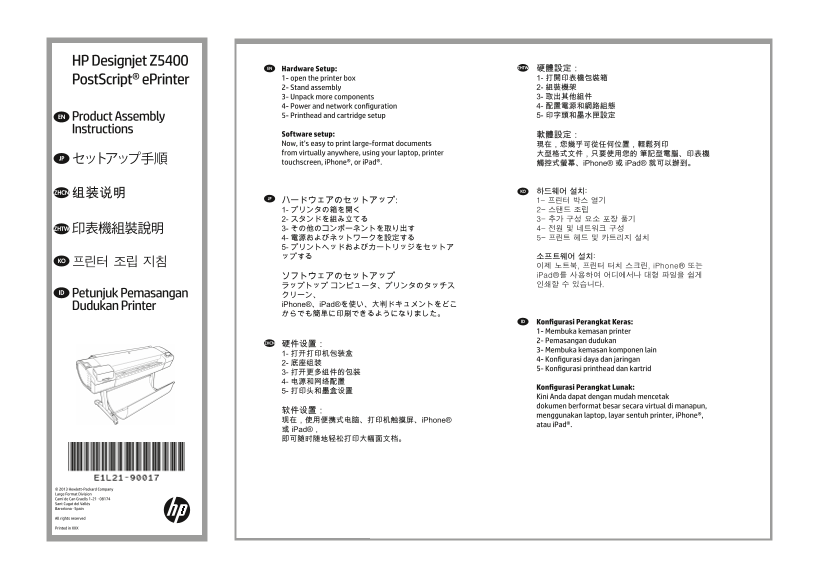
HP Designjet Z5400 EN ZHTW 硬體設定: Hardware Setup: Post Script® e Printer 1- open the printer box 1- 打開印表機包裝箱 2- Stand assembly 2- 組裝機架 3- Unpack more components 3- 取出其他組件 4- Power and network configura...
Page 2
EN Read these instructions carefully... EN Product working area What you will need for this procedure Before you start unpacking, consider where you • Because the product is heavy, you may need three ...
Page 3
EN Open the box HP Designjet Z5400 JP 箱を開く Post Script® e Printer Start Up ZHCN 打开包装盒 ZHTW 打開外盒 KO 상자 열기 Membuka kemasan © 2013 Hewlett-Packard Development Company, L.P. EN Remove the accessories from...
Page 4
Remove the pieces of cardboard. Lift up the sides and top of the printer box, and remove Dismantle the bottom of the printer box by disengaging Cut and remove the straps around the stand box. them fro...
Page 5
EN Stand assembly JP スタンドを組み立てる ZHCN 底座组装 ZHTW 組裝機架 KO 스탠드 조립 Pemasangan dudukan EN Open the stand box. Remove the cross-brace and the two pieces of packaging Place the two pieces of packaging materia...
Page 6
A screwdriver and 22 screws are provided in the stand Attach each leg of the stand to the cross-brace, using Make sure you have used 4 screws in each leg. Attach a foot to each leg, using four screws ...
Page 7
Return to the main body of the product, carefully turn Remove the small flaps from each of the foam Remove the orange tape from the transparent covering Open the transparent covering and remove the de...
Page 8
EN Lift the stand, keeping it upside down. There is a round yellow button protruding from the top Place the stand on the product slowly and carefully, When the legs are correctly located on the produc...
Page 9
101.2kg Check that the wheels on the stand are locked. Rotate the product 90 degrees. IMPORTANT:make sure Hold the product by the foam end pieces and by the center Remove the foam end pieces. At this ...
Page 10
EN Remove the transparent covering from the product. Unlock the brake lever on each of the four wheels by lift- Lay out the components of the basket. Fit the basket supports to the stand legs, one to ...
Page 11
Fit the two short tubes to the product’s feet, one on the Attach the basket’s front tube to the two short tubes on Rest the basket’s rear tube on the supports that you The basket is now complete. fron...
Page 12
EN Unpack more components JP その他のコンポーネントを取り出す ZHCN 打开更多组件的包装 ZHTW 取出其他組件 KO 추가 구성 요소 포장 풀기 Membuka kemasan komponen lain Remove all the orange tape pieces from the product, Open the Window. You will s...
Page 13
EN Turn the cardboard support 90° to the right. Carefully lift the cardboard support up and out of the Inside the right-hand side of the product, you will see a Remove the cardboard carefully. product...
Page 14
EN Power and network configuratio JP 電源およびネットワークを設定する ZHCN 电源和网络配置 ZHTW 配置電源和網路組態 KO 전원 및 네트워크 구성 Konfigurasi daya dan jaringan Connect the network cable or a certified USB 2.0 cable to If you find a ...
Page 15
EN Printhead and cartridge setup JP プリントヘッドおよびカートリッ ジをセットアップする ZHCN 打印头和墨盒设置 ZHTW 印字頭和墨水匣設定 KO 프린트 헤드 및 카트리지 설치 Konfigurasi printhead dan kartrid Switch on power to the product using the switch just O...
Page 16
Press the ink cover firmly into place until you hear that it Check that the ink cover is properly placed. Open the cover on the left-hand side of the product. Insert the ink cartridges one by one. Eac...
Page 17
The cartridges must be inserted the right way around: When you have inserted all of the ink cartridges correctly, Open the window and grasp the blue handle of the Pull the blue handle towards you as f...
Page 18
Lift the handle up to open the printhead cover. The setup printheads exist only to prevent the escape of Remove and discard all orange setup printheads. Press the OK key on the front panel when you ha...
Page 19
EN Unwrap each printhead and remove all orange parts. Insert the printheads one by one. Each printhead Push each printhead into the slot until it clicks into Pull the blue handle towards you as far as...
Page 20
HP Designjet Z5400 Post Script® e Printer Start Up © 2013 Hewlett-Packard Development Company, L.P. Push the handle down on While the product is preparing the printheads, you could spend the time inst...
Page 21
When the front panel prompts you to load paper for If the blue removable stop is on the spindle, remove it. Push the removable stop towards the roll as far as it will From the front of the product, pl...
Page 22
Feed the leading edge of the paper into the product until Media load for lower roll Remove the spindle by lifting out first the right-hand If the blue removable stop is on the spindle, remove it. the ...
Page 23
Push the removable stop towards the roll as far as it will From the back of the product, place the spindle into the Feed the leading edge of the paper into the product until The product will proceed t...
Page 24
EN Enable web services to enjoy the benefits of cloud printing: HP e Print: 1 - HP e Print allows you to print by simply attaching a PDF, or other print-ready file, to an email and send it to your pri...
Page 25
Enable your web connected printer to enjoy the benefits of cloud printing: EN 1 - HP e Print allows you to print by simply attaching a PDF, or other print-ready file, to an email and send it to your p...
Page 26
HP Designjet Z5400 Post Script® e Printer Optional: Managing eprinter security in e Print Center. When you enable web services the printer is in unlock mode Start Up meaning everyone who knows the pri...
Page 27
You can now, or at some later time, color-calibrate the paper type that you intend to use in the product. Color calibration 1. Return to home screen is recommended for accurate color printing. It can ...
Page 28
EN ZHCN ZHTWJP Note for MAC & Windows USB con- Mac および Windows の USB 接続 MAC 和 Windows USB 连接注意事 請注意,當 MAC 與 Windows USB nection: に関する注記: 项: 連線時: Do not connect the computer to the product yet. この時...
Page 29
MAC 및 Windows USB 연결을 Catatan tentang sambungan USB 위한 안내 untuk MAC & Windows: Jangan sambungkan dulu komputer ke printer. Anda harus terlebih dulu menginstal perangkat lunak driver printer di kom...
Page 32
Legal notices © Copyright 2013 Hewlett-Packard Development Company, L.P. The information contained herein is subject to change without notice. The only warranties for HP products and services are set ...