Extech Model 421502 Dual Input Type J K Digital Thermometer User's Manual and Specifications
Summary
The Extech 42280 is a professional indoor air quality monitor designed to accurately track temperature and relative humidity in any location via wall, tripod, or desktop mounting. It features a large LCD display and robust internal memory capable of storing up to 16,000 readings, with optional real-time PC logging support. This user manual provides comprehensive guidance on setup, detailed datalogger programming (including sample rates and alarm limits), power management, and troubleshooting operational parameters. It is essential for professionals monitoring critical environmental data streams.
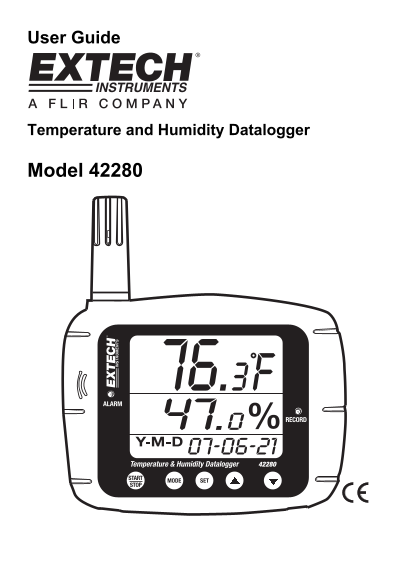
Page 1 Text Content
User Guide
Temperature and Humidity Datalogger
Model 42280
Page Summary Contents For Extech Model 421502 Dual Input Type J K Digital Thermometer User's Manual and Specifications
Page 1
User Guide Temperature and Humidity Datalogger Model 42280
Page 2
Introduction Congratulations on your purchase of the Extech 42280 Thermometer and Relative Humidity Datalogger. The 42280 is a wall-mount, tripod mount, or desktop indoor air quality monitor with an i...
Page 3
Description Meter Description 1. Humidity Sensor (internal Temperature sensor) 2. Audible alarm (with AC adaptor power only) 3. Visual Alarm LED 4. Relative Humidity display 5. Date and Time display 6...
Page 4
Operation Important Note before starting This meter relies on firm button presses to operate correctly. Be sure to press firmly and hold the button for as long as directed in the instructions. Meter P...
Page 5
Manual Programming The Model 42280 has several programming modes (P1, P2, P3, P4, P5, and P6). These parameters must be programmed before the Datalogger or the Alarm can be used. List of Programming M...
Page 6
Programming Mode P2; Datalogger Start Modes 1. Press the SET button to access the setup mode 2. Use the arrow buttons to select parameter P2 3. Press the SET button again 4. Select one of the four Sta...
Page 7
Programming Mode P3; Datalog Start Time Note that parameter P3 will only be visible if the Start MODE is set to SHCEDULE (Parameter P2 set to ‘SCh’). 1. Press the SET button to access the setup mode 2...
Page 8
Programming Mode P4; Datalogger Sample Rate 1. Press the SET button to access the setup mode 2. Use the arrow buttons to select parameter P4 3. Press the SET button again 4. Use the up/down arrow butt...
Page 9
Programming Mode P6; Real Time Clock 1. Press the SET button to access the setup mode 2. Use the arrow buttons to select parameter P6 3. Press the SET button again 4. Use the up/down arrow buttons to ...
Page 10
Datalogging Starting a Datalogging session The 42280 can automatically store up to 16,000 readings (8000 temperature and 8000 humidity) for later transfer to PC. Program the controller, as discussed e...
Page 11
Connecting the Meter to a PC A USB cable is provided with the meter. One end of the cable connects to the meter’s USB jack and the other end connects to a USB port on the PC. Running the supplied PC s...
Page 12
Humidity Calibration 1. With the meter OFF, plug the humidity sensor probe into the 33% Calibration Reference bottle. 2. Simultaneously press and hold the START-STOP and the SET buttons for at least 2...
Page 13
Specifications General Specifications Display Multi-function LCD with status LED indicators Measurement ranges Temperature: -20 to 70o C (-4 to 144o F) Humidity: 0 to 100% Dew Point temperature: -20 t...
Page 14
Troubleshooting Power is ON but there’s no display Check that the batteries or the AC adaptor is installed and connected properly Ensure that the START-STOP button is pressed firmly and for at least 1...
Manual Details
| Brand | Dual |
|---|---|
| Pages | 14 |
| File Size | 306.27 KB |
| Published | May 30, 2026 |
65 views
Enter the captcha to get the download link:
