Page 1
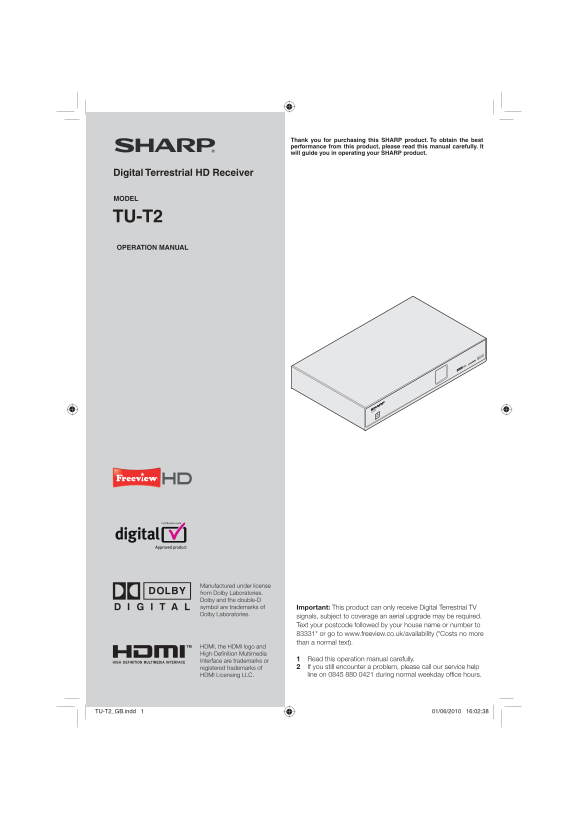
Thank you for purchasing this SHARP product. To obtain the best performance from this product, please read this manual carefully. It will guide you in operating your SHARP product. Digital Terrestrial...
Page 2
OPERATION MANUAL ENGLISH The illustrations and the OSD in this operation manual are for explanation purposes and may vary slightly from the actual operations.• The examples used throughout this manual...
Page 3
Introduction Important safety precautions Cleaning—Unplug the AC power adapter from the AC outlet before cleaning the product. Use a damp cloth to clean the product. Do • not use liquid cleaners or ae...
Page 4
Introduction Remote control unit HDMI 1 Hold this button down for 5 seconds to revert the output to 1080i (Page 17). MENU 2 MENU HDMI WIDE “MENU” screen on/off (Page 16). TEXT 3 CH.LIST AUDIOTEXT SUBT...
Page 5
Introduction Receiver (front view) a1 (Power button) Display2 Receiver (rear view) RF IN (Antenna in) terminal1 USB terminal - For service 2 only RF IN RF OUT (Antenna out) 3 USB 12V DC 2A terminal RF...
Page 6
Preparation Supplied accessories Remote control unit ( x 1) Power Adaptor ( x 1) HDMI Cable ( x 1) RF Cable ( x 1) MENU HDMI WIDE CH.LIST AUDIOTEXT SUBT GUIDE INFO VOL LAST PROG VOL MUTE PROG AD A/V O...
Page 7
Preparation Inserting the batteries Before using the Receiver for the first time, insert the two supplied “AAA” size zinc-carbon batteries. When the batteries become depleted and the remote control un...
Page 8
Quick guide Initial installation overview Follow the steps below one by one when using the Receiver for the first time. Run the Preparation initial Watch TV settings Connect the antenna cable to Turn ...
Page 9
Quick guide Before turning on the power RF IN USB 12V DC 2A RF OUT ETHERNET SPDIF HDMI VCR TV Connect the antenna (standard DIN45325 plug (IEC 169-2) Place the TV close to the AC outlet, 75 q coaxial ...
Page 10
Watching TV Daily operation Changing channels With PROG +/-: With 0_9: Switching on/off VOL LAST PROG Standby mode VOL PROG Select standby mode E If the Receiver is switched on, you can switch it to A...
Page 11
Watching TV Set a channel as a favourite 3 Channel List You can set a channel as a favourite for quick access. All favourite channels will be Basic operation displayed in the favourites list. Press 1 ...
Page 12
Watching TV Selecting a programme using the Useful functions EPG Navigate the time span 3 Press the red coloured button to move 1 Basic operation backwards 2 hours. Display/close the EPG screen E Pres...
Page 13
Connecting external devices Before connecting ... E Be sure to turn off the Receiver and any external equipment before making connections.• Firmly connect a cable to a terminal or socket.• Carefully r...
Page 14
Connecting external devices SCART connection Example of connectable devices HD Ready TV E DVD Recorder E RF IN USB 12V DC 2A RF OUT ETHERNET SPDIF HDMI VCR TV CB/PB CR/PR HDMI 2-CH AUDIO OUT VIDEO OUT...
Page 15
Connecting external devices Audio connections SPDIF connection Example of connectable devices Dolby Digital Surround Sound System E RF IN USB 12V DC 2A RF OUT ETHERNET SPDIF HDMI VCR TV AUDIO INPUT DI...
Page 16
Menu operation What is the MAIN MENU? You need to call up the on screen display (OSD) to perform settings for the Receiver. The OSD for the settings is called “MAIN MENU”• The “MAIN MENU” enables vari...
Page 17
Basic adjustment AV Settings AV Settings SCART Output Settings Adjusts the video signal type when the Receiver is AV Settings HDMI Video 1080p connected to your TV using a SCART cable. HDMI Audio SCAR...
Page 18
Basic adjustment AV Settings Audio Description Menu Transparency Some programmes are broadcast with audio descriptions (AD) which provides a voice-over describing visual This function allows you to ad...
Page 19
Basic adjustment Languages Languages Audio Language Settings This function allows you to set the default audio language AV Settings Subtitle \Language to English, Welsh, Gaelic or Irish. Audio Languag...
Page 20
Basic adjustment Parental Control Parental Control Change PIN The Parental Control feature allows you to prevent accidental changes being made to the Receiver. In addition channels can be locked to pr...
Page 21
Basic adjustment General General Auto Retune Settings This function allows you to control when new services (channels) are added and stored on the Receiver. AV Settings Auto Standby Enabled Power Save...
Page 22
Basic adjustment Manually tuning channels General Manual tune You can manually tune new services after the first time installation has been completed. Manual Tune UHF Channel Frequency (k Hz) Bandwidt...
Page 23
Appendix Troubleshooting The following conditions in the table below do not always indicate a problem. Please perform the checks described below before calling for service. If the problem can not be c...
Page 24
Appendix Specifications Item TU-T2 Digital Terrestrial HD Receiver for Freeview HD All combinations of the below parameters can be received and automatically detected. (Except bandwidth). Channel Band...
Page 25
Appendix Item TU-T2 Digital Terrestrial HD Receiver for Freeview HD Software Over Air Download Yes, via DVB-SSU Upgrade USB Port Yes 4-digit 7-segment for time and channel number Display 1 LED indicat...
Page 26
Appendix Trademarks “HDMI, the HDMI logo and High-Definition Multimedia Interface are trademarks or registered trademarks of HDMI Licensing LLC.”• Manufactured under license from Dolby Laboratories.• ...
Page 27
Appendix End of life disposal A. Information on Disposal for Users (private households) 1. In the European Union Attention: If you want to dispose of this equipment, please do not use the ordinary dus...
Page 28
Important Notice Digital Switchover and Your TV Equipment WHAT YOU NEED TO DO TO ENJOY WATCHING TV DURING AND FOLLOWING DIGITAL SWITCHOVER Starting in 2008 and ending in 2012, television services in t...
Page 29
TU-T2_GB.indd 29 01/06/2010 16:03:17
Page 30
Notes TU-T2_GB.indd 30 01/06/2010 16:03:18
Page 31
Notes TU-T2_GB.indd 31 01/06/2010 16:03:18
Page 32
TU-T2 EN-03/10-dcs-8595 TU-T2_GB.indd 32 01/06/2010 16:03:18