# A B C D E F G H I J K L M N O P Q R S T U V W X Y Z

SHARP KB-0333K Operation & Installation Guide

Summary

Discover how to properly operate and maintain your Sharp Insight Range Hood. This technical manual serves as a comprehensive guide, covering everything from initial installation and routine deep cleaning procedures to advanced troubleshooting tips and proper filter replacement. Designed for homeowners, it ensures safe, efficient use of your ventilation system and details all warranty and service information.
📄 Preview PAGE OF 12

Page 1 Text Content

INSIGHT R ANGE H OOD

KB-0333K

Page Summary Contents For SHARP KB-0333K Operation & Installation Guide

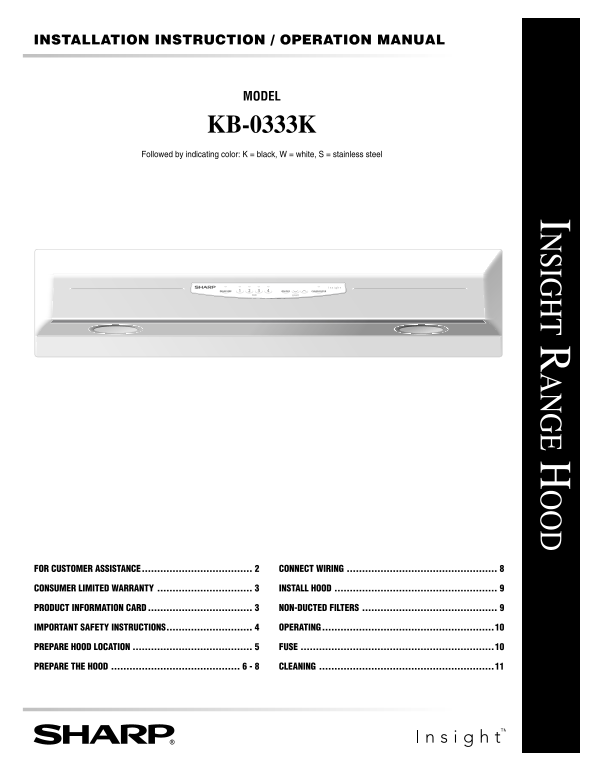
Page 1 INSIGHT R ANGE H OOD KB-0333K
Page 2 FOR CUSTOMER ASSISTANCE To aid in reporting this range hood, please record below the model number and serial number located on the unit. We also suggest you record all the information listed and retai...
Page 3 CONSUMER LIMITED WARRANTY SHARP ELECTRONICS CORPORATION warrants to the first consumer purchaser that this Sharp brand product (the “Product”), when shipped in its original container, will be free fro...
Page 4 IMPORTANT SAFETY INSTRUCTIONS READ ALL INSTRUCTIONS BEFORE USING TO REDUCE THE RISK OF INJURY TO PERSONS FOR DOMESTIC COOKING ONLY IN THE EVENT OF A RANGE TOP GREASE FIRE, OBSERVE THE FOLLOWING:* WARN...
Page 5 PREPARE HOOD LOCATION 1 Determine whether hood will discharge vertically (3 1⁄4” x 10” or 7” round), horizontally (3 1⁄4” x 10” only) or WOOD SHIMS 31/4" 10" (Recessed-bottom HORIZONTAL DUCT...
Page 6 PREPARE THE HOOD 1 Remove 7” Round NON-DUCTED INSTALLATION - Skip to page 8. Duct Plate from top The following Steps (6 thru 14) are for DUCTED of hood. Set duct INSTALLATION ONLY. plate aside - with ...
Page 7 PREPARE THE HOOD 10 Re-install air chute and screw, re-connect wire harness 13 3 1⁄4” x 10” Ducted Discharge Only: Remove tape from and replace light panel. damper flap and attach Damper/Duct Connecto...
Page 8 PREPARE THE HOOD Non-Ducted Installations Only: 5. Check that wheel is properly positioned as shown. Press Sections into place if necessary. Make sure wheel Requires a Performance Ring to be attached ...
Page 9 INSTALL HOOD 1 Hang hood from (4) mounting screws. Slide hood towards 4 Install (2) PAR20, 50 W Maximum Halogen Bulbs or wall until mounting screws are engaged in narrow end of (2) R16, 40 W Maximum I...
Page 10 OPERATING 1 FAN There are four fan speeds from low (1) to high (4). HEAT SENSOR Push any button to select one of the four fan speeds. Press Your Sharp Insight Range Hood is equipped with an advanced a...
Page 11 CLEANING WARNING To reduce the risk of electric shock, discon- To clean hood: Remove filters. Use a damp cloth and nect from power supply before cleaning. a mild detergent to wipe all grease-laden sur...
Page 12 – This symbol on the nameplate means the product is listed by Underwriters Laboratories, Inc. SHARP ELECTRONICS CORPORATION • Sharp Plaza, Mahwah, New Jersey 07430-2135 PRINTED IN USA

Manual Details

Brand Sharp
Pages 12
File Size 782.44 KB
Published June 01, 2026
51 views

Enter the captcha to get the download link:

captcha

Frequently Asked Questions

How do I clean the filters on the hood?

Remove the filters and use a damp cloth with mild detergent. The mesh filters are dishwasher safe.

What should I do if the fan and lights won't turn on?

Check that the external fuse is not blown, ensuring it is 5 x 20mm, 10 Amp, Fast-Acting, 125V (min.).

Who can service my range hood?

Service should only be performed by a Sharp Authorized Servicer located in the United States.

How often should I clean the filters?

Clean filter surfaces frequently to ensure optimal performance and proper air flow.