Sanyo EZ-20 Flyback Installation Guide
Summary
This comprehensive installation guide assists qualified service personnel in replacing a defective Flyback Transformer (FBT) specifically for Sanyo EZ-20 CRT monitors. The manual provides detailed, step-by-step procedures for component replacement, including mounting the Focus Assembly and adjusting the HV Shield. Given the high voltage risks associated with CRT displays, this guide emphasizes strict adherence to advanced safety protocols, making it essential reading only for trained technicians.
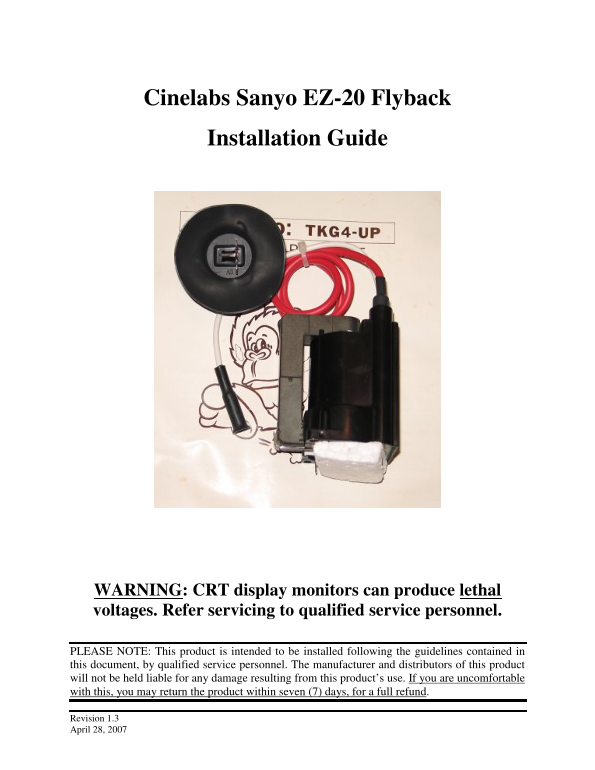
Page 1 Text Content
Cinelabs Sanyo EZ-20 Flyback Installation Guide
WARNING: CRT display monitors can produce lethal voltages. Refer servicing to qualified service personnel.
PLEASE NOTE: This product is intended to be installed following the guidelines contained in this document, by qualified service personnel. The manufacturer and distributors of this product will not be held liable for any damage resulting from this product’s use. If you are uncomfortable with this, you may return the product within seven (7) days, for a full refund.
Revision 1.3 April 28, 2007
Page Summary Contents For Sanyo EZ-20 Flyback Installation Guide
Manual Details
| Brand | Sanyo |
|---|---|
| Pages | 9 |
| File Size | 390.13 KB |
| Published | May 28, 2026 |
Enter the captcha to get the download link:

Frequently Asked Questions
What safety precautions must I take when working on CRT displays?
CRT displays are dangerous and potentially lethal. Always use safety glasses and keep one hand behind your back. You must also discharge the CRT before FBT replacement.
Who should perform this repair?
This product is intended to be installed by qualified service personnel. The manufacturer advises consulting a trained service technician if you are unsure of any procedure.
Is there a warranty on the new Flyback Transformer?
Yes, if properly installed by a qualified service person, the product is warranted for ninety (90) days from the purchase date or Cinelabs receipt date. This warranty does not cover 'abuse.'
What tools are needed for FBT installation?
Tools required include a CRT Discharge Tool (HV Probe), Philips and flat head screw drivers, a drill with 7/64” or 1/8” bit, pencil, and small file.