Page 1
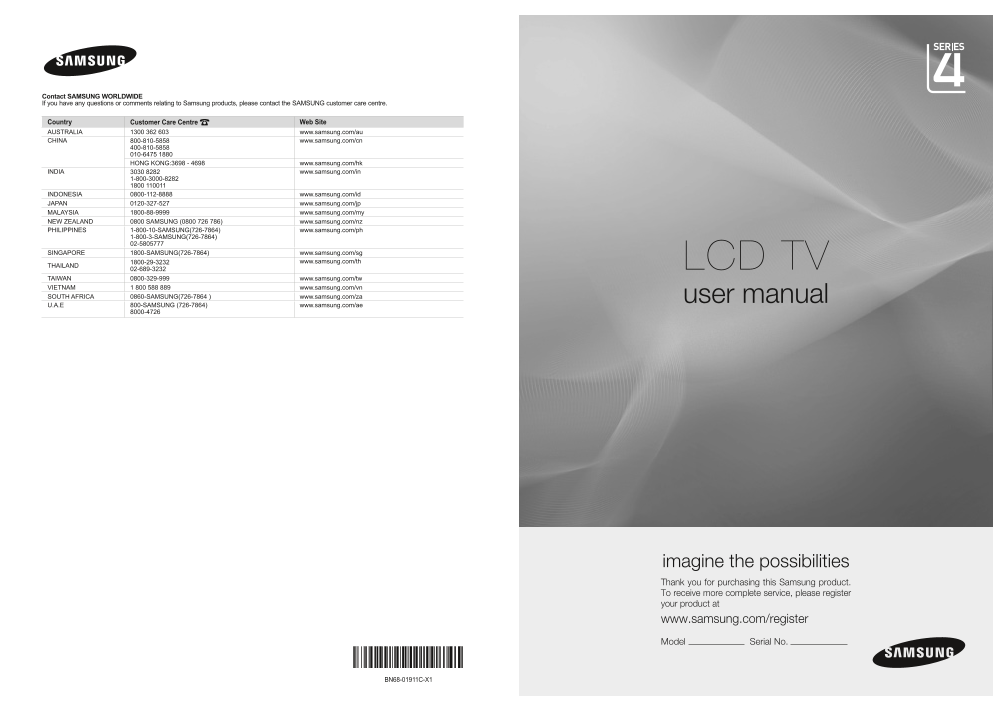
Contact SAMSUNG WORLDWIDE If you have any questions or comments relating to Samsung products, please contact the SAMSUNG customer care centre. Country Customer Care Centre Web Site AUSTRALIA 1300 362 ...
Page 2
License Tru Surround HD, SRS and symbol are trademarks of SRS Labs, Inc. Tru Surround HD technology is incorporated under license from SRS Labs, Inc. Precautions When Displaying a Still Image A still ...
Page 3
CONTENTS SETTING UP YOUR TV INPUT Viewing the Control Panel ................................................................. Input Menu ..................................................................
Page 4
SETTING UP YOUR TV Figures and illustrations in this User Manual are provided for reference only and may differ from actual product appearance. Product design and specifications may be changed without...
Page 5
Accessories Remote Control & Batteries FM radio antenna Antenna Shield Box (AAA x 2) Power Cord Stand Screw x 3 Cover-Bottom Cleaning Cloth Stand Screw x 4 (Depending on the model) Owner’s Instruc...
Page 6
Viewing the Connection Panel [TV Side Panel][TV Rear Panel] Power Input The product colour and shape may vary depending on the model. 1 PC IN Connect to the video output jack on your PC. If your PC su...
Page 7
7 USB Connector for Media Play, etc. 8 SERVICE Connector for service only. 9 COMPONENT IN �, � / AV IN Connect component video cables (optional) to component connector (PR, PB, Y) on the rear of your ...
Page 8
Viewing the Remote Control You can use the remote control up to a distance of about 23 feet from the TV. The performance of the remote control may be affected by bright light. The product colour and s...
Page 9
Installing Batteries in the Remote Control . Lift the cover at the back of the remote control upward as shown in the figure. . Install two AAA size batteries. Make sure to match the ‘+’ and ‘–’ ends o...
Page 10
Placing Your Television in Standby Mode Your set can be placed in standby mode in order to reduce the power consumption. The standby mode can be useful when you wish to interrupt viewing temporarily (...
Page 11
CHANNEL Channel Menu Area TV Channel Area : Asia/Europe You can change the area for channels. Auto Store Manual Store Channel List Sort Auto Store Name Fine Tune You can scan for the fre...
Page 12
Sort This operation allows you to change the programme numbers of the stored channels. This operation may be necessary after using the auto store. The channel is moved to its new position and all othe...
Page 13
PICTURE Configuring the Picture Menu TV Picture You can select the type of picture which best corresponds to your viewing requirements. Mode : Standard Press the TOOLS button to display the Tools me...
Page 14
Advanced Settings Samsung’s new TVs allow you to make even more precise picture settings than previous TV Advanced Settings models. Black Tone : Off Dynamic Contrast : Medium Advanced Settings is ...
Page 15
Picture Options TV Picture Options Colour Tone : Cool In PC mode, you can only make changes to the Colour Tone and Size from among the Size : ��:� Digital NR : Auto items in Picture Options. HDM...
Page 16
Viewing Picture-in-Picture You can use the PIP feature to simultaneously watch the TV tuner and one external video TV Setup Plug & Play source. This product has one built-in tuner, which does no...
Page 17
Using Your TV as a Computer (PC) Display Setting Up Your PC Software (Based on Windows XP) The Windows display-settings for a typical computer are shown below. The actual screens on your PC will proba...
Page 18
Setting up the TV with your PC Preset: Press the SOURCE button to select PC mode. Auto Adjustment TV Picture Use the Auto Adjust function to have the TV automatically adjust the video signals it recei...
Page 19
Auto Volume → Off / On Each broadcasting station has its own signal conditions, and so it is not easy to adjust the volume every time the channel is changed. This feature lets you automatically adjust...
Page 20
SETUP Configuring the Setup Menu Language TV Setup Plug & Play You can set the menu language. Language : English Time Child Lock : On Change PIN Time Game Mode : Off Melody : Off Energ...
Page 21
Change PIN You can change your personal ID number that is required to set up the TV. Before the setup screen appears, the PIN number input screen appears. Enter your 4 digit PIN number. The default PI...
Page 22
INPUT Input Menu Source List TV Input Source List : TV Use to select TV or other external input sources such as DVD / Blu-ray players / Cable Box / Edit Name Anynet+(HDMI-CEC) Satellite receiver...
Page 23
MEDIA PLAY (USB) Using the Media Play (USB) Function This function enables you to view and listen to photo (JPEG) and audio files (MP3) saved on a USB TV Side Panel Mass Storage Class (MSC) device. Pr...
Page 24
Using the Media Play (USB) Menu TV Input . Press the MENU button. Press the ▲ or ▼ button to select Application, then press the Source List : TV ENTERE button. Edit Name Anynet+(HDMI-CEC) Media ...
Page 25
Using the PHOTO (JPEG) List This menu shows JPEG files and folders saved on an USB memory device. Photo . Complete Steps 1 to 3 of ‘Using the Media Play (USB) Menu’. (Refer to page 22) SUM 861MB/994MB...
Page 26
Using the Menu during a Slide Show Slide Show Speed Select to control the slide show speed. Press the ▲ or ▼ button to select the required option (Fast, Normal, Slow), then press the ENTERE button. Ba...
Page 27
Using the MP� List This menu shows MP3 files from among the files saved on a USB memory device. Music . Complete Steps 1 to 3 of ‘Using the Media Play (USB) Menu’. (Refer to page 22) XTICK 861MB/994MB...
Page 28
Using the Setup Menu Setup displays the user settings of the Media Play (USB) menu. Setup . Complete Steps 1 to 3 of ‘Using the Media Play (USB) Menu’. (Refer to page 22) . Press the ◄ or ► button to ...
Page 29
ANYNET+ Connecting Anynet+ Devices What is Anynet+? Anynet+ is a function that enables you to control all connected Samsung devices that support Anynet+ with your Samsung TV’s remote. The Anynet+ syst...
Page 30
Setting Up Anynet+ Press the TOOLS button to display the Tools menu. You can also display Anynet+ menu TV Input Source List : TV by selecting Tools → Anynet+ (HDMI-CEC). Edit Name Anynet+(HDMI-CEC...
Page 31
TV Remote Control Buttons Available in Anynet+ Mode Device Type Operating Status Available Buttons After switching to the device, when the Numeric buttons menu of the corresponding device is ▲/▼/◄/►/ ...
Page 32
Troubleshooting for Anynet+ Problem Possible Solution Anynet+ does not work. Check if the device is an Anynet+ device. The Anynet+ system supports Anynet+ devices only. Connect only one receiver (home...
Page 33
RECOMMENDATIONS Teletext Feature Most television stations provide written information services via Teletext. The index page of the Teletext service gives you information on how to use the service. In ...
Page 34
The Teletext pages are organized according to six categories: Part Contents Selected page number. Broadcasting channel identity. Current page number or search indications. Date and time. Text. Status ...
Page 35
Disconnecting the Stand . Remove four screws from the back of the TV. . Separate the stand from the TV. Two or more people should carry the TV. . Cover the bottom hole with the cover. Installing the W...
Page 36
Securing the Installation Space Keep the required distances between the product and other objects (e.g. walls) to ensure proper ventilation. Failing to do so may result in fire or a problem with the p...
Page 37
Troubleshooting: Before Contacting Service Personnel Before contacting service personnel Problem Possible Solution No sound or picture Check that the mains lead has been connected to a wall socket. Ch...
Page 38
Specifications Model Name LA��B�80 LA��B�80 Screen Size (Diagonal) 26 inch 32 inch PC Resolution (Optimum) 1360 x 768 @ 60Hz 1360 x 768 @ 60Hz Sound (Output) 15W X 2 15W X 2 Dimensions (Wx Dx H) Witho...
Page 39
This page is intentionally left blank. [480]BN68-01911C-India.indb 37 2009-04-01 �� 4:52:57