Page 1
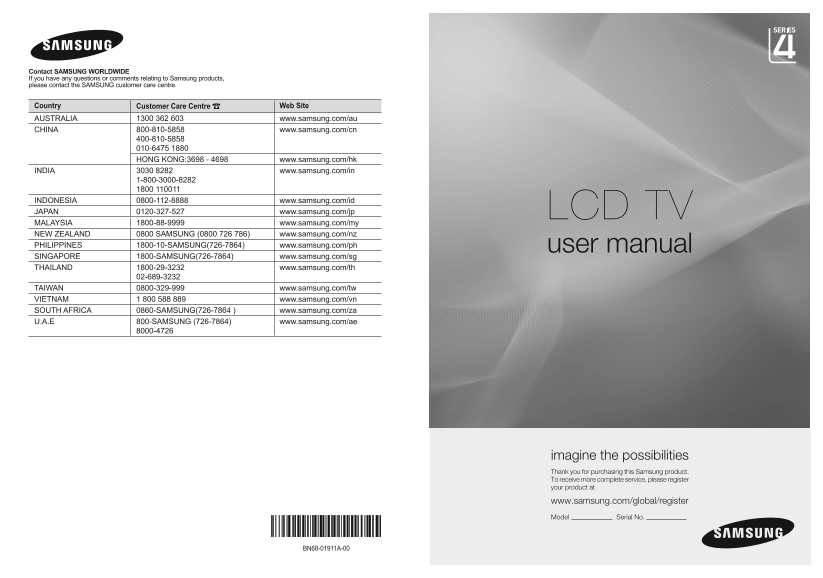
Contact SAMSUNG WORLDWIDE If you have any questions or comments relating to Samsung products, please contact the SAMSUNG customer care centre. Country Customer Care Centre Web Site AUSTRALIA 1300 362 ...
Page 2
Precautions When Displaying a Still Image A still image may cause permanent damage to the TV screen. Do not display a still image on the LCD panel for more than 2 hours as it can cause screen image re...
Page 3
Contents Conne Ct Ing an D Pre Par Ing Your t V Sett Ing the t Ime List of Parts ........................................................ Setting and Displaying the Current Time .......... Installing ...
Page 4
list of Parts Please make sure the following items are included with your LCD TV. If any items are missing, contact your dealer. Remote Control & Power Cord FM radio antenna Batteries (AAA x 2) Wa...
Page 5
Viewing the Control Panel Front Panel buttons Touch each button to operate. The product colour and shape may vary depending on the model. Sour Ce Ch Toggles between all the available input Press to ch...
Page 6
Viewing the Connection Panel Power Input The product colour and shape may vary depending on the model.➣ Whenever you connect an external device to your TV, make sure that power on the unit is turned o...
Page 7
Fm ant Connect to the FM radio antenna. Do not connect an RF antenna to Fm ant terminal 4 PC In Connect to the video output jack on your PC. 5 e X-l In K Connector for service only. ant In To view tel...
Page 8
Viewing the remote Control 1 Television Standby button ) Selects the HDMI mode directly. 2 Selects the TV mode directly a Picture effect selection 3 Number buttons for direct channel access 4 One/Two-...
Page 9
Installing Batteries in the remote Control 1. Lift the cover at the back of the remote control upward as shown in the figure. . Install two AAA size batteries. Make sure to match the "+" and...
Page 10
Viewing the menus t V Picture 1. With the power on, press the menu button. mode : Standard Backlight The main menu appears on the screen. The menu’ s left side Contrast 9 TOOLS Brightness has icons:...
Page 11
Plug & Play When the t V is initially powered on, several basic settings Plug & Play proceed automatically and subsequently. the following settings are available. 1. Press the Po Wer button on...
Page 12
Storing Channels automatically t V Channel You can scan for the frequency ranges available to you (and area : asia/W.europe availability depends on your area). auto Store manual Store automatica...
Page 13
Storing Channels manually t V Channel You can store television channels, including those received area : asia/W.europe auto Store via cable networks. manual Store Channel manager When storing ...
Page 14
adding / locking Channels t V Channel using the Channel manager, you can conveniently lock or add area : asia/W.europe channels. auto Store manual Store Channel manager 1. Press the menu butto...
Page 15
Sorting the Stored Channels t V Channel this operation allows you to change the programme numbers area : asia/W.europe of the stored channels. auto Store manual Store this operation may be neces...
Page 16
Fine tuning Channel reception use fine tuning to manually adjust a particular channel for t V Channel optimal reception. area : asia/W.europe auto Store manual Store 1. Use the number buttons to...
Page 17
Changing the Picture Standard You can select the type of picture which best corresponds to t V Picture mode : Standard your viewing requirements. Backlight Contrast 9 1. Press the menu button to dis...
Page 18
adjusting the Custom Picture Your set has several settings which allow you to control t V Picture mode : Standard picture quality. Backlight Contrast 9 1. To select the desired picture effect, follo...
Page 19
Changing the Picture options 1. Press the menu button to display the menu. t V Picture mode : Standard Press the enter button, to select "Picture". Backlight Contrast 9 . Press the ▲ or ▼ ...
Page 20
♦ Digital nr: off/low/medium/high/auto If the broadcast signal received by your TV is weak, you can activate the Digital Noise Reduction feature to help reduce any static and ghosting that may appear ...
Page 21
Viewing the Picture In Picture (PIP) You can display a sub picture within the main picture of set t V Setup programme or video input. In this way, you can watch the Plug & Play language : englis...
Page 22
Sound Features 1. Press the menu button to display the menu. t V Sound Press the ▲ or ▼ button to select "Sound", then press the mode : Custom equalizer enter button. Sr S t S Xt : off ...
Page 23
♦ Auto Volume: Off/On Each broadcasting station has its own signal conditions, and so it is not easy to adjust the volume every time the channel is changed. This feature lets you automatically adjust ...
Page 24
Setting and Displaying the Current time You can set the t V’s clock so that the current time is t V Setup displayed when you press the In Fo button. You must also set Plug & Play language : engl...
Page 25
Switching the television on and off automatically 1. Press the menu button to display the menu. t V Setup Press the ▲ or ▼ button to select "Setup", then press the Plug & Play language...
Page 26
melody / energy Saving 1. Press the menu button to display the menu. t V Setup Press the ▲ or ▼ button to select "Setup", then press the Plug & Play language : english enter button. ...
Page 27
Selecting the Source You can select among external sources connected to your t V Input t V’s input jacks. Source list : t V edit name Fm radio 1. Press the menu button to display the menu. Press...
Page 28
Setting the Fm radio You can listen to Fm radio. t V Input Source list : t V 1. Press the menu button to display the menu. edit name Fm radio Press the ▲ or ▼ button to select "Input",...
Page 29
Setting up Your PC Software (Based on Windows XP) the Windows display-settings for a typical computer are shown below. the actual screens on your PC may be different depending upon your particular ver...
Page 30
Setting up the t V with your PC t V Picture Preset: Press the Sour Ce button to select PC mode. mode : Standard Backlight 1. Press the menu button to display the menu. Contrast 9 Brightness Press th...
Page 31
teletext Feature most television stations provide written information services via teletext. the index page of the teletext service gives you information on how to use the service. In addition, you ca...
Page 32
the teletext pages are organized according to six categories: Part Contents Selected page number. Broadcasting station identity. Current page number or search status. Date and time. Text. Status infor...
Page 33
troubleshooting: Before Contacting Service Personnel No sound or picture. Check that the mains lead has been connected to a wall socket. Check that you have pressed the button on your set. Check...
Page 34
Technical and Environmental Specifications model name la��a��0 Screen Size (Diagonal) 22 inch PC resolution 1360 X 768 @ 60Hz Sound Output 15W X 2 Dimensions (Wx Dxh) Body 572 X 74 X 412 mm With stand...
Page 35
This page is intentionally left blank. BN68-01911A-Eng-1231.indd 33 2009-01-07 �� 7:35:42