Quick User Guide for Toshiba IK-WB11A
Summary
Comprehensive setup guide for Toshiba IP network security cameras. This manual provides step-by-step instructions for connecting the camera via network or direct PC link, addressing required software, wiring standards, and optimal display settings. It enables users to easily manage live viewing, set up advanced alarm notifications, configure presets, and access comprehensive video recording management features. Ideal for IT professionals or security systems administrators setting up robust surveillance networks.
Page 1 Text Content
STOP!�
BEFORE INSTALLING OR CONNECTING IK-WB01A/ IK-WB11A TO
YOUR PC, READ THIS QUICK START GUIDE�
THANK YOU�
TOSHIBA
Quick Start Guide for Network connection The following software must be downloaded and installed before installing the IK-WB01A/11A:�
・Sun Microsystems JAVATM software� o http://www.java.com� ・Internet Explorer TM Version 6.0� o http://www.microsoft.com/windows/ie� ・or Netscape TM Version 7.0� o http://channels.netscape.com/ns/browsers� ・Toshiba Camera Finder software� o http://www.netcam.toshiba.com�
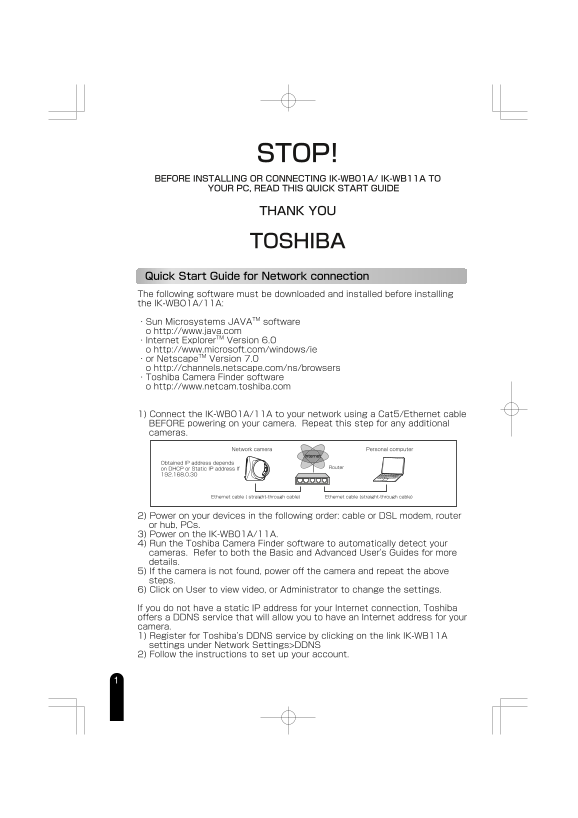
1) Connect the IK-WB01A/11A to your network using a Cat5/Ethernet cable BEFORE powering on your camera. Repeat this step for any additional cameras.�
Network camera �� Personal computer
Internet
Obtained IP address depends �
on DHCP or Static IP address If � Router
Ethernet cable ( straight-through cable) Ethernet cable (straight-through cable) ��
2) Power on your devices in the following order: cable or DSL modem, router or hub, PCs.� 3) Power on the IK-WB01A/11A.� 4) Run the Toshiba Camera Finder software to automatically detect your cameras. Refer to both the Basic and Advanced User's Guides for more details.� 5) If the camera is not found, power off the camera and repeat the above steps.� 6) Click on User to view video, or Administrator to change the settings.�
If you do not have a static IP address for your Internet connection, Toshiba offers a DDNS service that will allow you to have an Internet address for your camera.� 1) Register for Toshiba's DDNS service by clicking on the link IK-WB11A settings under Network Settings>DDNS� 2) Follow the instructions to set up your account.
Page Summary Contents For Quick User Guide for Toshiba IK-WB11A
Manual Details
| Brand | Toshiba |
|---|---|
| Pages | 4 |
| File Size | 984.67 KB |
| Published | May 28, 2026 |
Enter the captcha to get the download link:

Frequently Asked Questions
What cables are needed for PC connection?
For direct PC connection, a Cat5 Crossover cable is required.
How do I set up a camera with an Internet connection (DDNS)?
Register for Toshiba's DDNS service using the link in the Network Settings > DDNS menu and follow setup instructions.
In what order should devices be powered on?
Power on the cable/DSL modem, then the router/hub, and finally the PCs.
What credentials are used to log into the device settings?
Enter 'root' in the Login field and 'ikwb' in the Password field.