# A B C D E F G H I J K L M N O P Q R S T U V W X Y Z

Toshiba IK-VR01A Color Camera Instruction Manual

Summary

This comprehensive manual is designed for system integrators and technical professionals operating the CCD Color Camera IK-VR01A. It provides detailed guidance on installation, optimal performance settings, and maintenance procedures. Inside, you will find critical information covering electrical specifications, operational guidelines, safety precautions, and advanced troubleshooting steps. Use this resource to ensure safe, effective deployment and maximum lifespan of your professional camera system.
📄 Preview PAGE OF 19

Page 1 Text Content

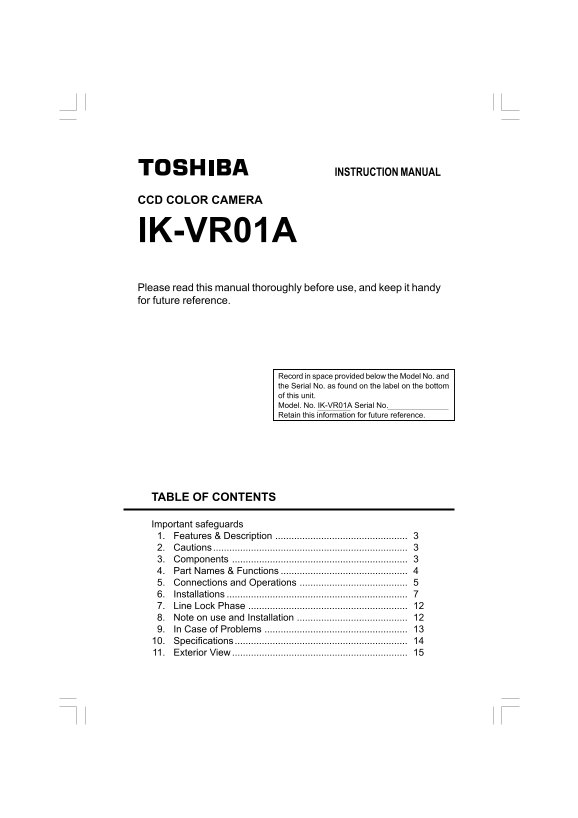
INSTRUCTION MANUAL

CCD COLOR CAMERA

IK-VR01A Please read this manual thoroughly before use, and keep it handy for future reference.

Record in space provided below the Model No. and the Serial No. as found on the label on the bottom of this unit. Model. No. IK-VR01A Serial No. Retain this information for future reference.

TABLE OF CONTENTS

Important safeguards 1. Features & Description 2. Cautions 3. Components 4. Part Names & Functions 5. Connections and Operations 6. Installations 7. Line Lock Phase 8. Note on use and Installation 9. In Case of Problems 10. Specifications 11. Exterior View

Page Summary Contents For Toshiba IK-VR01A Color Camera Instruction Manual

Page 1 INSTRUCTION MANUAL CCD COLOR CAMERA IK-VR01A Please read this manual thoroughly before use, and keep it handy for future reference. Record in space provided below the Model No. and the Serial No. as f...
Page 2 IMPORTANT SAFEGUARDS 1. Read Instructions 13.Lightning All the safety and operating instructions should For added protection for this video product during be read before the product is operated. a lig...
Page 3 The CAUTION label, shown on the left, is attached on the camera. CAUTION TO REDUCE THE RISK OF ELECTRIC SHOCK. DO NOT REMOVE COVER (OR BACK). NO USER SERVICEABLE PARTS INSIDE. REFER SERVICING TO QUALI...
Page 4 1. FEATURES & DESCRIPTION IK-VR01A has the following features: (1) Flush/Surface mount. (2) IP66 Standard for dust and water resistance. (3) Built in vari-focal lens with auto-iris Focal length 3....
Page 5 4. PART NAMES & FUNCTIONS Lens Iris ADJ Mode Setting Switch Counterclockwise: The picture becomes BLC (Backlight Compensation Switch) darker. LL BLC With the switch on, it adjusts Clockwise: The p...
Page 6 5. CONNECTIONS AND OPERATIONS Notes on connecting Power plugs to connected equipment must be disconnected before installation. A 75-ohm coaxial cable (3C-2V or 5C-2V) is required for standard connecti...
Page 7 5-2 Line-Lock Control Matching the vertical synchronization with the power frequency is called the Line- Lock. This function is activated when the LL of Mode Setting Switch is on. When two or more cam...
Page 8 6. INSTALLATIONS Connect the cable of the camera and the cable from the designated power supply with respective connectors. Screws for fixing the camera and mounting base to the ceiling or wall are no...
Page 9 Tilt rotation Horizontal rotation Tilt Lock Pan Lock Focus lock lever WIDE Pan Remove three silver Zoom screws transport protection. lock lever Transport Protection Screws (silver) (2) The lens direct...
Page 10 6-2 Installing the Camera Unit 6-2-1 Installation to Wall or Ceiling with Mounting Base (Surface Mount Installation) Cable access hole ø27 mm When installing the camera unit on the 46 mm wall, mount i...
Page 11 6-2-2 Installation to Junction Box with Bracket (Flush Mount Installation) 46 mm Junction Box 83.5 mm Bracket Screws (not supplied) x4 Note the direction of the bracket, which has two sides. Align the...
Page 12 6-2-3 Change of Dome Cover Screws (x3) Retainer plate Put the protruding side downward. The protruding portion should be set in the groove of the shock damper. Shock damper cushion Note the direction ...
Page 13 7. LINE LOCK PHASE When a video switcher switches two or more cameras, the picture may fluctuate on the video monitor due to the different AC line phase of each camera. In this case, adjust the V PHAS...
Page 14 9. IN CASE OF PROBLEMS Condition Check Points No image Are the camera and connected equipment turned on? Are cables connected correctly? Unnatural color Is the monitor TV adjusted correctly? Is the li...
Page 15 10.SPECIFICATIONS 1. Image System Image Device 1/3” IT CCD Pixel Elements 771 (H) x 492 (V) 2. Electrical TV System 2:1 Interlace, 15.734KHz Horizontal, 59.94Hz Vertical Horizontal Resolution 480 TV l...
Page 16 11. EXTERIOR VIEW unit : mm
Page 17 unit : mm SR 45.5
Page 18 Bracket unit : mm Mounting Base 6- φ 5.5 4-M6 Depth=10

Manual Details

Brand Toshiba
Pages 19
File Size 1.87 MB
Published May 29, 2026
76 views

Enter the captcha to get the download link:

captcha

Frequently Asked Questions

What should I do if my camera image is dark?

Check if the lens or cover are dirty, or if there are large barriers or bright illuminations near the camera. Also verify if the iris adjustment volume is correctly set.

Is it safe to use this camera near water sources like a bathtub or sink?

No, do not use this video product near water-related areas; it must not be used near sinks or tubs.

What are the minimum illumination requirements for operation?

The unit requires a minimum illumination of 0.2 lux when using a clear dome cover and 0.4 lux with a tint dome cover.

What kind of power supply is recommended for this video product?

It should only be operated from the type of power source indicated on the labeling, such as DC12V or AC24V.