Page 1
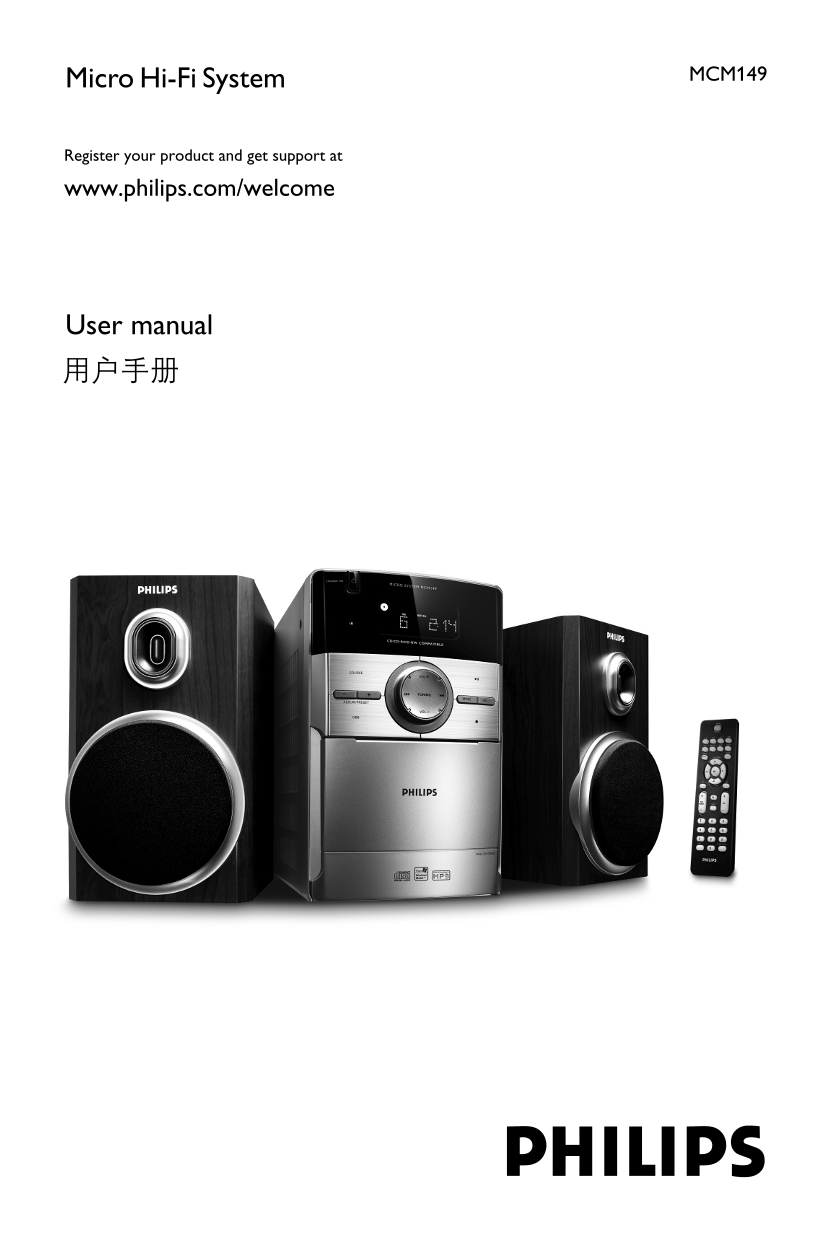
MCM149Micro Hi-Fi System Register your product and get support at www.philips.com/welcome User manual pg001-pg022_MCM149 2007.8.28, 11:20 AM1
Page 2
CAUTION Use of controls or adjustments or performance of procedures other than herein may result in hazardous radiation exposure or other unsafe operation. pg001-pg022_MCM149 2007.8.28, 11:20 AM2
Page 3
ALB/ PRESET PULL TO OPEN 3mm OPEN/CLOSE PROG. CLOCK/DISPLAY STANDBY-ON MICRO SYSTEM MCM149 i R CD/CD-R/CD-RW COMPATIBLE SOURCE VOL TUNING MODE PROG ALBUM/PRESET PULL TO OPEN pg001-pg022_MCM149_98 2007...
Page 4
pg001-pg022_MCM149 12/10/07, 16:304
Page 5
Index English gl is pg001-pg022_MCM149 12/10/07, 16:305
Page 6
Contents General Information Tape Operation / Recording Supplied accessories Tape playback Environmental Information General information on recording Safety Information Synchro start CD recording Hear...
Page 7
General Information Congratulations on your purchase and welcome Install the unit near the AC outlet and where the to Philips! AC power plug can be easily reached. To fully benefit from the support th...
Page 8
General Information Hearing Safety Listen at a moderate volume. Using headphones at a high volume can impair your hearing. This product can produce sounds in decibel ranges that may cause hearing loss...
Page 9
Preparations FM wire antenna speaker speaker (right) (left) AC power cord Rear connections Speakers Connection Front Speakers The type plate is located at the rear of the Connect the speaker wires to ...
Page 10
Preparations Inserting batteries into the Remote Control Open the battery compartment. Insert two R03 or AAA batteries following the indications (+/-) inside the compartment. Close the cover. Using th...
Page 11
Controls (illustrations on page 3) AUX jack (located on the back panel) Controls on the system and connects an external source (3.5 mm socket) remote control HEADPHONE (located on the back panel) STAN...
Page 12
Basic Functions To exit without storing the Plug and Play STANDBY-ON MICRO SYSTEM MCM149 Press 9 on the system. If you do not complete the Plug and Play installation, the function will be restarted wh...
Page 13
CD/MP3 Operation Basic playback controls STANDBY-ON MICRO SYSTEM MCM149 To play a disc Press 2; to star t playback. The current track number and elapsed playing time of the track are displayed during ...
Page 14
CD/MP3 Operation Press TUNING 4 ¢ (on the remote Programming track numbers control ¡ / ™) to select a desired track. Programme in the STOP position to select and Press 2; to start playback. store your...
Page 15
Radio Reception Press ALBUM/PRESET +/- to select the STANDBY-ON MICRO SYSTEM MCM149 preset number where programming should start. Note: If no preset number is selected, default is preset (1) and all y...
Page 16
Tape Operation / Recording The best recording level is set automatically. Altering the VOLUME or DBB controls will not affect the recording in progress. The recording sound quality might differ depend...
Page 17
Tape Operation / Recording Other Connection Recording from the radio Listening to an external source Tune to the desired radio station (see Tuning to You can listen to the sound of the connected radio...
Page 18
Maintenance Cleaning the Cabinet Cleaning the Heads and the Tape Paths Use a soft cloth slightly moistened with a mild To ensure good recording and playback quality, detergent solution. Do not use a s...
Page 19
Clock/Timer Press TIMER again. The clock digits for the minutes flash. STANDBY-ON MICRO SYSTEM MCM149 Press TUNING 4 ¢ (à / á on the remote control) to set the minutes. Press TIMER to confirm the time...
Page 20
Specifications AMPLIFIER SPEAKERS Output power 2 x 2W RMS Bass reflex system Signal-to-noise ratio ≥ 60 d BA (IEC) Dimensions (w x h x d) 134 x 230 x 152 (mm) Frequency response 125 – 16000 Hz Impedan...
Page 21
Troubleshooting WARNING Under no circumstances should you try to repair the system yourself, as this will invalidate the warranty. Do not open the system as there is a risk of electric shock. If a fau...
Page 22
Troubleshooting Problem Solution The remote control does not function Select the source (CD or TUNER, for example) properly. before pressing the function button (É,í,ë). Reduce the distance between th...
Page 23
Meet Philips at the Internet http://www.philips.com MCM149 CLASS 1 English LASER PRODUCT Printed in China PDCC-0838 MCD177_98.TC.indd 76 2008-09-18 9:51:11 AM