Philips CEM250 User Guide (English)
Summary
This user manual provides comprehensive instructions for the Philips CEM250 car audio system, covering radio tuning with RDS, Bluetooth hands-free calling and audio streaming, CD/USB/SD/MMC media playback with shuffle and repeat modes, equalizer and Dynamic Bass Boost sound settings, and system configuration options for in-car entertainment.
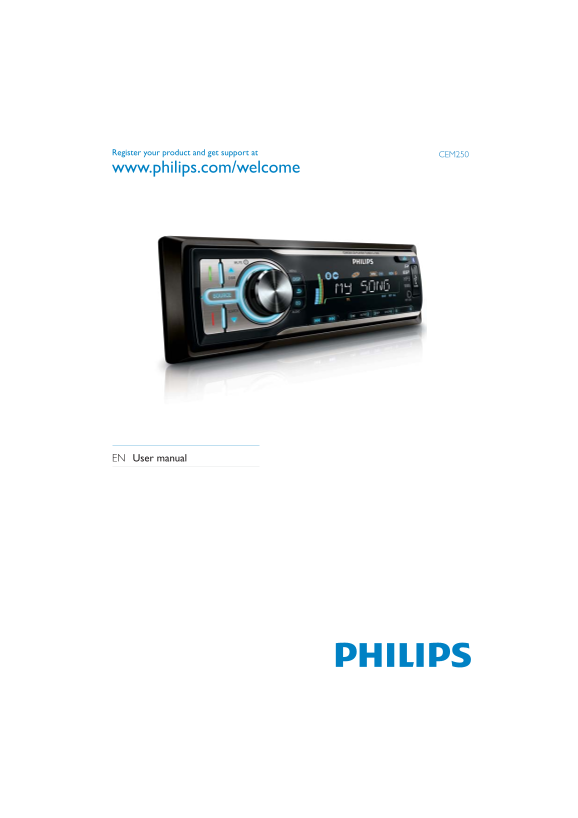
Page 1 Text Content
Register your product and get support at CEM250 www.philips.com/welcome
EN User manual
Page Summary Contents For Philips CEM250 User Guide (English)
Page 1
Register your product and get support at CEM250 www.philips.com/welcome EN User manual
Page 2
7 Adjust sound 25 Contents Adjust volume 25 Mute 25 Turn Dynamic Bass Boost (DBB) on/off 25 1 Important 4 Select preset equalizer 25 Safety 4 Other sound settings 25 Notice 4 8 Adjust system settings ...
Page 3
1 Important Notice Safety The making of unauthorized copies of Read and understand all instructions • copy-protected material, including computer before you use your apparatus. If damage programs, fi ...
Page 4
2009 © Koninklijke Philips Electronics N.V. All rights reserved. Specifi cations are subject to change without notice. Trademarks are the property of Never dispose of your product with other Koninklij...
Page 5
l Quick start guide 2 Your car audio m Standard connector system Congratulations on your purchase, and welcome to Philips! To fully benefi t from the support that Philips offers, register your product...
Page 6
Overview of the main unit (green/red) SOURCE Answer phone (green).• Select audio source.• Dial number (green).• Connect or disconnect bluetooth • View call log (green).• connection. Terminate call (re...
Page 7
MENU / DISP /SEARCH Display radio frequency, clock and • Select tuner band. • radio program type (if available). Store radio stations automatically.• Display track, elapsed time, artist, • Scroll up o...
Page 8
Overview of the remote MENU Access system menu.• control Access RDS (Radio Data System) • menu. AUDIO Access audio setting menu.• 5/6/7/8/9/0+ Select track or preset radio station.• Enter phone number...
Page 9
SEARCH Set radio station memory • automatically. Search a track or folder.• DISP Display radio frequency, clock and • radio program type (if available). Display MP3/WMA elapsed time, last • listened r...
Page 10
Note on the power supply lead (yellow) 3 Get started When you connect other devices to this • apparatus, ensure that the rating of the car circuit is higher than the total fuse value of all the connec...
Page 11
Connection: for cars with ISO connectors Caution Ensure that all loose leads are insulated with • electrical tape. 1 Pull out the ISO connectors from car dashboard and connect them to the bigger end o...
Page 12
Connector Connect to MIC Microphone FRONT LINE Front right Green/black strip Left speaker OUT R speaker (Rear) FRONT LINE Front left White/black strip Left speaker OUT L speaker (Front) REAR LINE Rear...
Page 13
4 Connect the supplied standard connector to the unit. 4 Ensure that car dashboard opening is within these measurements: Mount in the dashboard 1 If the car does not have an on-board drive or navigati...
Page 14
Attach the front panel 5m 1 Attach the trim plate. 6 Place the supplied rubber cushion over the end of the mounting bolt. 2 Insert the right side of the panel in the chassis until it is correctly enga...
Page 15
For fi rst-time use: 1 Remove the protective tab to activate the remote control battery. 2 Open the battery compartment. 3 Insert 1 CR2025 batteries with correct polarity (+/-) as indicated. 4 Close t...
Page 16
4 Listen to radio Store radio stations in memory You can store up to 6 stations in each band. Tune to a radio station 1 Press SOURCE repeatedly to select Store staions automatically Tuner. 1 Press SEA...
Page 17
2 Turn to select [ RDS ON]: WEATHER Weather [RDS] is displayed. FINANCE Finance To turn off the RDS function, repeat • CHILDREN Children’s steps above and choose [RDS OFF]. programs SOCIAL Social Affa...
Page 18
Select alternate frequencies 3 Turn to select a setting: [TA ON]: When there is traffi c If the radio signal come from the current announcement, the unit switches station is poor, you can turn on the ...
Page 19
Sticked it onto the dashboard. • 5 Use bluetooth devices With this car audio system, you can listen to audio fi les from a player or make a call if bluetooth connection is available on your phone or p...
Page 20
To dial a number directly, select [DIAL NUM]. 1 Press 0-9 to enter phone number. Press • to change a number. Press • to reset entered numbers. 2 Press to dial. To use a number in call log or directory...
Page 21
6 Play audio files Play from USB/SD/SDHC/ MMC device Note Ensure that the USB or SD/SDHC/MMC • Ensure that the disc or device contains playable • device contains playable music. fi les. Insert the USB...
Page 22
2 Insert the USB device into the USB Control play socket. The unit starts playing from the USB » To select a folder, press • or . device automatically. To skip to the previous/next track, press • or ....
Page 23
Intro play You can play the fi rst 10 seconds of each track. 1 During play, press INTRO, 2 to select: [INT ON] : After the fi rst 10 seconds of each track have been played, play stops. [INT OFF] : Can...
Page 24
[CLASSIC] (classic) 7 Adjust sound [JAZZ] (jazz) [OPTIMAL] (optimal) Adjust volume Other sound settings 1 Turn clockwise/anticlockwise to increase/decrease volume. You can also edit user preset EQ. 1 ...
Page 25
[BKO 20 S] : Turn off the screen 8 Adjust system automatically 20 seconds after last operation. settings [BKO OFF] : Never turn off the screen. 3 Press to confi rm. Set PIN code You can set a password...
Page 26
Select start volume Turn display scroll on/off Each time you turn on the unit, it can play at the For track information that is longer than the last listened volume or at the preset volume. display pa...
Page 27
Reset You can reset the unit to its default setting. 1 Detach the front panel. 2 Press the reset button by using a ball- point pen or a similar tool. Preset adjustments such as preset » channels and s...
Page 28
9 Additional information A1 A2 A3 A4 A5 A6 A7 A8 B1 B2 B3 B4 B5 B6 B7 B8 Detach the front panel You can detach the front panel to deter theft. 1 Press to release the panel. FUSE 15A 2 Press the left s...
Page 29
Compatible USB devices: 10 Product USB fl ash memory (USB 2.0 or • USB1.1) information USB fl ash players (USB 2.0 or • USB1.1) memory cards (SD / MMC / SDHC)• Note Supported formats: USB or memory fi...
Page 30
Ensure that the CD is a fi nalised CD/• 11 Troubleshooting CD-R/CD-RW. Ensure that the CD is not encoded with • copyright protection technologies. Caution The CD skips tracks Ensure that the CD is not...
Page 31
About Bluetooth device Cannot pair the Bluetooth enabled device with the car audio system. The device does not support the profi les • required for the system. The Bluetooth function of the device is ...
Page 32
12 Glossary MMC Multimedia Card. A type of memory card with fl ash memory. MP3 fi le format with a sound data compression system. MP3 is the abbreviation of Motion Picture Experts Group 1 (or MPEG-1) ...
Page 34
© 2009 Koninklijke Philips Electronics N.V. All rights reserved. Document order number: CEM250_98_UM_V3.0
Manual Details
| Brand | Philips |
|---|---|
| Pages | 34 |
| File Size | 1.68 MB |
| Published | June 17, 2026 |
4 views
Enter the captcha to get the download link:

Frequently Asked Questions
What should I do if my Bluetooth reception is poor?
Move the connecting device closer to the car audio system or remove any obstacles between them.
Where can I find support after purchasing the product?
Register your product and get support at CEM250 www.philips.com/welcome.