Page 1
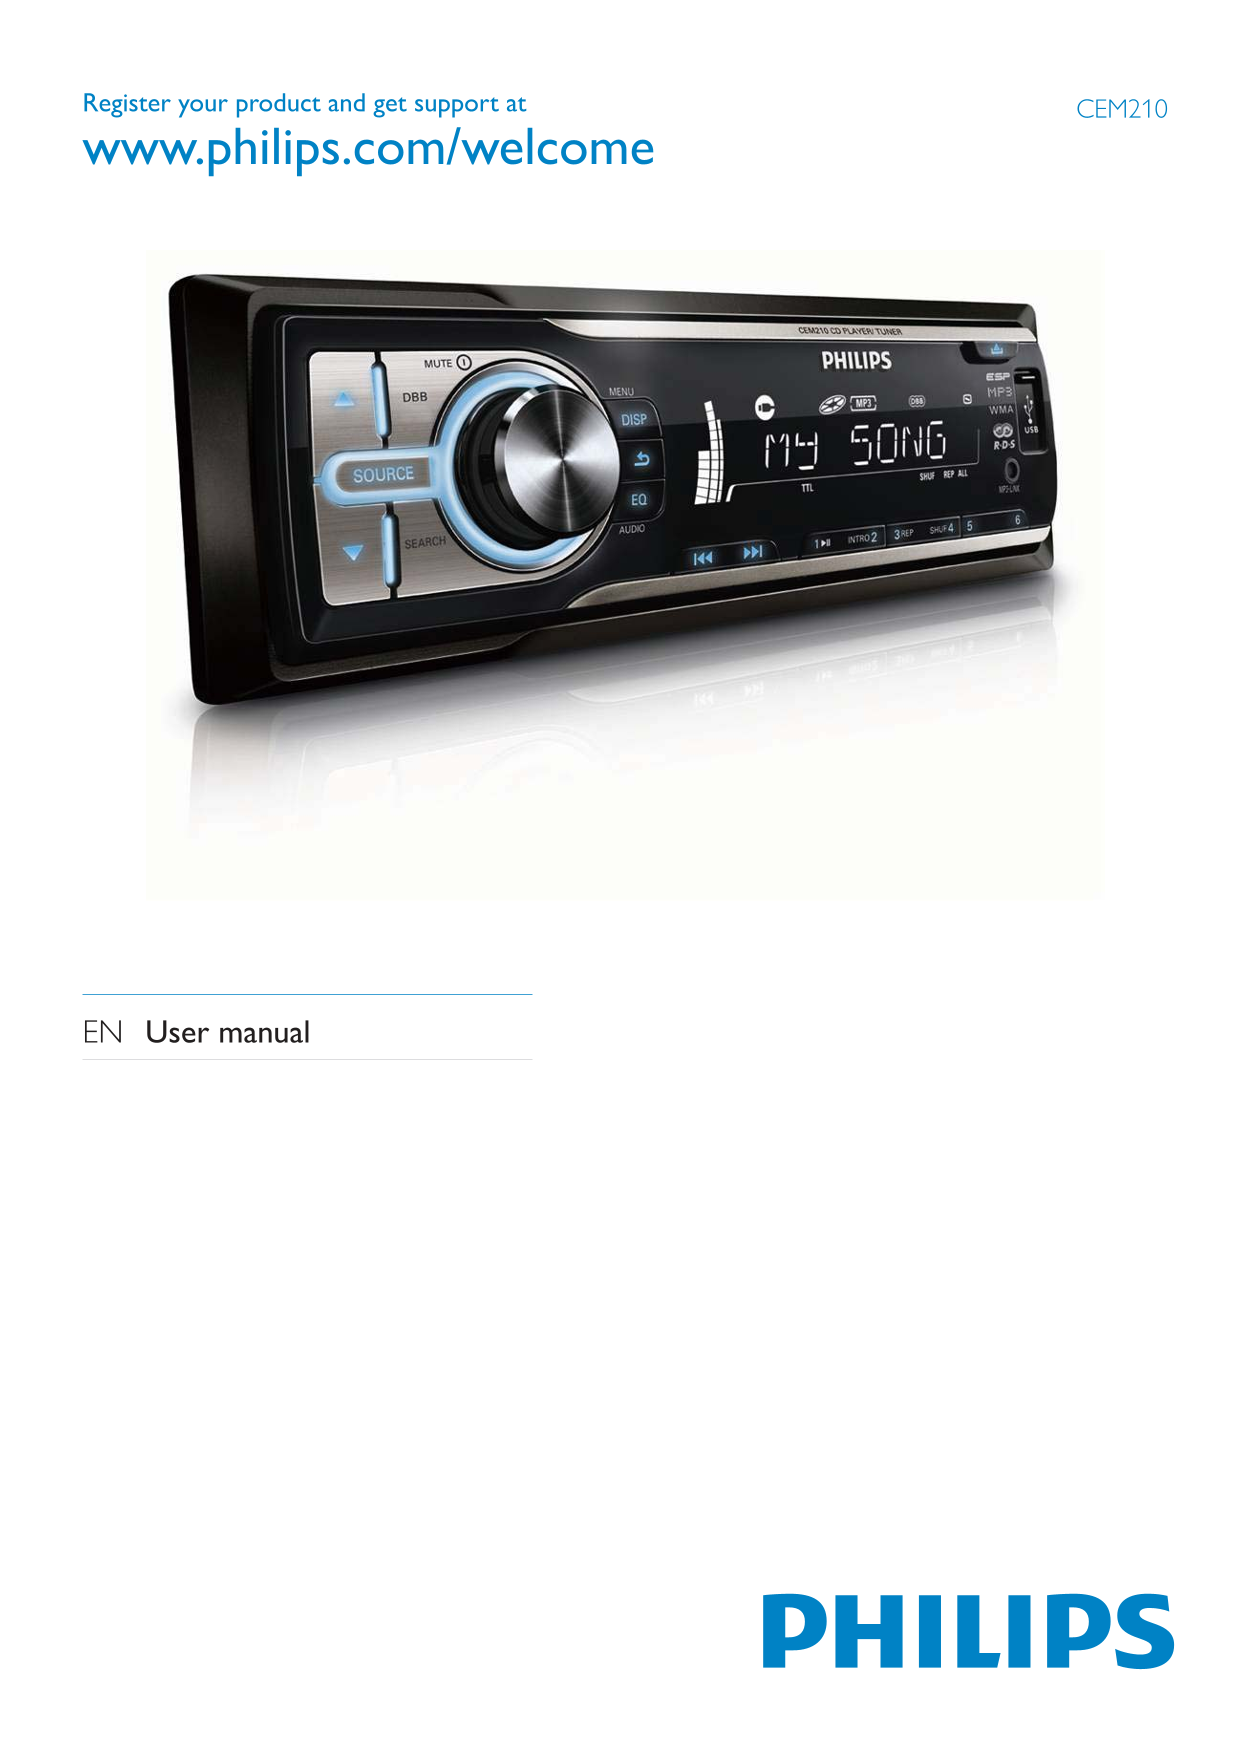
Register your product and get support at CEM210 www.philips.com/welcome EN User manual
Page 2
Adjust system settings Contents Select blackout setting Turn demo mode on/off Select start volume Important Turn beep sound on/off Safety Turn display scroll on/off Notice Select shock-protect setting...
Page 3
Notice Important Safety The making of unauthorized copies of Read and understand all instructions copy-protected material, including computer before you use your apparatus. If damage is caused by fail...
Page 4
notice. Trademarks are the property of Koninklijke Philips Electronics N.V. or their respective owners. Philips reserves the right Never dispose of your product with other to change products at any ti...
Page 5
Your car audio system Congratulations on your purchase, and support that Philips offers, register your product at www.philips.com/welcome. Introduction With the in-car audio system, you can enjoy your...
Page 6
Overview of the main unit MENU / DISP Select tuner band. Display radio frequency, clock and Select MP3/WMA folder. radio program type (if available). Scroll up or down menu. Display track, elapsed tim...
Page 7
USB socket Overview of the remote External device socket control Select preset station no. 6 Select preset station no. 5 SHUF, 4 Select preset station no. 4 3, REP Set repeat play mode. Select preset ...
Page 8
DISP Display radio frequency and clock. Display track, elapsed time, artist, Select preset station no. 6. Select preset station no. 5. SHUF, 4 Select preset station no. 4. 1, Start play. Pause or resu...
Page 9
Note on the power supply lead (yellow) Get started When you connect other devices to this apparatus, ensure that the rating of the car circuit is higher than the total fuse Caution value of all the co...
Page 10
Connection: for cars with ISO connectors Caution Ensure that all loose leads are insulated with electrical tape. Pull out the ISO connectors from car dashboard and connect them to the bigger end of th...
Page 11
Connector Connect to RED Ignition key +12V DC ANTENNA Antenna when ON/ACC REAR LINE Rear right BLUE Motor/electric antenna OUT R speaker relay control lead/ REAR LINE Rear left speaker OUT L BLACK Gro...
Page 12
Remove the two screws on the top of the unit. 183 mm Remove the mounting sleeve with the supplied disassembly tools. Install the sleeve into the dashboard and but by supplied screws. Ensure that car d...
Page 13
Release the panel to engage the left side. Install remote control battery Caution Risk of explosion! Keep batteries away from Risk of decreased battery life! Never mix different brands or types of bat...
Page 14
Turn on Press to turn on the unit. To turn off the unit, press for 3 seconds. Set clock Press MENU/DISP for 3 seconds. Press or repeatedly until the currently time is displayed. Turn clockwise to set ...
Page 15
Store radio stations in Listen to radio memory You can store up to 6 stations in each band. Tune to a radio station Press SOURCE repeatedly to select Store staions automatically Tuner. Press SEARCH Pr...
Page 16
Press MENU/DISP for 3 seconds. SOCIAL Social Affairs Turn to select [RDS ON]: RELIGION Religion The RDS function is turned on.» PHONE IN Phone In TRAVEL Travel LEISURE Leisure Select program type JAZZ...
Page 17
Turn to select a setting. announcement during enjoying music, you function. Press MENU/DISP for 3 seconds. Press or repeatedly until [TA] is displayed. Turn to select a setting: [TA ON] announcement, ...
Page 18
Play audio files Tip If the disc is blocked in the disc compartment, press and hold until the disc comes out. Ensure that the disc or device contains playable Play from USB Play a disc Ensure that the...
Page 19
Remove the USB device Artist Album Press to turn off the unit. Title Remove the USB device. Folder File Clock Control play To select a folder, press or . Intro play To skip to the previous/next track,...
Page 20
Connect external sound source Connect the external sound source to MP3 LINK socket with a 3.5 mm cable. Press SOURCE repeatedly until [MP3 LINK] is displayed. Operate the external component (refer to ...
Page 21
Other sound settings Adjust sound You can also edit user preset EQ. Press EQ/Audio for 3 seconds. Adjust volume Press or repeatedly to select the item to be adjusted: Turn clockwise/anticlockwise to [...
Page 22
Press or repeatedly to until [V - Adjust system LAST] or [V - ADJ] is displayed. settings Turn to select a setting: [V - LAST] : Each time you turn on the unit, the volume remains from its previous us...
Page 23
Preset adjustments such as preset » channels and sound adjustments are If any special characters are present in the erased. MP3 track name or album name, it may not display correctly on the screen bec...
Page 24
Additional information Detach the front panel You can detach the front panel to deter theft. Press to release the panel. FUSE 15A Press the left side of the panel rightward. If the new fuse gets damag...
Page 25
Compatible USB devices: Product with interface reading all speed information support (1.1, 2.0) interface reading all speed support (1.1, 2.0) Supported formats: Product information is subject to chan...
Page 26
The CD skips tracks Troubleshooting Ensure that the CD is not damaged or dirty. Ensure that random mode is deactivated. Disc cannot be ejected Caution Press and hold . Never remove the casing of this ...
Page 27
Glossary system. MP3 is the abbreviation of Motion Picture Experts Group 1 (or MPEG-1) Audio Layer 3. With the MP3 format, one CD-R or CD-RW can contain about 10 times more data than a regular CD. WMA...
Page 28
© 2009 Koninklijke Philips Electronics N.V. All rights reserved. Document order number: CEM210_98_UM_V1.0