Page 1
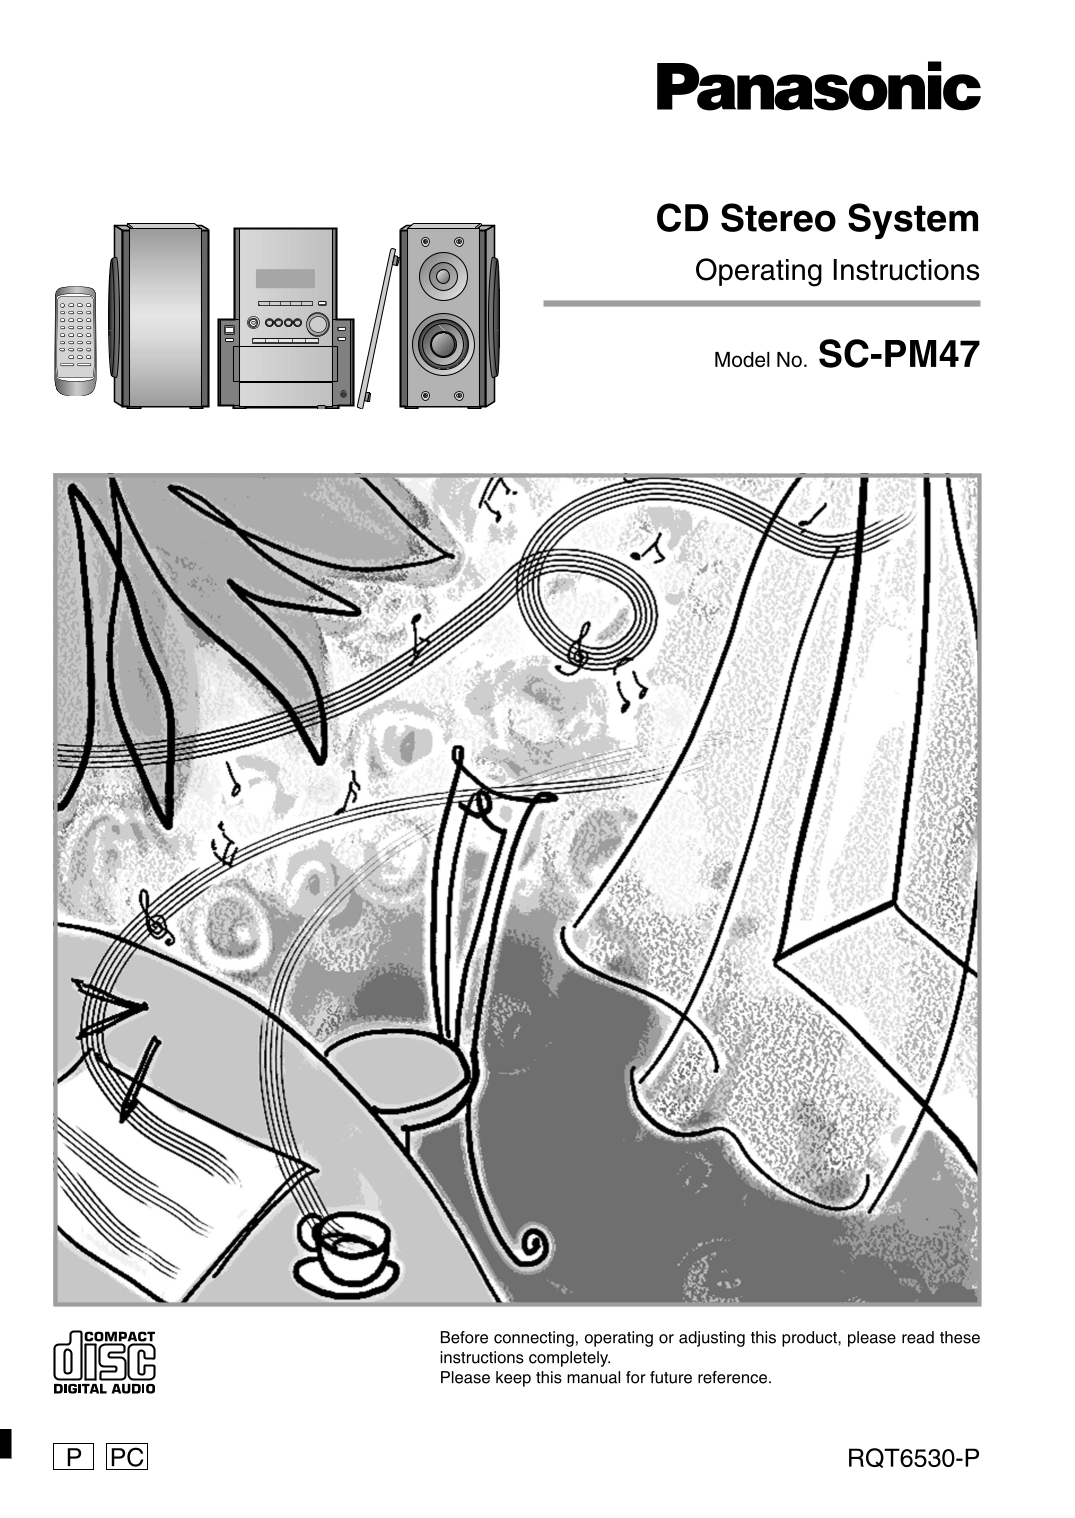
CD Stereo System Operating Instructions Model No. SC-PM47 Before connecting, operating or adjusting this product, please read these instructions completely. Please keep this manual for future referenc...
Page 2
Dear customer Table of contents ef re se Thank you for purchasing this product. For optimum performance and safety, please read these instructions carefully. Before use These operating instructions ar...
Page 3
THE FOLLOWING APPLIES ONLY IN THE U.S.A. Supplied accessories CAUTION: Please check and identify the supplied This equipment has been tested and found to comply accessories. with the limits for a Clas...
Page 4
IMPORTANT SAFETY INSTRUCTIONS ef re se Read these operating instructions carefully before using the unit. Follow the safety instructions on the unit and the safety precautions listed below. Keep these...
Page 5
The remote control Listening caution Battery installation R6, AA, UM-3 EST. 1924 Selecting fine audio equipment such as the unit you’ve just purchased is only the start of your musical enjoyment. Now ...
Page 6
Connections ef re se Plug the AC power supply cord into a household AC outlet only after all other connections have been made. To prepare the AM loop antenna wire and speaker cords, twist the vinyl co...
Page 7
Connections FM outdoor antenna Optional antenna connections (not included) You may need an outdoor antenna if you use this system in a mountainous region or inside a reinforced-concrete building, etc....
Page 8
Front panel controls ef re se Main unit Cassette lid Cassette open button (c OPEN) Tape indicator This indicator changes in the following manner: a Orange (when no cassette is inserted.) b Green (when...
Page 9
Front panel controls Remote Control SLEEP CLOCK/ PLAY/ -AUTO OFF TIMER REC Buttons such as 5 function in exactly same way as the buttons on the main unit. Sleep timer/auto off button (SLEEP, –AUTO OFF...
Page 10
The radio: manual tuning ef re se is te in er at io Press [TUNER/BAND] to select “FM” or “AM”. The unit comes on automatically. Every time you press the button: FM ↔ AM -AUTO OFF SLEEP CLOCK/ TIMER PL...
Page 11
The radio: preset tuning SLEEP CLOCK/ PLAY/ -AUTO OFF TIMER REC By remote control only There are two methods of pre-setting stations. Automatic presetting: All the stations the tuner can DISPLAY DIMME...
Page 12
is te in er at io This unit can play CD-DA (digital audio), MP3 and WMA format audio CD-R and CD-RW that have been finalized (a process that enables CD-R/CD-RW players to play audio CD-R and CD-RW) up...
Page 13
Listening to a CD placed in a DEMO specific tray CD/ Preparation: Press [2/J CD] and then [L/–DEMO]. 1CD CHECK Selecting the desired tray number and placing a CD in it Press [c CD CHANGE]. (Within abo...
Page 14
is te in er at io Example: MP3 Playing MP3/WMA This unit can play MP3 and WMA files recorded on CD-R/ RW with a computer. Files are treated as tracks and folders are treated as albums. 001????.mp3 002...
Page 15
SLEEP CLOCK/ PLAY/ -AUTO OFF TIMER REC Playing MP3/WMA DISPLAY DIMMER PLAY MODE PROGRAM DISPLAY How discs with MP3/WMA differ from CDs AUX TUNER TAPE CD ALBUM /REW/ /FF/ /CLEAR This unit can access up...
Page 16
SLEEP CLOCK/ PLAY/ -AUTO OFF TIMER REC is te in er at io DISC ≥10 Listening to specific CDs and tracks (CD Play Mode function) DISPLAY DIMMER PLAY MODE PROGRAM AUX TUNER TAPE CD By remote control only...
Page 17
SLEEP CLOCK/ PLAY/ -AUTO OFF TIMER REC DISC Direct access play By remote control only DISPLAY DIMMER PLAY MODE PROGRAM DISPLAY PLAY MODE Direct access allows you to start normal play from a specific A...
Page 18
SLEEP CLOCK/ PLAY/ is te in er at io -AUTO OFF TIMER REC DISC Program play By remote control only DISPLAY DIMMER PLAY MODE PROGRAM This function allows you to program up to 24 tracks. AUX TUNER TAPE C...
Page 19
Cassette tapes Press [c OPEN], insert a cassette with the tape facing in. When the button is pressed, the unit comes on OPEN automatically. Make sure the cassette is fully inserted and close the lid b...
Page 20
To protect tapes against further recording Before recording ec rd in er at is io te in er at io Side A Types of tapes which can be recorded correctly The system automatically identifies the type of ta...
Page 21
Recording from the radio Preparation: Do the preparatory steps (\ page 20). Tune to the required station. (\ page 10 or 11) Press [[REC/ J] to start recording. To stop recording Press [L/–DEMO]. To st...
Page 22
Using the built-in sound im er an th er is te in er at io quality settings You can choose one of three types of sound quality. PRESET EQ HEAVY: Adds punch to rock SUPER SOUND EQ CLEAR: Clarifies highe...
Page 23
Auto-off function SLEEP CLOCK/ PLAY/ By remote control only -AUTO OFF TIMER REC DISC SLEEP When CD or tape is selected as the source ≥10 –AUTO OFF To save power, the unit turns off if it is left unuse...
Page 24
Convenient functions im er an th er is te in er at io SLEEP CLOCK/ PLAY/ -AUTO OFF TIMER REC DISC To dim the display panel ≥10 By remote control only By remote control only DISPLAY DIMMER PLAY MODE PR...
Page 25
Using the timers Using the play/record timer SLEEP CLOCK/ PLAY/ -AUTO OFF TIMER REC By remote control only The timer has two functions. It can be set to on at a certain time to wake you up, or it can ...
Page 26
Using the timers im er an th er is te in er at io Using the play/record timer SLEEP CLOCK/ PLAY/ -AUTO OFF TIMER REC DISC CLOCK/ By remote control only ≥10 TIMER To check settings DISPLAY DIMMER PLAY ...
Page 27
Using the timers Using the sleep timer SLEEP CLOCK/ PLAY/ -AUTO OFF TIMER REC SLEEP DISC –AUTO OFF ≥10 By remote control only Set the unit to stop and turn off after a certain time. DISPLAY DIMMER PLA...
Page 28
Troubleshooting guide ef er en ce is te in er at io Before requesting service, make the below checks. If you are in doubt about some of the check points, or if the reme- dies indicated in the chart do...
Page 29
Warranty (ONLY FOR U.S.A.) Panasonic Consumer Electronics Company, Panasonic Sales Company, Division of Matsushita Electric Division of Matsushita Electric Corporation of America of Puerto Rico, Inc. ...
Page 30
Product Service Maintenance ef er en ce is te in er at io 1. Damage requiring service —The unit should be serviced If the surfaces are dirty by qualified service personnel if: (a) The AC power supply ...
Page 31
Specifications AMPLIFIER SECTION CD SECTION Power output Sampling frequency 44.1 k Hz 10% Total harmonic distortion Decoding 16 bit linear 60 Hz–120 Hz, both channels driven Beam source/wavelength Sem...
Page 32
When moving the unit is te in er at io Remove all discs. Press [ I POWER] to turn the unit off. Disconnect the AC power supply cord. As an ENERGY STAR® Partner, Panasonic has determined that this prod...