Page 1
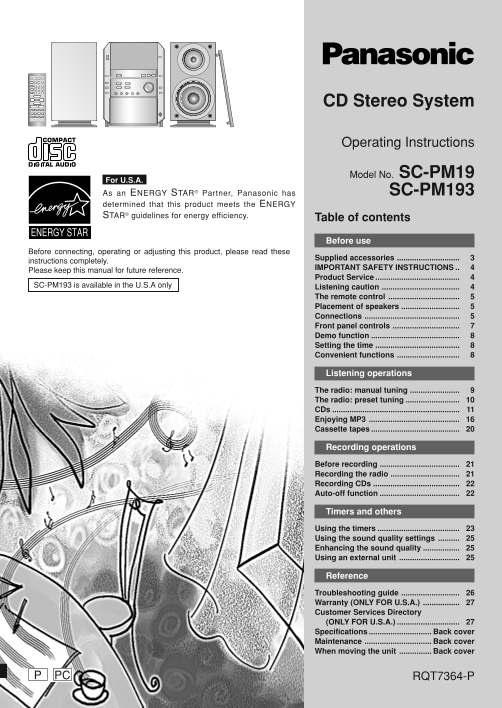
CD Stereo System Operating Instructions Model No. SC-PM19 For U.S.A. As an ENERGY STAR® Partner, Panasonic has SC-PM193 determined that this product meets the ENERGY STAR® guidelines for energy effici...
Page 2
Dear customer THE FOLLOWING APPLIES ONLY IN THE U.S.A. ef re se Thank you for purchasing this product. CAUTION: For optimum performance and safety, please read these instructions carefully. This equip...
Page 3
CAUTION! Supplied accessories THIS PRODUCT UTILIZES A LASER. USE OF CONTROLS OR ADJUSTMENTS OR Please check and identify the supplied PERFORMANCE OF PROCEDURES OTHER THAN accessories. THOSE SPECIFIED ...
Page 4
IMPORTANT SAFETY INSTRUCTIONS ef re se Read these operating instructions carefully before using the 10) Protect the power cord from being walked on or pinched unit. Follow the safety instructions on t...
Page 5
The remote control Batteries Insert so the poles (+ and –) match those in the remote control. Do not use rechargeable type batteries. Do not: mix old and new batteries. use different types at the same...
Page 6
FM ANT Connections ef re se AM ANT Connect the AM loop antenna. Stand the antenna up on its base. Keep loose antenna cord away from other wires and cords. AM loop antenna Connect the speaker cords. Co...
Page 7
Top of the unit Front panel controls Main unit Cassette lid Cassette open button (OPEN 0) Standby/on switch (y¥I POWER) Press to switch the unit from on to standby mode or vice versa. In standby mode,...
Page 8
Demo function ef re se When the unit is first plugged in, a demonstration of its functions may be shown on the display. If the demo setting is off, you can show a demonstration by selecting “DEMO ON”....
Page 9
The radio: manual tuning Press [TUNER/BAND] to select: FM AM Press [PLAY MODE] to select “MANUAL”. PRESET MANUAL Press [4/REW/4] or [3/FF/¢] to select the frequency of the required station. “ST” is di...
Page 10
is te in The radio: preset tuning er at io There are two methods of pre-setting stations: PROGRAM Automatic presetting: Stations the tuner can receive are preset automatically. Manual presetting: You ...
Page 11
CDs This unit can play CD-DA (digital audio) format audio CD-R and CD-RW that have been finalized (a process performed after recording that enables this unit to play audio CD-R and CD- RW). It may not...
Page 12
is te in CDs er at io STOP 7, – DEMO Listening to a CD placed in a specific tray CD CHECK Preparation: Press [CD 3/8] and then [STOP 7, –DEMO]. Placing a CD in your desired tray Press [0 CD CHANGE]. L...
Page 13
Listening to specific CDs and tracks (CD Play Mode function) Mode To play 1-DISC one selected disc. ALL-DISC all loaded discs in succession from the selected disc to the final disc . 1-TRACK one selec...
Page 14
is te in CDs er at io Direct access play Direct access allows you to start normal play from a specific track to the last track on the CD. Press [DISC]. (Within 10 seconds or so) Press [1] ~ [5] to sel...
Page 15
Program play This function allows you to program up to 24 tracks. Press [CD 3/8] and then [7 CLEAR]. Press [PROGRAM]. Press [DISC]. 4/REW/4, 3/FF/¢ (within 10 seconds or so) Press [1] – [5] to select ...
Page 16
is te in Enjoying MP3 er at io This unit allows you to play MP3 files and access up to 999 tracks (files), 255 albums (folders) and 20 sessions. When making MP3 files to play on this unit Disc format ...
Page 17
Enjoying MP3 7 CLEAR INTRO function (Album scan) Listen to the first track of all albums in the current disc for 10 seconds each to find your desired album. Preparation: Press [CD 3/8] and then [7 CLE...
Page 18
is te in Enjoying MP3 er at io 2 • 3 Program play for MP3 You can program up to 24 tracks. Preparation: 7 CLEAR 1.Press [DISC] and (within 10 seconds) [1]–[5] to select the 4/REW/4, disc. 3/FF/¢ 2.Pre...
Page 19
Enjoying MP3 Numeric Entering characters buttons You can enter up to 9 characters for album/track title search. Press the numeric buttons to select the required character. Numbered Characters Numbered...
Page 20
is te in Cassette tapes er at io Top of the unit Press [OPEN 0] to insert a cassette. Close the lid by hand. Press [TAPE 3] to start playback. Repeat step 1 and 2 to play the other side of the tape. A...
Page 21
Before recording Side A Only normal position tapes are recommended. Remove tabs to prevent recording. To record, cover tabs as shown. Volume and sound quality during playback have no effect on recordi...
Page 22
ec rd in er at io Recording CDs Mode To ALBUM 4/REW/4, 1-DISC record one selected disc. ( , ) 3/FF/¢ ALL-DISC record all loaded discs in succession from the selected disc to the final disc. 1-TRACK re...
Page 23
Using the timers Using the play/record timer The timer can be set as an alarm or radio recorder. Play timer and record timer cannot be used together. Preparations: Turn the unit on and set the clock (...
Page 24
Ti er an th er Using the timers To cancel the timer Press [SHIFT] + [˚PLAY/REC] . To change the settings when the unit is on CLOCK/ TIMER To change Action play/record times Repeat steps 1, 2, 3, and 5...
Page 25
Using the sound quality settings You can select sound quality with Preset EQ and improve bass and treble effect with Manual EQ. S. SOUND EQ Preset EQ Press and hold [SOUND] to select “PRESET EQ”. Each...
Page 26
Troubleshooting guide ef er en ce Before requesting service, make the following checks. If you are in doubt about some of the check points, or if the remedies indicated in the chart do not solve the p...
Page 27
Warranty (ONLY FOR U.S.A) Panasonic Consumer Electronics Company, Panasonic Sales Company, Division of Matsushita Electric Division of Matsushita Electric Corporation of America of Puerto Rico, Inc. O...
Page 28
Specifications ef er en ce AMPLIFIER SECTION Digital filter 8 fs Power output D/A converter MASH (1 bit DAC) 10% Total harmonic distortion 60 Hz–3 k Hz, both channels driven Bit rate 32kbps–320kbps (L...