Page 1
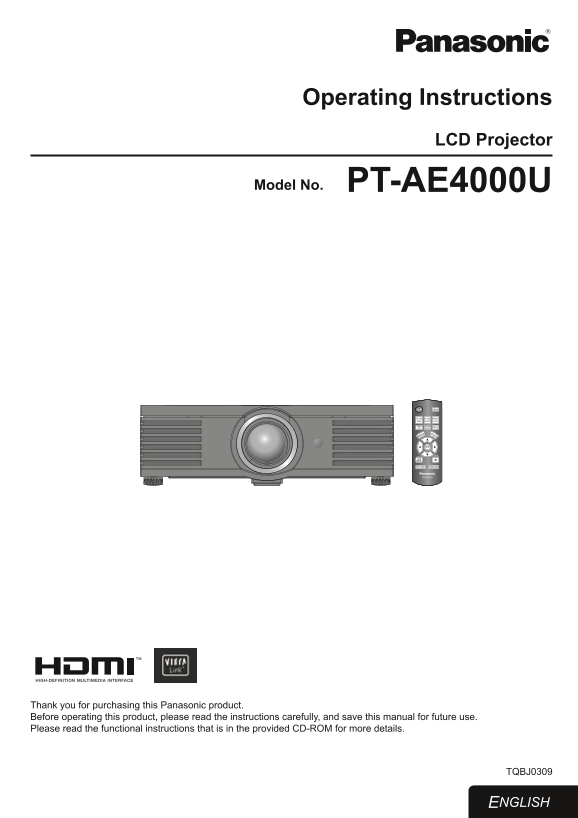
Operating Instructions LCD Projector Model No. PT-AE4000U Thank you for purchasing this Panasonic product. Before operating this product, please read the instructions carefully, and save this manual f...
Page 2
Important Information Important Safety Notice Dear Panasonic Customer: The following information should be read and understood as it provides details, which will enable you to operate the projector in...
Page 3
Important Safety Notice This equipment has been tested and found to comply with the limits for a Class B digital device, pursuant to Part 15 of the FCC Rules. These limits are designed to provide reas...
Page 4
PT-AE4000U includes the Quick steps J following features and many more… Set up your projector1. See “Setting up” on page 14. Lens Memory Memorize focus/zoom position of the lens, for easy transition b...
Page 5
Contents Important Information Settings Important Safety Notice ................................ Menu Navigation .......................................... Precautions with regard to safety .............
Page 6
Precautions with regard to safety ON USE/INSTALLATION WARNING Do not place liquid containers on top of the POWER projector. The wall outlet or the circuit breaker shall If water spills onto the pr...
Page 7
Precautions with regard to safety Do not place your hands or other objects Do not allow children to reach the batteries. close to the air outlet port. The battery can cause death by suffocation if z D...
Page 8
Precautions with regard to safety ON USE/INSTALLATION Cautions when installing Do not put your weight on this projector. You could fall or the projector could break, and injury Do not use under the ...
Page 9
Precautions with regard to safety Optical components It may be necessary to replace the optical components such as liquid crystal panels and polarizing plates In order to get the picture quality i...
Page 10
Precautions with regard to safety Accessories Make sure the following accessories are provided with your projector. Remote control for Safety cable Lens cover (x1) N2QAYB000450 TTRA0141 TXFKK01REGZ At...
Page 11
Preparation About Your Projector Remote control Power button Button backlight While MAIN POWER is on, When any button is pressed, the button switch between standby backlight is lit. Without any operat...
Page 12
About Your Projector Projector body Top and front view J Air exhaust port Lens shift dials • Vertical Lens shift dials • Horizontal Heated air comes out of this opening. Power/LAMP/TEMP indicators Air...
Page 13
About Your Projector Back and bottom view J Air intake port Security lock Top cover Attach the commercial shackle lock Hold the top cover at the back corner which is provided with the projector. and s...
Page 14
Getting Started Setting up Screen size and throw distance You can adjust the projection size with 2 × zoom lens. Calculate and define the throw distance as follows. Projected image Screen Screen All m...
Page 15
Setting up Lens shift and positioning If the projector is not positioned right in front of the center of the screen, you can adjust the projected image position by moving the lens shift dials within t...
Page 16
Basic Operation Switching the projector on/off Power cord Connecting J Make sure the shape of the power plug and the 1. Place the latch to the latch catcher and press until 3. AC IN terminal on the ba...
Page 17
Switching the projector on/off Switching on the projector Power indicator Remove the lens cover from the lens.1. Press the power button.3. Switch 2. MAIN POWER on. The power indicator lights up in gre...
Page 18
Projecting an image Selecting the input signal Switch on the connected devices.1. Press the play button of the required device. NOTE: Press the 2. INPUT SELECT button to select the AUTO SEARCH • is ON...
Page 19
Settings Menu Navigation Menu Navigation Navigating through the MENU Displaying the main menu Operating procedure J Press ▲ ▼ to scroll to the required main menu 1. Press the MENU button to display th...
Page 20
Menu Navigation Menu list The menu options are structured and categorized. You can navigate through the menu with ▲ ▼ ◄ ► buttons. NOTE: The underlined items are factory default settings. • Some defau...
Page 21
Menu Navigation POSITION It is possible to adjust the image size and position. H-POSITION H-AREA POSITION (Default: 0) (Default: 0) V-POSITION V-AREA POSITION (Default: 0) (Default: 0) DOT CLOCK LEFT ...
Page 22
Menu Navigation OPTION It is possible to change the option settings. INPUT GUIDE DELAY TIME 0 SEC. 2 SEC. 4 SEC. 6 SEC. DETAILED OFF 8 SEC. 10 SEC. 20 SEC. 30 SEC. SIMPLE INPUT OSD DESIGN POWER ON/OFF...
Page 23
VIERA Link™ Using the Link functions (VIERA Link) VIERA Link Control J You can control some functions of the connected equipment with this projector remote control. If you cannot operate, check the se...
Page 24
VIERA Link™ Speaker control J You can control the theater speaker with this projector remote control. If you cannot operate, check the settings and the equipment. Access and operate the speaker volume...
Page 25
Maintenance TEMP and LAMP Indicators Managing the indicated problems If a problem should occur with the projector, the LAMP and/or TEMP indicators will inform you. Manage the indicated problems as fol...
Page 26
Care and Replacement Cleaning the projector Before cleaning the projector J Switch off MAIN POWER in proper way and disconnect the power plug from the wall outlet. Unplug all the cables from the proje...
Page 27
Care and Replacement Replacing the lamp unit Before replacing the lamp unit J Switch off MAIN POWER in proper way and disconnect the power plug from the wall outlet. Wait for more than 1 hour and make...
Page 28
Care and Replacement Removing and replacing the lamp unit J Use a Phillips screwdriver to loosen the 3 lamp 1. Replace the new lamp unit while making sure that 4. unit fixing screws until the screws t...
Page 29
Troubleshooting Should any problem persist, contact your dealer. Reference Problem Cause The power cord may not be connected. 16 MAIN POWER is turned off. No electric supply is at the wall outlet. 16 ...
Page 30
Appendix Technical Information Ceiling mount bracket safeguards The projector and the ceiling mount bracket are designed for sufficient safety. However, make sure the safety cable provided with the pr...
Page 31
Technical Information List of compatible signals Scanning Display Dot clock frequency Picture Mode Display resolution frequency Format H quality*2 (dots)*1 (MHz) (k Hz) (Hz) NTSC/NTSC 4.43/ PAL-M/PAL6...
Page 32
Technical Information Specifications Power supply AC 100 - 240 V 50 Hz/60 Hz Less than 240 W Power consumption During standby (when fan is stopped): 0.08 W (at 220 V) Amps 3.0 A - 1.5 A Panel size (di...
Page 33
Technical Information S-VIDEO IN Single-line, Mini DIN 4p Y: 1.0 V [p-p], C: 0.286 V [p-p], 75 Ω VIDEO IN Single-line, RCA pin jack 1.0 V [p-p], 75 Ω Single-line, D-sub HD 15-pin (female) R.G.B. 0.7 V...
Page 34
Technical Information Trademark acknowledgements HDAVI Control™ and VIERA Link™ are trademarks. VGA and XGA are trademarks of International Business Machines Corporation. S-VGA is a registered tradema...
Page 35
Index Accessories .................................. LAMP Remote control ............................. AC IN ........................................... Indicator status ...................... Accesso...
Page 36
P1009-1109B TQBJ0309