Page 1
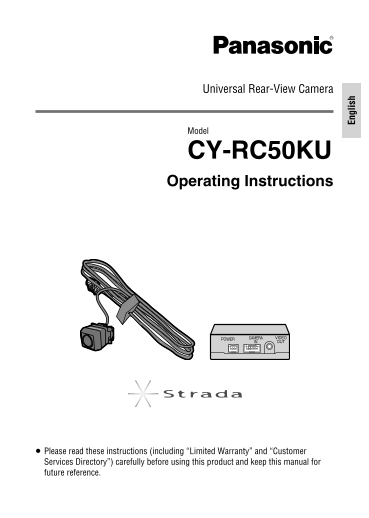
Universal Rear-View Camera Model CY-RC50KU Operating Instructions POWER CAMERA VIDEO IN OUT En gl is Please read these instructions (including “Limited Warranty” and “Customer Services Directory”) car...
Page 2
Safety information Read the operating instructions for the This manual uses pictographs to show you unit and all other components of your car how to use the product safely and to alert navigation syst...
Page 3
Caution Observe the following cautions Do not damage the rear view camera cord. Water and moisture can move along the cord when using this unit. from the damaged area and enter the camera, Do not use ...
Page 4
Troubleshooting If you suspect something wrong Check and take steps as described below. If the described suggestions do not solve the problem, it is recommended to take the unit to your nearest author...
Page 5
Customer services directory U.S.A. CANADA Obtain Product Information and Operating WARRANTY SERVICE Assistance; FOR PRODUCT OPERATION ASSISTANCE, please contact: locate your nearest Dealer or Servicen...
Page 6
Specifi cations Output image ........................................... Wide-angle mirror image (for checking the rear view) Video format ................................................................
Page 7
Warning Observe the following warnings Route cords so that they do not get in the way of occupants driving or getting into or when installing. out of the vehicle. Use on a DC 12 V grounded vehicle. Ro...
Page 8
Notes on use Carefully read the instruction manuals for the connected devices (Car Monitor etc.). Before reversing, always check behind you by eye. This product uses mirrored display (which mimics the...
Page 9
Product servicing If the suggestions in the charts do not solve the problem, we recommend that you take it to your nearest authorized Panasonic Servicenter. The product should be serviced only by a qu...
Page 10
Limited warranty or re-install an installed unit if applicable, travel to and from the sevicer, and loss U.S.A. of media, data or other memory contents. The items listed are not exclusive, but are for...
Page 11
Check the contents Consult your dealer if any item is missing. Figures in ( ) are quantities. Rear view camera Rear view camera Camera bracket Bolts with washer (with Rubber water seal) control unit 4...
Page 12
Cord routing (example) Route the camera cord so that it does not allow rainwater etc. to penetrate. Allow enough slack in the cord so that it is not pulled when the door is opened and closed. Hatchbac...
Page 13
Sedan type Trunk lid Cord clamp Rear view camera Rubber gasket View with trunk lid closed Rubber water seal (Attached to rear view camera.) Rubber water seal (Attached to rear view camera.) Rubber gas...
Page 14
Mounting procedure Rear view camera Wipe away all oil and dirt etc. from the mounting surface.Before mounting Make connections and placement tentatively at fi rst, to check positions. Repeated affi xi...
Page 15
Rear view camera control unit Before mounting Wipe away all oil and dirt etc. from the mounting surface. Mounting on hard surfaces (fl oor Mounting on carpet etc. etc.) Rear view camera control unit R...
Page 16
Wiring procedure Make connections and set and operate acco When connected to a Panasonic Car Monitor etc., the image from the camera is automatically displayed in the screen when the shift lever is mo...
Page 17
ording to the installation instructions for the connected devices. Connection to a Car Navigation System (example) Connect to the wire of the reverse lamp (lamp with a transparent lens, which lights f...
Page 18
Connection to a Car Monitor from another company (example) Connect to the wire of the reverse lamp (lamp with a transparent lens, which lights for reversing) which lights when the vehicle shift lever ...
Page 19
Attach the camera bracket to a glass or painted surface on the vehicle body. Form the camera bracket to Peel the backing paper and press the camera fi t the form of the mounting bracket fi rmly onto t...
Page 20
Memorandum