Page 1
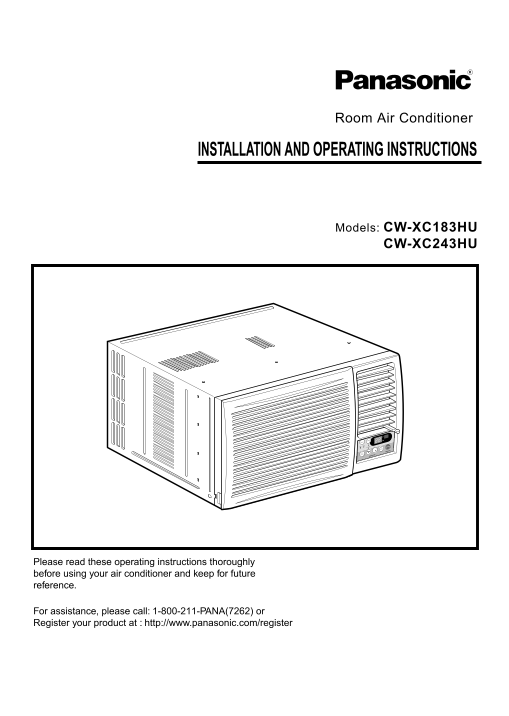
Room Air Conditioner INSTALLATION AND OPERATING INSTRUCTIONS Models: CW-XC183HU CW-XC243HU Please read these operating instructions thoroughly before using your air conditioner and keep for future ref...
Page 2
Be fo re yo ca ll fo rs er vi ce Fe at ur es an In st al la tio Ab ou tth e C on tro lso nt he Air Co nd itio ne Sa fe ty Pr ec au ti Safety Precautions Safety Precautions .............3 FOR YOUR RECO...
Page 3
Safety Precau tio Safety Precautions To prevent injury to the user or other people and property damage, the following instructions must be followed. ■Incorrect operation due to ignoring of instruction...
Page 4
Sa fe ty Pr ec au ti When the air filter is to be Do not clean the air Ventilate well when used removed, do not touch the conditioner with water. together with a stove, etc. metal parts of the unit. •...
Page 5
Aboutthe Controlsonthe Air Conditioner About the Controls on the Air Conditioner Controls REMOTE CONTROLDISPLAY OPERATION TIMER SWING MODE FAN SPEED ECONOMY Precaution: The Remote Control unit will no...
Page 6
Ab ou tth e C on tro lso nt he Air Co nd itio ne Additional controls and important information. Ventilation The ventilation lever must be in the CLOSE position in order to maintain the best cooling co...
Page 7
Aboutthe Controlsonthe Air Conditioner Care and Maintenance TURN THE AIR CONDITIONER OFF AND REMOVE THE PLUG FROM THE POWER OUTLET. Air Filter Cleaning The air filter behind the front grille should be...
Page 8
Fe at ur es an In st al la tio Features Learning parts name prior to installation will help you understand the installation procedure. Features VERTICAL AIR DEFLECTOR (HORIZONTAL LOUVER) HORIZONTAL AI...
Page 9
Features and Installation Installation How to Install the Unit INSIDE OUTSIDE FENCE AWNING 1/4 Bubble RADIATION COOLED AIR About 1/2" Over 20" Level 1. To avoid vibration and noise, make sur...
Page 10
Fe at ur es an In st al la tio Installation Kits Contents Foam strip Foam-PE Top retainer bar (Plain-Back) (Adhesive-Backed) Foam-PE (Adhesive-Backed) Left frame curtain Drain pipe Frame guide(2) Wind...
Page 11
Features and Installation Suggested Tool Requirements SCREWDRIVER(+, -), RULER, KNIFE, HAMMER, PENCIL, LEVEL PREPARATION OF CHASSIS Shipping screws 1. Remove the screws which fasten the cabinet at bot...
Page 12
Fe at ur es an In st al la tio Cabinet Installation 1. Open the window. Mark a line on the center of the window stool between the side Sill Bracket Support window stop moldings. Bracket Loosely attach...
Page 13
Features and Installation 5. Pull each Frame curtain fully to each window sash track, and pull the bottom window sash Screw(Type C) down behind the Top retainer bar until it meets. 6. Attach each Fram...
Page 14
Be fo re yo ca ll fo rs er vi ce Electrical Data(For 115V model only) Line Cord Plug Use Wall Receptacle Power Supply Do not under any circumstances cut or remove the Use 15 AMP. time grounding prong ...
Page 15
Before you callforservice... Before you call for service... Troubleshooting Tips Save time and money! Review the chart below first and you may not need to call for service. Normal Operation • You may ...
Page 16
An tes de av isa ra l S erv ici o T éc nic Ca ra ct er íst ica se In st al ac io In st ru cc io ne sd e F un cio na ie nt Pre cau cio ne s Im po rta nte sd es eg uri da Precauciones Importantes de PAR...
Page 17
Precauciones Importantesdeseguridad Precauciones Importantes de Seguridad Para prevenir tanto lesiones al usuario u otras personas como daños materiales, es preciso seguir estas instrucciones. ■El man...
Page 18
Pre cau cio ne s Im po rta nte sd es eg uri da PRECAUCION Cuando se vaya a quitar el No limpie el acondicionador Ventile bien cuando utilice el filtro de aire no toque las de aire con agua. acondicion...
Page 19
Instruccionesde Funcionam iento Instruccionnes de Funcionamiento Controles CONTROL REMOTODISPLAY OPERATION TIMER SWING MODE FAN SPEED ECONOMY Precaución: El dispositivo de control remoto no funcionará...
Page 20
In st ru cc io ne sd e F un cio na ie nt Controles adicionales e informacion importante. Ventilación La palanca de ventilación debe estar en posición CERRADA para poder mantener las mejores condicione...
Page 21
Instruccionesde Funcionam iento Cuidado y Mantenimiento APAGUE EL AIRE ACONDICIONADO Y SAQUE EL ENCHUFE DEL TOMA CORRIENTE DE LA PARED. Limpieza de filtro de Aire El filtro de aire detrás de la rejill...
Page 22
Ca ra ct er íst ica se In st al ac io Características Aprender el nombre de las partes antes de la instalación le ayudará a entender el proceso de instalación. Características DEFLECTOR DE AIRE HORIZO...
Page 23
Característicase Instalacion Instrucciones de Instalación Elija el major lugar BARDATOLDO RADIACION 1/4 Ampolla AIR DE CALOR ENFRIADO APROXIMADAMENTE / ARRIBA DE 20" Nivel 1. Para evitar vibració...
Page 24
Ca ra ct er íst ica se In st al ac io Contenido del juego de instalación TIRA DE GOMA CINTA DE ESPUMA BARRA DE RETENCION SUPERIOR CINTA DE ESPUMA PANEL GUÍA Tapa del desagüe GUÍA MARCO (2) SOPORTE DE ...
Page 25
Característicase Instalacion Requisitos de las herramientas sugeridas DESARMADOR (+,-), REGLA, CUCHILLO, MARTILO, LAPIZ, NIVEL PREPARACION DEL CHASIS 1. Retire los 4 tornillos que unen el gabinete a l...
Page 26
Ca ra ct er íst ica se In st al ac io Instalacion del Gabinete 1. Abra la ventana. Marque una línea en el MENSULA DEL centro de la repisa de la ventana entre las ALFEIZAR molduras de tope de la ventan...
Page 27
Característicase Instalacion 5. Hale cada panel guía completamente a cada TORNILLO lado de la ventana y repita del paso 2. (TIPO C) 6. Adjunte cada panel guía a cada lado de la ventana usando tornillo...
Page 28
Ca ra ct er íst ica se In st al ac io Datos Electricos (Para modelo de 115V Solamente) Corcón Eléctrico Utilice el enchufe de la pared Consumo de Energía No lo corte bajo ninguna circunstancia Utilice...
Page 29
Before Antesdeavisaral Servicio Técnico you callforservice... Antes de avisar al Servicio Técnico Tips para solucionar problemas (Ahorre temopo y dinero) Cuando tenga algún problema primero consulte e...
Page 30
PRODUCT SPECIFICATION ESPECIFICIONES DEL PRODUCTO Model Modèle CW-XC183HU CW-XC243HU Modelo COOLING CAPACITY Btu/h 8,000 7,800 CAPACITÉ DE REFROIDISSEMENT CAPACIDAD DE ENFRIAMIENTO ELECTRICAL RATING P...
Page 32
Panasonic Consumer Electronics Company, Panasonic Sales Company, Division of Matsushita Electric Corporation Division of Matsushita Electric of Puerto Rico, Inc., of America Ave. 65 de Infanteria, Km....