Page 1
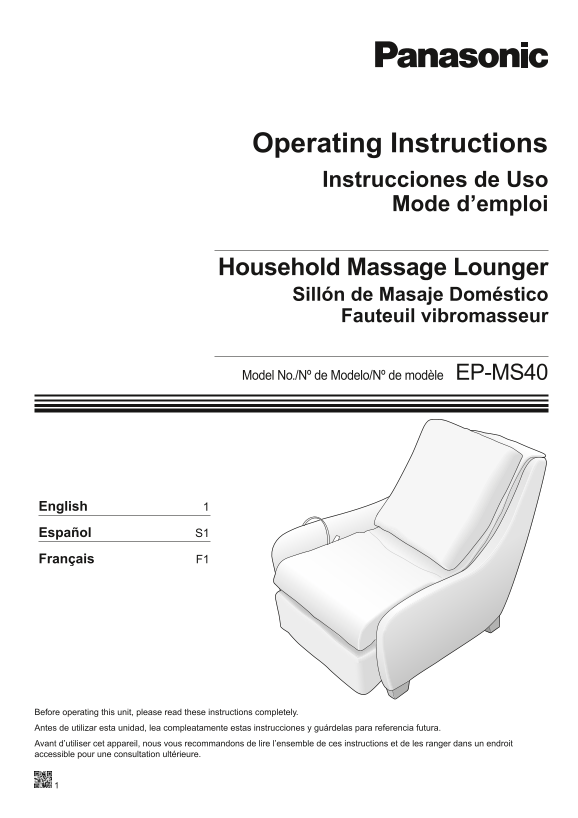
Operating Instructions Instrucciones de Uso Mode d’emploi Household Massage Lounger Sillón de Masaje Doméstico Fauteuil vibromasseur Model No./Nº de Modelo/Nº de modèle EP-MS40 English 1 Español S1 Fr...
Page 2
IMPORTANT SAFETY INSTRUCTIONS Basic precautions should always be followed when using an electrical unit, including the following. Please ensure that you read all instructions before using the Househol...
Page 3
SAFETY PRECAUTIONS CAUTION: To avoid the risk of injury: 1. Persons with any of the conditions listed below or who are undergoing medical treatment or suffer from medical conditions should consult wit...
Page 4
13. Do not drag or push the unit in an installed state. Do not move the unit using the wheels on the floor. (Always place a mat or similar object underneath.) The floor may be damaged. 14. Do not stan...
Page 5
GROUNDING INSTRUCTIONS This product must be grounded. If it should malfunction or break down, grounding provides a path of least resistance for electric current to reduce the risk of electric shock. T...
Page 6
PART NAMES AND FUNCTIONS Main unit Retracted Position of Massage Heads Armrest Leg/foot massage lock release strap Specification Label See page 11. Connector Power Cord Leg/foot massage section Cord l...
Page 7
Controller Display Pre-Programs Display When selecting a program: The mark for the currently selected program flashes. During the massage: The frame of the current program is displayed. Self Program D...
Page 8
SETTING UP THE UNIT Where to use the unit Leg/foot massage section Do not expose the massage lounger to direct sunlight or high Approx. 15.7" (40 cm) temperatures, such as in front of heating sou...
Page 9
2 How to move the unit Since the unit is very heavy [approximately 103.4 lbs (47 kg)], be careful to avoid back injuries. (The unit must be carried by two people.) Put the unit down slowly and careful...
Page 10
3 Attach the controller holder, and insert the controller Velcro fasteners 4 Put the backrest cushion in place 5 Connect the power cord to the unit 1 Check for dirt and damage on appliance inlet of th...
Page 11
BEFORE EVERY MASSAGE (CHECK THE UNIT) 1 Remove the backrest cushion. 2 Make sure there are no tears or rips in the fabric. Unfasten the zippers See Caution No. 10 on page 2. (3 locations) and fold dow...
Page 12
4 Make sure there is no foreign matter between the unit. See Caution No. 11 on page 2. Check the storage section Notes How to take out and store away the leg/ foot massage section 1 Pull up on the leg...
Page 13
6 Be sure to push the power connector all the way into the appliance inlet. 7 Switch on the power supply. See Warning No. 1 on page 1. 1) Insert the power plug into an electrical outlet. 2) Turn the l...
Page 14
If you cannot reach the leg/foot massage section to push it forward Try following A and B Slide your body forward. Use the leg/foot message section without fully extending it and with the calf section...
Page 15
SELECTING A MENU AND STARTING THE MASSAGE Use the unit up to twice per day, for a total of 30 minutes. See Caution No. 5 and 9 on page 2. 1 Press the button to turn on the power. The menu selection bu...
Page 16
USING PRE-PROGRAMS [Program Selection Mode] Press the button to enter the program selection mode for Pre-Programs. (The power will turn off automatically if no operation is performed within 3 minutes ...
Page 17
3) A double beep and the flashing of indicate that the massage heads are being finely adjusted to the shoulder position. [Shoulder Position Adjustment Mode] <How to adjust> Press or to adjust th...
Page 18
To change the content of the massage To select a different program from Pre-Programs Press the button, and select a different program. Upper body massage will stop temporarily. (See page 15.) To chang...
Page 19
USING SELF PROGRAM [Program Selection Mode] Press the button to enter the program selection mode for Self Program. (The power will turn off automatically if no operation is performed within 3 minutes ...
Page 20
When you have selected “Neck and shoulders” The operation to determine your approximate shoulder position will begin. (See page 15.) 1 A double beep and the flashing of indicate that the massage heads...
Page 21
To Customize To adjust program intensity Content of display Intensity Adjustment Press the – + adjustment buttons. To use the leg/foot massage simultaneously Press the button. (See page 23.) To change...
Page 22
USING MANUAL OPERATION See Caution No. 5 on page 2. Press the button. 1 The operation to check you are seated (tapping around shoulders) will begin. Caution Keep your head on the backrest until the ma...
Page 23
To Customize To adjust the position Press or to adjust. Each press moves the massage heads approximately 0.6 in. (1.5 cm). When you hold down the button, the operation will continue until you release ...
Page 24
USING LEG/FOOT MASSAGE FOR CALVES AND SOLES Press the button. The leg/foot massage begins. Press the button again to end the massage. When you are using leg/foot massage only, terminate the massage us...
Page 25
AFTER COMPLETING THE MASSAGE Timer function The massage will complete automatically approximately 15 minutes after the start of operations. Interrupting the massage Press the button. The massage heads...
Page 26
CLEANING AND MAINTENANCE See Danger No. 1 on page 1. Seat Fabric 1 Wipe the unit with a cloth moistened with mild detergent and thoroughly wrung out. Never use chemicals such as thinner, benzine, alco...
Page 27
You can remove the backrest cushion cover and back pad for washing. Backrest cushion cover Back pad How to wash Cautions for washing To hand wash (avoid machine washing) Wash the backrest cushion cove...
Page 28
FITTING AND REMOVING THE BACKREST CUSHION COVER AND BACK PAD Removing Backrest cushion cover Unfasten the rear zipper and remove the cushion. Back pad 1 Unfasten the zippers (3 locations). 2 Unfasten ...
Page 29
Fitting Backrest cushion cover 1 Check the vertical and horizontal orientation of Side view the cushion. Slight concave Downward Narrower at end 2 Fold the cushion forwards and insert it into the zipp...
Page 30
USING AS A LOUNGER 1 Put the backrest cushion in place. The backrest cushion has a predetermined orientation. Slight concave Narrower at end Downward 2 The leg/foot massage section should be stored aw...
Page 31
GENERAL CONTENT OF MASSAGE PROGRAMS Contents of Pre-Programs DEEP Brief knead to Soft shiatsu Knead to fully Knead and tap Gentle knead to Gentle knead Knead all over loosen neck and and kneading loos...
Page 32
TROUBLESHOOTING Problem Cause and Remedy Motor Noises It sounds and feels like the massage heads are straining to get over wrinkles in the cloth. There is operational noise of kneading or tapping acti...
Page 33
Error display Error display Explanations If the shoulder position cannot be correctly determined, this error message is displayed and operations are terminated. If this error occurs even if you are se...