Nikon Capture NX User Guide and Manual
Summary
Master your photography workflow with Capture NX, professional editing software designed for enhancing NEF RAW files. The included manual provides comprehensive guidance on installation (Windows/Mac), advanced tools, and best practices for high-quality image processing. Learn to perform precise, selective adjustments—such as brightening shadows or correcting local color casts independently of the sky or clouds. Ideal for photographers who demand fine control over every detail, ensuring every printed photo achieves ultimate vibrancy and color accuracy.
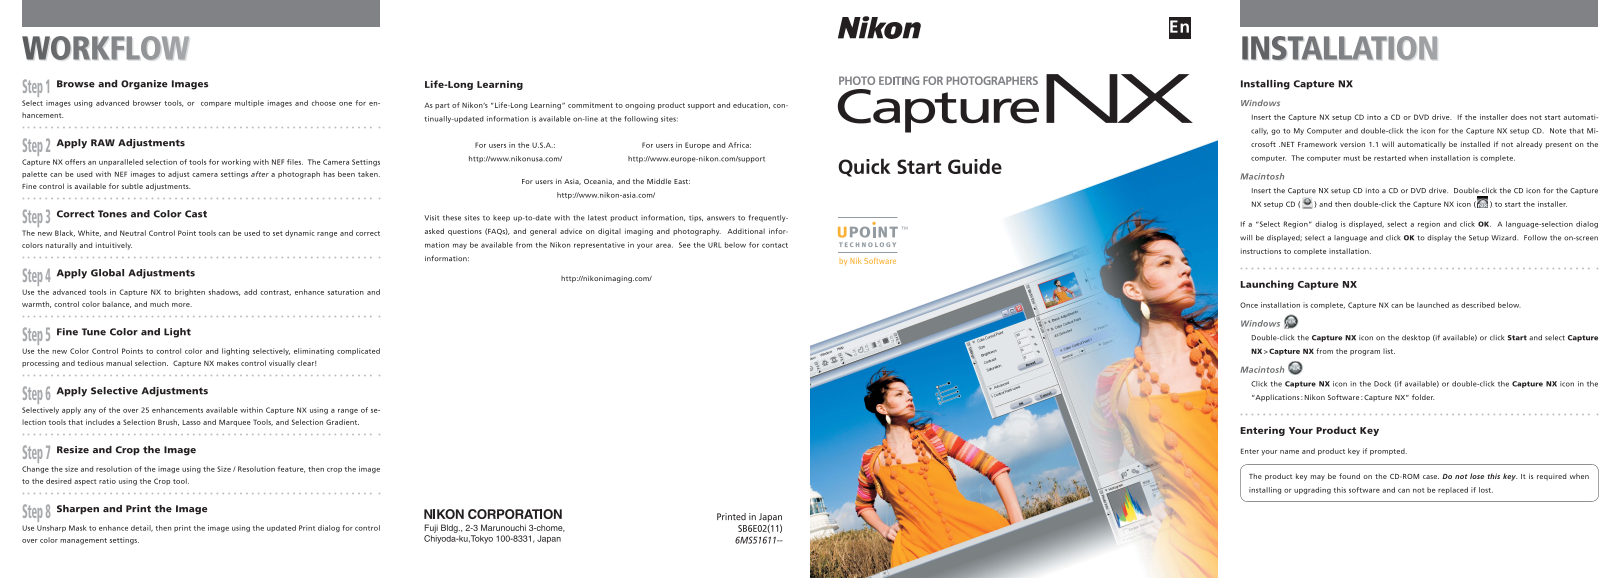
Page 1 Text Content
INSTALLATIONWORKFLOW Life-Long Learning Installing Capture NX
Step 1 Browse and Organize Images Select images using advanced browser tools, or compare multiple images and choose one for en- Windows
As part of Nikon’s “Life-Long Learning” commitment to ongoing prod uct sup port and ed u ca tion, con-
hancement. Insert the Capture NX setup CD into a CD or DVD drive. If the installer does not start automati-
tin u al ly-updated information is avail able on-line at the following sites:
cally, go to My Computer and double-click the icon for the Capture NX setup CD. Note that Mi-
For users in the U.S.A.: For users in Europe and Africa: crosoft .NET Framework version 1.1 will automatically be installed if not already present on the
Step 2 Apply RAW Adjustments
http://www.nikonusa.com/ http://www.europe-nikon.com/support computer. The computer must be restarted when installation is complete.
Capture NX offers an unparalleled selection of tools for working with NEF files. The Camera Settings
Quick Start Guide
palette can be used with NEF images to adjust camera settings after a photograph has been taken.
Macintosh
For users in Asia, Oceania, and the Middle East:
Fine control is available for subtle adjustments.
Insert the Capture NX setup CD into a CD or DVD drive. Double-click the CD icon for the Capture
http://www.nikon-asia.com/
NX setup CD ( ) and then double-click the Capture NX icon ( ) to start the installer.
Visit these sites to keep up-to-date with the latest product in for ma tion, tips, an swers to fre quent ly-
Step 3 Correct Tones and Color Cast
If a “Select Region” dialog is displayed, select a region and click OK. A language-selection dialog
The new Black, White, and Neutral Control Point tools can be used to set dynamic range and correct asked ques tions (FAQs), and gen er al advice on digital imaging and pho tog ra phy. Ad di tion al infor-
will be displayed; select a language and click OK to display the Setup Wizard. Follow the on-screen
colors naturally and intuitively. mation may be available from the Nikon rep re sen ta tive in your area. See the URL below for contact
instructions to complete installation.
in for ma tion:
Step 4 Apply Global Adjustments http://nikonimaging.com/
Launching Capture NX
Use the advanced tools in Capture NX to brighten shadows, add contrast, enhance saturation and warmth, control color balance, and much more. Once installation is complete, Capture NX can be launched as described below.
Windows Step 5 Fine Tune Color and Light Double-click the Capture NX icon on the desktop (if available) or click Start and select Capture
Use the new Color Control Points to control color and lighting selectively, eliminating complicated NX > Capture NX from the program list. processing and tedious manual selection. Capture NX makes control visually clear!
Macintosh Click the Capture NX icon in the Dock (if available) or double-click the Capture NX icon in the Step 6 Apply Selective Adjustments “Applications : Nikon Software : Capture NX” folder.
Selectively apply any of the over 25 enhancements available within Capture NX using a range of se- lection tools that includes a Selection Brush, Lasso and Marquee Tools, and Selection Gradient.
Entering Your Product Key
Enter your name and product key if prompted.
Step 7 Resize and Crop the Image Change the size and resolution of the image using the Size / Resolution feature, then crop the image
The product key may be found on the CD-ROM case. Do not lose this key. It is required when
to the desired aspect ratio using the Crop tool.
installing or upgrading this software and can not be replaced if lost.
Step 8 Sharpen and Print the Image Printed in Japan Use Unsharp Mask to enhance detail, then print the image using the updated Print dialog for control SB6E02(11) over color management settings. 6MS51611--
Page Summary Contents For Nikon Capture NX User Guide and Manual
Manual Details
| Brand | Nikon |
|---|---|
| Pages | 2 |
| File Size | 929.93 KB |
| Published | June 01, 2026 |
Enter the captcha to get the download link:

Frequently Asked Questions
How do I start installing Capture NX on Windows or Mac?
Insert the setup CD, then double-click the icon ('Capture NX' or 'Setup CD') according to your operating system and region-specific instructions.
What must I do after completing the installation of Capture NX?
The computer must be restarted when the installation process is finished.
Can I adjust an image's dynamic range precisely in Capture NX?
Yes, use the new Black, White, and Neutral Control Point tools to set dynamic range and correct colors naturally and intuitively.
How does Capture NX handle multiple revisions or changes made to an image?
Changes are tracked in the central Edit List, which records all modifications in chronological order for review.