Page 1
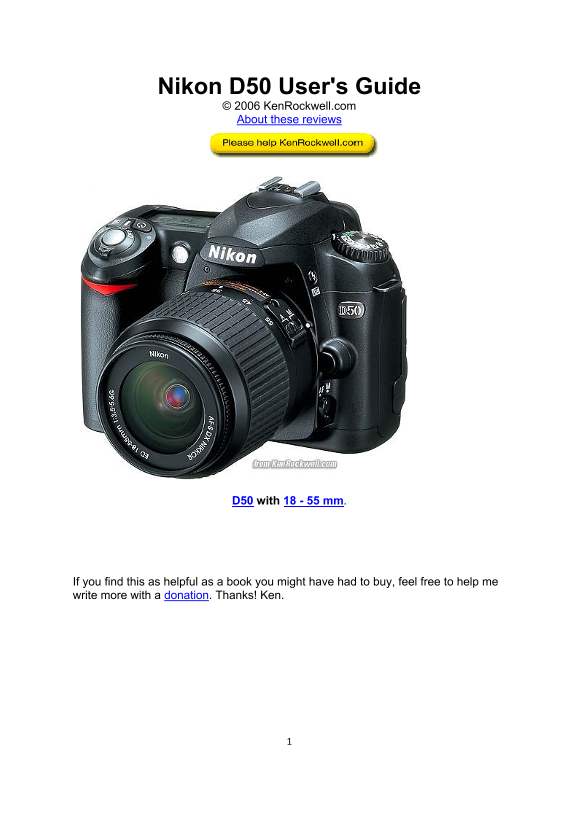
Nikon D50 User's Guide © 2006 Ken Rockwell.com About these reviews D50 with 18 - 55 mm. If you find this as helpful as a book you might have had to buy, feel free to help me write more with a donation...
Page 2
Nikon D50 User’s Guide Table of Contents INTRODUCTION 2 CONTROLS (every button and knob) FRONT 5 TOP PANEL 7 BACK 8 MENUS (every menu item in detail) PLAYBACK 10 SHOOTING 11 CUSTOM SETTINGS 14 SETUP 1...
Page 3
BASICS: CAMERA Many of these adjustments require you to be in be in the P, S, A or M exposure modes. You set that on the top dial. The cute preset modes often lock out some adjustments. I leave most s...
Page 4
I avoid FINE JPG because NORM gives me the same results, with half the file size. If I shot FINE I might run out of room on a card and miss a shot. Missing a shot is a very visible defect, and I see n...
Page 5
CONTROLS: FRONT of CAMERA Focus Mode (the little lever at the bottom of the lens marked AF and M): I set it to AF. This means Auto Focus. M means manual focus. In manual focus you have to twist the fo...
Page 6
I usually use Normal mode, since if I don't I can get some scary long exposures if I'm not expecting them in the dark. Red-Eye (eyeball icon): I never use this. It shines an obnoxious light in your su...
Page 7
firmware. No big deal. In REAR the D50's exposure setting in Program mode chooses slower shutter speeds and small apertures if you're in daylight. CONTROLS AND SETTINGS: TOP PANEL From left to right: ...
Page 8
CONTROLS and SETTINGS: BACK of CAMERA From left to right: Rectangles (also doubles as one of the two Green Dot * buttons): This controls the frame advance mode. You hold this and spin the rear control...
Page 9
If "Gd" flashes you're good. If "n G" (no good) flashes, try again. You can cheat (I do) and point the camera at a broad light source, like a fluorescent fixture, and get great res...
Page 10
MENUS: PLAYBACK MENU ("[ > ]" icon) back to top Press MENU and then select the "[ > ] " (play) icon to get into the play menu. Delete: This is helpful if you want to delete a...
Page 11
MENUS: SHOOTING MENU (camera icon) Press MENU and then select the camera (shooting) icon to get to the shooting menu. OPTIMIZE IMAGE: This is where you can program the look of an image. You can mimic ...
Page 12
Optimize Image Custom Settings As mentioned on the first page, I prefer the vivid color I get from Fuji's Velvia 50 film, so I tweak the D50 to give color as vivid as I can get. To do this I go to MEN...
Page 13
Mode IIIa is secret code for a standard s RGB mode which gives bolder color. I use this all the time. No, I have no idea how Nikon cooked up these numeric designations. Saturation is the vividness of ...
Page 14
ISO: This duplicates the ISO button. I only use this menu if I want to see this on the back of the camera instead of the top LCD. I explain the buttons duplicated by these menus here. (see “back of ca...
Page 15
mode for a few seconds after each shot. Because of this I make a habit of tapping the shutter button to return to shooting mode before I make any ISO, WB or QUAL adjustments. Otherwise I often would c...
Page 16
14: AE-L/AF-L: This sets what the AE-L AF-L button locks when held, and how. I leave mine in AE lock only, since in AF-S the AF locks when I press the shutter half way. I use this lock in strong backl...
Page 17
19: Self Timer: I leave it at 2 seconds, since I use the self timer to replace a cable release. Set it to 10 seconds (default) for enough time to run to get into a picture. You can set it to 2, 5, 10 ...
Page 18
it won't attach, and if you forget to hit DONE it will also forget everything you just did. So Sorry! I don't write the firmware. To edit or remove a character, select it in the Input Comment screen b...
Page 19
Someday the camera's firmware will work properly and rotate the image itself, but no camera does that yet. That's It! Enjoy! If you find this as helpful as a book you might have had to buy, feel free ...