NETGEAR WNDA3100v2 Installation Guide
Summary
This NETGEAR RangeMax Dual Band Wireless-N USB Adapter provides reliable Wi-Fi connectivity for Windows users needing a stable wireless connection. The manual offers comprehensive setup guides using the intuitive Smart Wizard or WPS protocols, ensuring quick installation to any router environment. It also details signal strength optimization and firmware update procedures, helping you maintain consistent network performance whether connecting manually or through automated WPS methods.
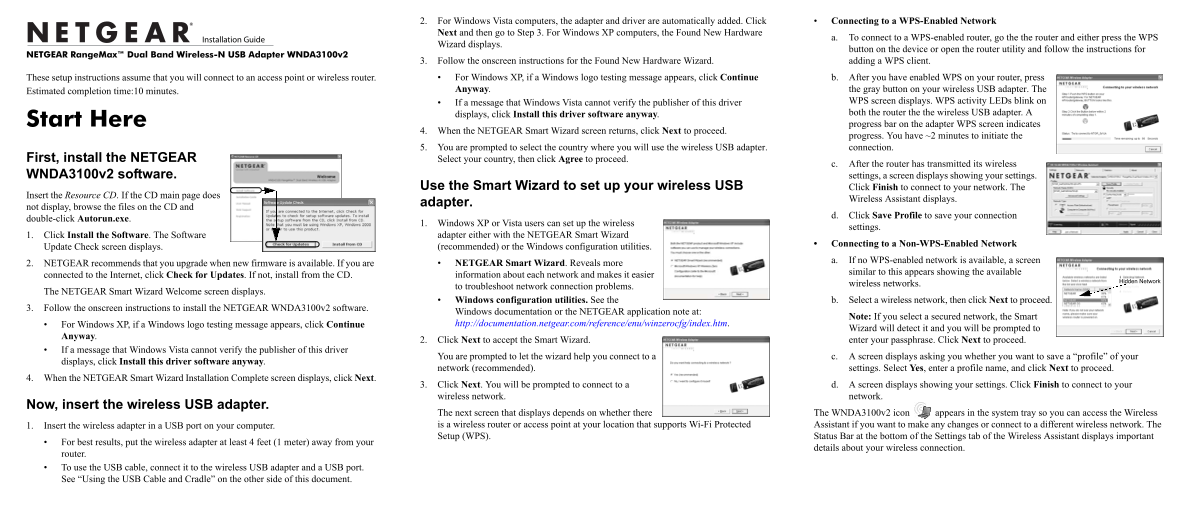
Page 1 Text Content
2. For Windows Vista computers, the adapter and driver are automatically added. Click Connecting to a WPS-Enabled Network Next and then go to Step 3. For Windows XP computers, the Found New Hardware
a. To connect to a WPS-enabled router, go the the router and either press the WPS
Wizard displays.
button on the device or open the router utility and follow the instructions for
NETGEAR Range Max™ Dual Band Wireless-N USB Adapter WNDA3100v2
3. Follow the onscreen instructions for the Found New Hardware Wizard. adding a WPS client. These setup instructions assume that you will connect to an access point or wireless router. For Windows XP, if a Windows logo testing message appears, click Continue b. After you have enabled WPS on your router, press Estimated completion time:10 minutes. Anyway. the gray button on your wireless USB adapter. The
If a message that Windows Vista cannot verify the publisher of this driver WPS screen displays. WPS activity LEDs blink on displays, click Install this driver software anyway. both the router the the wireless USB adapter. A
Start Here progress bar on the adapter WPS screen indicates
4. When the NETGEAR Smart Wizard screen returns, click Next to proceed.
progress. You have ~2 minutes to initiate the
5. You are prompted to select the country where you will use the wireless USB adapter. connection.
First, install the NETGEAR Select your country, then click Agree to proceed.
c. After the router has transmitted its wireless
WNDA3100v2 software. settings, a screen displays showing your settings.
Use the Smart Wizard to set up your wireless USB Click Finish to connect to your network. The
Insert the Resource CD. If the CD main page does
Wireless Assistant displays.
adapter.
not display, browse the files on the CD and
d. Click Save Profile to save your connection
double-click Autorun.exe.
1. Windows XP or Vista users can set up the wireless
settings.
1. Click Install the Software. The Software adapter either with the NETGEAR Smart Wizard
Connecting to a Non-WPS-Enabled Network
Update Check screen displays. (recommended) or the Windows configuration utilities.
a. If no WPS-enabled network is available, a screen
2. NETGEAR recommends that you upgrade when new firmware is available. If you are NETGEAR Smart Wizard. Reveals more
similar to this appears showing the available
connected to the Internet, click Check for Updates. If not, install from the CD. information about each network and makes it easier
Hidden Network
wireless networks.
to troubleshoot network connection problems.
The NETGEAR Smart Wizard Welcome screen displays.
Windows configuration utilities. See the b. Select a wireless network, then click Next to proceed.
3. Follow the onscreen instructions to install the NETGEAR WNDA3100v2 software.
Windows documentation or the NETGEAR application note at:
Note: If you select a secured network, the Smart
For Windows XP, if a Windows logo testing message appears, click Continue http://documentation.netgear.com/reference/enu/winzerocfg/index.htm.
Wizard will detect it and you will be prompted to
Anyway.
2. Click Next to accept the Smart Wizard. enter your passphrase. Click Next to proceed.
If a message that Windows Vista cannot verify the publisher of this driver
You are prompted to let the wizard help you connect to a c. A screen displays asking you whether you want to save a “profile” of your
displays, click Install this driver software anyway.
network (recommended). settings. Select Yes, enter a profile name, and click Next to proceed.
4. When the NETGEAR Smart Wizard Installation Complete screen displays, click Next.
3. Click Next. You will be prompted to connect to a d. A screen displays showing your settings. Click Finish to connect to your wireless network. network.
Now, insert the wireless USB adapter.
The next screen that displays depends on whether there The WNDA3100v2 icon appears in the system tray so you can access the Wireless 1. Insert the wireless adapter in a USB port on your computer. is a wireless router or access point at your location that supports Wi-Fi Protected Assistant if you want to make any changes or connect to a different wireless network. The Setup (WPS). Status Bar at the bottom of the Settings tab of the Wireless Assistant displays important
For best results, put the wireless adapter at least 4 feet (1 meter) away from your
details about your wireless connection.
router. To use the USB cable, connect it to the wireless USB adapter and a USB port. See “Using the USB Cable and Cradle” on the other side of this document.
Page Summary Contents For NETGEAR WNDA3100v2 Installation Guide
Manual Details
| Brand | NETGEAR |
|---|---|
| Pages | 2 |
| File Size | 424.77 KB |
| Published | June 04, 2026 |
Enter the captcha to get the download link:

Frequently Asked Questions
How do I initially set up the wireless adapter using the Smart Wizard?
Insert the USB adapter, run Autorun.exe on the CD, and follow the prompts in the NETGEAR Smart Wizard to select your country and network details.
What steps are needed to connect the adapter using WPS?
Enable WPS on your router, then push the button on the router or open its utility. When prompted, press the corresponding "Anyway" button on the USB adapter.
How can I improve signal strength and reception?
For best results, place the adapter at least 4 feet away from potential interference sources like monitors or cordless phones, and aim for a higher location.
Should I check for firmware updates?
Yes, NETGEAR recommends that users upgrade their firmware whenever new versions are available using the "Check for Updates" function within the Smart Wizard.