Page 1
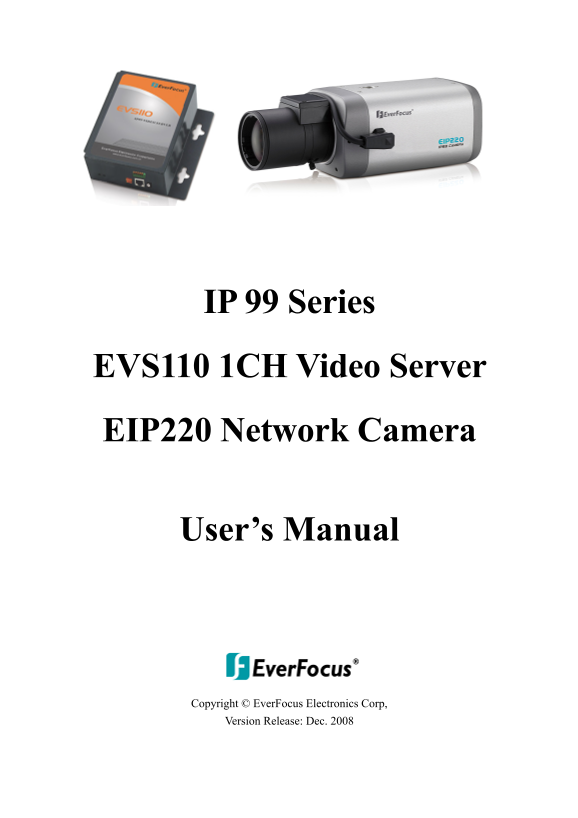
IP 99 Series EVS110 1CH Video Server EIP220 Network Camera User’s Manual Copyright © Ever Focus Electronics Corp, Version Release: Dec. 2008
Page 2
IP99 series Product Name: IP99 Ever Focus Network Cameras Model Number(s): EVS110, EIP220 FCC Notice "Declaration of Conformity Information" This equipment has been tested and found to compl...
Page 3
IP99 series About this document All the safety and operating instructions should be read and followed before the unit is operated. This manual should be retained for future reference. The information ...
Page 4
IP99 series power source ratings. Do not use the appliance in an extreme environment where high temperature or high humidity exists. Use the appliance at temperature within -10℃ ~ 50℃ / 14 ~ 1℉ and a ...
Page 5
IP99 series For example: (This web site may change without notices.) http://www.microsoft.com/downloads
Page 6
IP99 series TABLE OF CONTENTS 1. STARTING THE CAMERA OR VIDEO SERVER ............................................. 7 1.1 INSTALL IP99 SEARCHER IN PC ......................................................
Page 7
IP99 series 3.12 PTZ SETTING ..................................................................................................... 26 3.13 ADMINISTRATOR ..................................................
Page 8
IP99 series 1. Starting the camera or video server 1.1 Install IP99 searcher in PC Though you can simply enter 192.168.1.99 in IP address bar to access camera when you connect to only one IP99 device....
Page 9
IP99 series Note: Please consult your network administrator for avoiding IP address conflict Diagram 1.2 Assign new IP address 1.3 Accessing the camera Double click selected camera in IP99 searcher or...
Page 10
IP99 series In login window, enter user name and password, (default user name is admin, password is 11111111). Click“Confirm"button to enter web window, as shown in diagram 1.5: Diagram 1.5 Camera Web...
Page 11
IP99 series 2.1 Add more videos If you wish to add one video display in the same web page, click “Add New” button, as shown in diagram 2.2: Diagram 2.2 Add video display 2.2 Change video resource You ...
Page 12
IP99 series 2.3. Edit and Change Display Layout 2.3.1 Edit layout If you wish to add more video displays, please click , then interface changes to ,you can freely set the layout of video display in th...
Page 13
IP99 series Diagram 2.5 Layout selection 2.4 Zoom in/zoom out 2.4.1 Integer zoom in/zoom out Click buttons at top right side of the page to zoom in or zoom out the entire screen. 2.3.2 Single display ...
Page 14
IP99 series Diagram 2.6 Record 2.4.2 Stop recording Method 1: Click on button located at top right corner of the image, it will stop recording immediately, button changes to . Method 2:Double click on...
Page 15
IP99 series Click “Search NVR"button to search the NVR device used for archiving recording files. If you do not have NVR device, please ignore this selection. Open the file to be played, click “Play"t...
Page 16
IP99 series Note 2:PTZ control can also be preformed by using PC’s keyboard, please refer to section 5 of 2.4.7 for more details. Note3: PTZ control is functioning only if PTZ Function is set On in PT...
Page 17
IP99 series Diagram 2.10 Display size 2)Change source: Click“Change source"to fill out information for the IP camera to be controlled, as shown in diagram 2.11: Diagram 2.11 Change source First row: C...
Page 18
IP99 series 4)Sound ON:used to enable/disable sound transmission. 5)PTZ(for Video Server only):Click “PTZ"option which allows you to check keyboard keys of PC used to control speed dome, as shown in d...
Page 19
IP99 series Diagram 3.1 status information 3.2 Video/audio setting Select 2. Video & Audio from the drop-down menu at top right corner, as shown in diagram 3.2: Diagram 3.2 Video & Audio setti...
Page 20
IP99 series 2)Resolution: Set record resolution D1: 720x480 (NTSC) / 720x576 (PAL) Half D1: 720x240 (NTSC) / 720x288 (PAL) CIF: 352x240 (NTSC) / 352x288 (PAL) QCIF: 176x120 (NTSC) / 176x144 (PAL) 3)Li...
Page 21
IP99 series Diagram 3.3(b)Device setting Diagram 3.3(b)shows the functions of IP camera, it is for IP camera NOT for Video Server. It has some additional functions compared to other cameras, as shown ...
Page 22
IP99 series selected area, click “Remove region”. Please refer to diagram 3.4: Diagram 3.4 Alarm event 1)Motion detection event: No event, send JPEG file by e-mail or upload to FTP. Note: When sending...
Page 23
IP99 series 3.5 Networking Set camera’s IP address, DNS setting, HTTP port information, as shown in diagram 3.6: Diagaram 3.6 Networking DHCP will automatically get the IP address. If you are not usin...
Page 24
IP99 series 3.6 Wireless LAN Assignment will be made according to local wireless router, as shown in diagram 3.7: Diagram 3.7 Wireless settings 3.7 PPPOE setting Select whether to enable PPPo E functi...
Page 25
IP99 series When network is connected, it will show IP address, default router and DNS server after connection in status section. Enable“Email notification when IP is changed"function, so when the sys...
Page 26
IP99 series Diagram 3.10 SMTP setting Enter user name and password of login mail server. Once SMTP is set, it can be used when snapshot, alarm and PPPo E are enabled. 3.10 FTP setting Select “FTP serv...
Page 27
IP99 series Set FTP server, user name, password, FTP command port and path & file name. User can upload recorded video and event file to FTP server. 3.11 Date & Time setting Set camera’s curre...
Page 28
IP99 series Diagram 3.13 PTZ settings Since IP address is the only fixed one, therefore PTZ address is set as “1”. Protocols are Pelco-D and Pelco-P which are in common use. Note: When using Everfocus...
Page 29
IP99 series Diagram 3.14 Management 3.14 Change password Change user’s login password, as shown in diagram 3.15: Diagram 3.15 change password 3.15 Special setting Set compression, set camera type and ...
Page 30
IP99 series Diagram 3.16 Special setting Default compression rate is 8. The lowest compression rate is 5 for clearer image. compression 15 is the highest rate for smoother image. 3.16 Maintenance Main...
Page 31
IP99 series 4. Frequently Asked Questions 4.1 I have problem recording and playback on Windows Vista. Answer: You need to turn off User Account Control (UAC) 1. Open Control Panel. 2. Under User Accou...
Page 32
IP99 series Ever Focus Electronics Corp. Head Office: China Office: 12F, No.79 Sec. 1 Shin-Tai Wu Road, Room B-05D-1, KESHI PLAZA, Shangdi Hsi-Chi, Taipei, Taiwan Information Industry Base,Haidian TEL...