Page 1
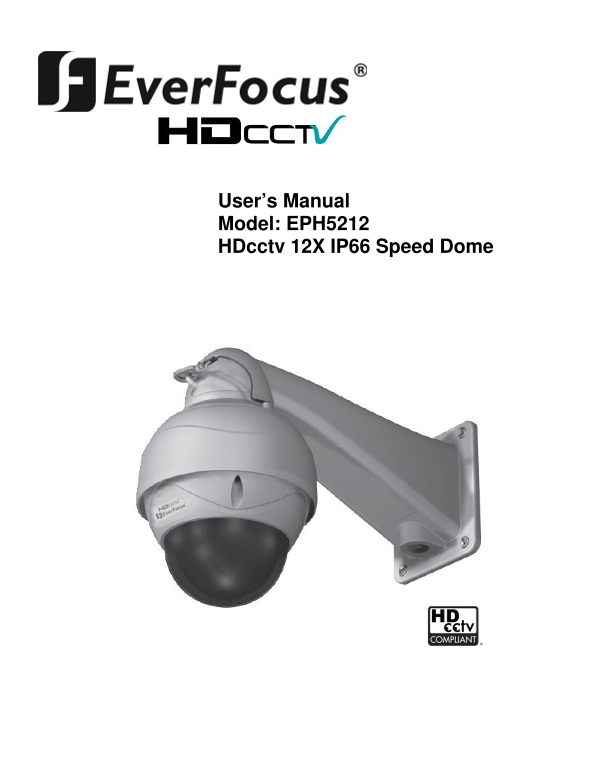
User’s Manual Model: EPH5212 HDcctv 12X IP66 Speed Dome
Page 2
Issue: 1.0 Contents Warnings and Cautions ..........................................................................................................................................3 FCC Compliance sta...
Page 3
Issue: 1.0 Warnings and Cautions If you fail to read this information and handle the product incorrectly, death or serious injury may occur. This device MUST be securely anchored to a solid surface in...
Page 4
Issue: 1.0 Always stop using when the product if it should emit smoke or abnormal heat. Never install the product in area exposed to oil or gas; this PTZ is NOT rated as ‘explosion proof’. Never insta...
Page 5
Issue: 1.0 1. Overview 1.1 Description The EPH5212 is an HDcctv IP66 speed dome camera equipped with autofocus 12X optical zoom plus 10X useable digital zoom with true Day/Night capability, DNR to imp...
Page 6
Issue: 1.0 *The HDcctv Alliance states Look for the unique HDcctv logo to be sure: 100m transmission over even low-grade RG59 Plug-and-play interoperability with other compliant products Forward compa...
Page 7
Issue: 1.0 2. Installation and Connection 2.1 Package Contents
Page 8
Issue: 1.0 2.2 Base Installation - Make holes for mounting and cable hole on the wall where the dome camera is to be installed. Attach the arm firmly with the supplied mounting screws (4) or other mea...
Page 9
Issue: 1.0 2.3 Connection Interface and Wiring cables *Caution Do not connect the power cable until all other connections have been completed. Be sure to remove the shipping foam ring and sheet before...
Page 10
Issue: 1.0 2.4 Setting RS-485 Parameters The device can communicate with external controllers and DVRs by setting the Rotary switches and Dip switches. Refer to the tables below for setting the dome c...
Page 11
Issue: 1.0 SW302 SW301SW303 3. Programming PTZ and Camera Functions and Options [OSD Menu Structure] - Main Menu/Title - Operation Menu
Page 12
Issue: 1.0 -Next Page Continue-
Page 13
Issue: 1.0 This manual is designed to be a reference for the programming and operation of the system. You can see information about features of the dome and commands as well as an operation method. Th...
Page 14
Issue: 1.0 3.1 Getting Started You should install and connect the dome to an interface device before using this operating guide. Refer to {2. Installation and connection of this manual}. Once installe...
Page 15
Issue: 1.0 The title edit menu can be used in the setup for Preset/Pattern/Tour/Scan commonly. - Move the joystick right in Main Menu. The screen appears on the monitor: - Move the joystick right, lef...
Page 16
Issue: 1.0 The system Information displays model name/Running Version/Protocol/Communication Type/Camera ID No./System. It is read only for reference. Use the following steps to display the System Inf...
Page 17
Issue: 1.0 Use this function to initialize all or specific parameters of dome to factory default parameters. - Enter into {Main Menu} - Select {System} using joystick [▶] and move to {Initialize} in t...
Page 18
Issue: 1.0 ▲/▼: move joystick up and down for selecting an item. ◀/▶: move joystick left and right for moving an item. ▶/ [Open]/ [Near]: move joystick right to select or save settings or go to edit p...
Page 19
Issue: 1.0 - Enter into {Main Menu} - Select {Display} and move to {Setup} using joystick [▶] - Use the joystick to move the label up, down, left, and/or right. - Press [Tele] button to edit the posit...
Page 20
Issue: 1.0 3.4.4 Image Setup This menu is for changing displayed image settings. - Enter into {Main Menu} - Select {Display} and move to {Image Setup} using joystick [▶]. - Using joystick [▶], Normal ...
Page 21
Issue: 1.0 ▲/▼: move joystick up and down for selecting an item. ◀/▶: move joystick left and right for moving an item. ▶/ [Open]/ [Near]: move joystick right to select or save settings or go to edit p...
Page 22
Issue: 1.0 This feature automatically processes the viewed image to retain color balance over a color temperature range. The default setting for auto white balance is Auto mode. In Manual mode, you ca...
Page 23
Issue: 1.0 increasing the brightness of the overall screen so that subjects being shot with a loss of dark detail due to backlight will have just the right brightness level. - Enter into {Main Manu} -...
Page 24
Issue: 1.0 Sharpness enhances picture detail by increasing the aperture gain of the camera and sharpening the edges in the picture. Digital Image Stabilizer (DIS) function internally detects shaking o...
Page 25
Issue: 1.0 ▲/▼: move joystick up and down for selecting an item. ◀/▶: move joystick left and right for moving an item. ▶/ [Open]/ [Near]: move joystick right to select or save settings or go to edit p...
Page 26
Issue: 1.0 Proportional Pan/Tilt is possible to set manual speed with Zoom. - Use the joystick [▶] to select On/Off Auto-Flip is a function automatically reversing the image when zoom module camera pa...
Page 27
Issue: 1.0 - Using the joystick [▶] to select Auto (On)/Manual (Off). - Press [Open] button or use joystick to save settings. - Press [Close] button or use joystick to return to previous menu {Dome Mo...
Page 28
Issue: 1.0 ▲/▼: move joystick up and down for selecting an item. ◀/▶: move joystick left and right for moving an item. ▶/ [Open]/ [Near]: move joystick right to select or save settings or go to edit p...
Page 29
Issue: 1.0 ▲/▼: move joystick up and down for selecting an item. ◀/▶: move joystick left and right for moving an item. ▶/ [Open]/ [Near]: move joystick right to select or save settings or go to edit p...
Page 30
Issue: 1.0 ▲/▼: move joystick up and down for selecting an item. ◀/▶: move joystick left and right for moving an item. ▶/ [Open]/ [Near]: move joystick right to select or save settings or go to edit p...
Page 31
Issue: 1.0 ◀/▶: move joystick left and right for moving an item. ▶/ [Open]/ [Near]: move joystick right to select or save settings or go to edit pages. ▶/ [Close]/ [Far]: move joystick to cancel or to...
Page 32
Issue: 1.0 ▶/ [Open]/ [Near]: move joystick right to select or save settings or go to edit pages. ▶/ [Close]/ [Far]: move joystick to cancel or to exit current menu (Back). - Enter into {Main Menu} - ...
Page 33
Issue: 1.0 4. Troubleshooting Guide If problems occur, check the installation of the dome with the instructions in this manual. And refer to this manual for further information. Problem Solution - Ver...
Page 34
Issue: 1.0 5. Specifications 5.1 General Specifications Pickup Device 1/2.8” Sony Exmor R 2.1 megapixel Color Progressive CMOS sensor Pixels 1920x1080 with 2.5µx 2.5µ pixel size Image Area Dimensions ...
Page 35
Issue: 1.0 Alarm Inputs 4 NO/NC programmable trigger inputs; programmable relative priority of alarms Alarm Output Form “C” relay rated at 12VDC/1A Alarm Actions Go to preset, pattern, scan or tour; o...
Page 36
Issue: 1.0 5.2 Dimensions [Unit: mm]
Page 37
Issue: 1.0 APPENDIX. RS-485 Function List Function Key Preset No. Operation e.g. 1 e.g. 2 MOVE to Preset Preset Preset+No.+Go Preset+1+Go SET Preset Preset Preset+No+Set Preset+14+Set Run FLIP Preset ...