Page 1
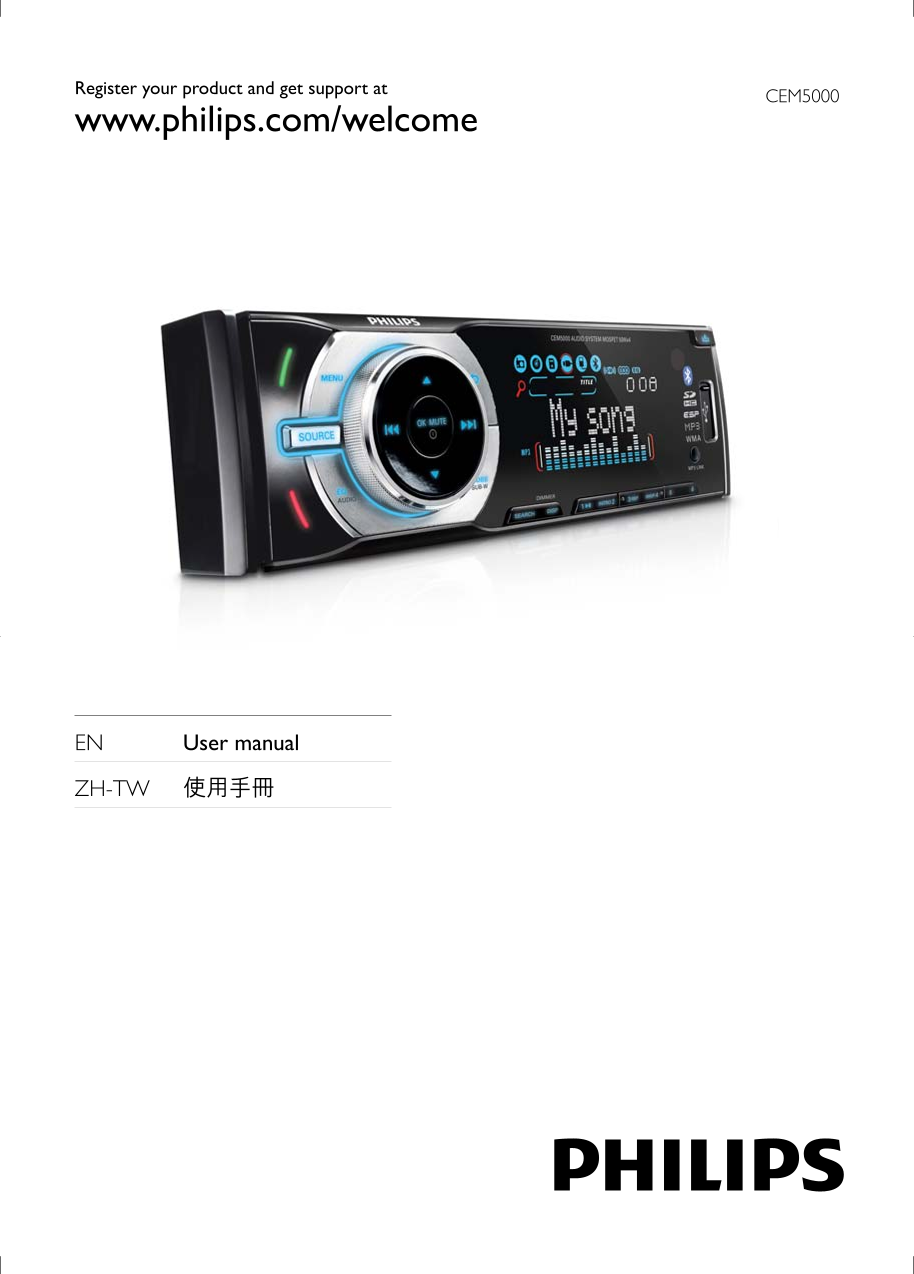
Register your product and get support at CEM5000 www.philips.com/welcome EN User manual ZH-TW
Page 2
7 Adjust sound 23 Contents Adjust volume 23 Mute 23 Turn DBB and subwoofer on/off 23 1 Important 4 Select preset equalizer 23 Safety 4 Other sound settings 23 Notice 4 8 Adjust system settings 24 2 Yo...
Page 3
1 Important Notice Safety The making of unauthorized copies of Read and understand all instructions • copy-protected material, including computer before you use your apparatus. If damage programs, � l...
Page 4
Speci� cations are subject to change without notice. Trademarks are the property of Koninklijke Philips Electronics N.V. or their respective owners. Philips reserves the right Never dispose of your pr...
Page 5
2 Your car audio system Congratulations on your purchase, and welcome to Philips! To fully bene� t from the support that Philips offers, register your product at www.philips.com/welcome. Introduction ...
Page 6
Overview of the main unit ec gf jba SUB-W En gl is a Phone call button with LED indicator Select tuner band. • Green button: press to answer • Select MP3/WMA folder.• phone; Press and hold to transfer...
Page 7
f Rotary encoder knob r SEARCH Adjust volume.• Store radio stations automatically.• Adjust system settings under • Search MP3/WMA• different menus. s DBB / SUB-W Turn on or off Dynamic Bass Boost • Re...
Page 8
Overview of the remote d Numeric pad Enter phone number.• control e * / EQ Input symbol • * . Select EQ setting.• f 1 , Start play.• Pause or resume play.• Select preset station 1.• Select preset 1st ...
Page 9
r #/SUB-W Input symbol #. Turn on or off • subwoofer. s INTRO, 2 Turn intro play on or off.• Select preset station 2.• Enter phone number.• Select preset 2nd quick dial number.• t 3, REP Set repeat pl...
Page 10
Note on the power supply lead (yellow) 3 Get started When you connect other devices to this • apparatus, ensure that the rating of the car circuit is higher than the total fuse value of all the connec...
Page 11
Connect wires: ISO connectors FRONT LINE OUT R FRONT LINE OUT L Caution Ensure that all loose leads are insulated with • electrical tape. 1 Pull out the ISO connectors from the ANTENNA car dashboard a...
Page 12
Purple and Right speaker (Rear) purple/ black wires 3 Connect the supplied standard connector to the unit. Connector Connect to Black wire A metal surface of the car First connect the black ground (ea...
Page 13
If the car battery is not disconnected, • 5 Install the sleeve into the dashboard and to avoid short-circuit, ensure that bend the tabs outward to � x the sleeve. bare wires do not touch each other. 2...
Page 14
5 Push the front side of the panel backward to the main unit a “click” is heard. Turn on 1 Press to turn on the unit. To turn off the unit, press • for 3 seconds. Install remote control battery Cautio...
Page 15
Store staions automatically 4 Listen to radio 1 Press SEARCH on the main unit. The six strongest stations of the » selected band are saved in preset Tune to a radio station channels 1-6 automatically....
Page 16
Select program type JAZZ Jazz Music COUNTRY Country Music Before tuning to RDS stations, you can select program type and let the unit search only for NATION M National Music programs of the selected c...
Page 17
[Connect Ok!] displays if re- 5 Use bluetooth connection is successful. [Connect Fail!] displays if re- devices connection is failed. With this car audio system, you can listen to audio � les from a p...
Page 18
Note Note If no preset quick dial number is stored, • Some mobile phone supports auto playback, • [Empty] displays. no need to start play manually. Some mobile phone needs to open the Media • Players ...
Page 19
6 Play audio files Play from USB/SD/SDHC device Note Ensure that the USB or SD/SDHC device • Ensure that the disc or device contains playable • contains playable music. Insert the USB device Play a di...
Page 20
2 Insert the card into the card slot. 3 Press OK / MUTE to access into the folder. The unit starts playing from the card » Or press and hold • OK / MUTE to play automatically. the � rst � le in the fo...
Page 21
Repeat play During play, press 3, REP repeatedly to select: • [REPEAT B] : play the current track repeatedly. • [REPEAT F] : play all tracks in the current folder repeatedly. • [REPEAT ALL] : play all...
Page 22
7 Adjust sound 2 Press EQ/Audio again repeatedly to select a preset EQ: • [FLAT] (� at) • [POP] (pop) Adjust volume • [USER] (user) • [TECHNO] (techno) Press • VOLUME +/- on the remote control. • [ROC...
Page 23
8 Adjust system Blackout settings You can set the screen to turn off automatically after the unit is idle for 10 or 20 seconds. 1 Press MENU repeatedly until [BLACK OUT] (black out) displays. BT mode ...
Page 24
Reset You can reset the unit to its default setting. 1 Detach the front panel. 2 Press the reset button by using a ball- point pen or a similar tool. Preset adjustments such as preset » channels and s...
Page 25
9 Additional information Detach the front panel You can detach the front panel to deter theft. 1 Press to release the panel. 2 Press the left side of the panel rightward. If the new fuse gets damaged ...
Page 26
10 Product Usable 30 �V sensitivity - information AM(MW) Bluetooth Note Output power 0 d Bm (Class 2) Frequency band 2.4000 GHz - 2.4835 GHz Product information is subject to change • ISM Band without...
Page 27
The CD skips tracks 11 Troubleshooting Ensure that the CD is not damaged or • dirty. Ensure that random mode is deactivated. • Caution Disc cannot be ejected Never remove the casing of this apparatus....
Page 28
Music playback is unavailable on the system even after successful Bluetooth connection. The device cannot be used with the system to play music. The paired mobile phone connects and disconnects consta...
Page 29
12 Glossary MP3 A � le format with a sound data compression system. MP3 is the abbreviation of Motion Picture Experts Group 1 (or MPEG-1) Audio Layer 3. With the MP3 format, one CD-R or CD-RW can cont...
Page 30
© 2010 Koninklijke Philips Electronics N.V. All rights reserved. Document order number: CEM5000_00_UM_V2.0