Page 1
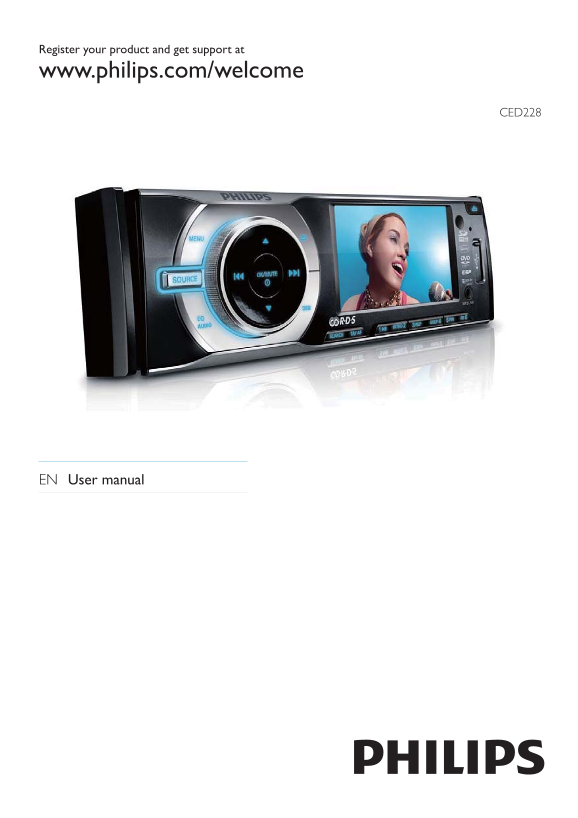
Register your product and get support at www.philips.com/welcome CED228 EN User manual
Page 2
Contents 1 Important 4 6 Adjust settings 24 Safety 4 Adjust sound 24 Notice Adjust system settings 26 Adjust general DVD settings 26 Adjust video DVD settings 27 2 Your car audio system 6 Select langu...
Page 3
Notice 1 Important Safety The making of unauthorized copies of Read and understand all instructions • copy-protected material, including computer before you use the apparatus. If damage programs, fi l...
Page 4
Environmental information All unnecessary packaging has been omitted. We have tried to make the packaging easy to separate into three materials: cardboard (box), polystyrene foam (buffer) and polyethy...
Page 5
What’s in the box 2 Your car audio Check and identify the contents of your system package: Congratulations on your purchase, and welcome to Philips! To fully benefi t from the support that Philips off...
Page 6
Overview of the main unit fbca ged OK /MUTE Turn the unit on or off.• Access the system menu.• Turn mute on or off.• Adjust volume.• Tune for radio station.• Confi rm selection.• Skip/search for track...
Page 7
SOURCE Return to previous menu.• Select audio source.• Stop searching.• u Disc slot Disable screen saver.• f Screen Eject disc.• w SD/MMC card slot Unlock the front panel.• RESET h USB socket Restore ...
Page 8
TITLE SHUF, 4 Access or exit DVD title menu.• Turn random play on or off.• Select preset station no. 4.• SOURCE Select connected device.• Select preset station no. 1• Return to previous menu.• INTRO, ...
Page 9
Note on the power supply lead (yellow) 3 Get started When you connect other devices to this • apparatus, ensure that the rating of the car circuit is higher than the total fuse value of all the connec...
Page 10
Connect wires: ISO connectors 3 Do the other connections, if applicable. Caution Ensure that all loose leads are insulated with • electrical tape. 1 Pull out the ISO connectors from the car dashboard ...
Page 11
2 Check the car’s wiring carefully, then Connector Connect to connect them to the standard connector. Gray and Right speaker (Front) gray/black wires Purple and Right speaker (Rear) purple/black wires...
Page 12
Connect parking brake cable Connect reverse driving cable
Page 13
Attach the front panel 4 Close the front panel. 1 Attach the trim plate. Mount in the dashboard 2 Insert the left side of the panel in the chassis until it is correctly engaged. For proper operation o...
Page 14
2 Ensure that car dashboard opening is within these measurements: 5 Install the sleeve into the dashboard and bend the tabs outward to fi x the sleeve. If the unit is not fi xed by sleeve but • by the...
Page 15
7 Slide the unit into the dashboard until a click sound is heard. 8 Reconnect the negative terminal of the car battery. Turn on 1 Press the knob to turn on the unit. Install remote control battery The...
Page 16
2 On the remote control, press the 4 Play navigation buttons to select [SETTINGS], then press SEL to confi rm. The settiing menu is displayed.» Ensure that the disc or device contains playable music/v...
Page 17
You can play DVD discs with the following region codes: If the disc is blocked in the disc compartment, • DVD region code Countries press and hold until the disc comes out. Asia Pacifi c, Taiwan, Kore...
Page 18
Remove the USB device To skip to the previous/next track, press • or . 1 Press to turn off the unit. To search backward/forward rapidly • 2 Remove the USB device. within the current track, press or fo...
Page 19
For audio disc play Select audio language During play, press 3, REP repeatedly to select: For video discs that contain two or more audio [Rep 1]: play the current track repeatedly. channels. [Rep all]...
Page 20
5 Listen to radio For DVDs, VCDs and picture CDs, you can zoom in and out for video images or pictures. Tune to a radio station 1 Press ZOOM on the remote control repeatedly to select rate. 1 Press SO...
Page 21
Store stations manually 3 Press the navigation buttons to select [Radio] > [Stereo_mono], then press . Tune to the station that you want to store . 2 Press one of the numbered buttons 1 to 6 for ov...
Page 22
Play with RDS Search for an RDS station by PTY information The RDS (Radio Data System) function The PTY (program type) function lets you fi nd operates only in areas with FM stations similar programmi...
Page 23
Item Program type Description 6 Adjust settings DRAMA Radio plays and literature CULTURE Culture, religion and Adjust sound society SCIENCE Science Adjust volume VARIED Entertainment programs 1 Turn c...
Page 24
2 Press or repeatedly to select the item to be adjusted: [BAL] balance range: 10Lto 10R. (L = left speaker, R = right speaker) [FAD]fader range: 10R to 10F. (R = rear speaker, F = front speaker) [SUB]...
Page 25
Adjust system settings [Volume 0 - 47 Set start volume if ADJ value] is selected. 1 Press MENU. [Blackout] [Off] Never turn on the The main menu is displayed.» screen saver. [10s Turn on the screen of...
Page 26
[TV System] [NTSC] Used in the United [6 R] Restricted. States, Canada, Recommend parent to Japan, Mexico, the guide children under Philippines, South 17 to view. Korea, Taiwan, and [7 NC Unsuitable f...
Page 27
Select language 1 Press MENU. 2 Press the navigation buttons to select [SETTINGS], then press to confi rm. 3 Press the navegation buttons to select [Language] , then press . The following options is d...
Page 28
2 Open the panel, then push the right side 7 Others panel toward the left side to disengage it from the chassis. Listen to other devices You can connect an external sound device to the unit. 1 Connect...
Page 29
Default settings Replace fuse Sound System settings settings If there is no power, the fuse may be damaged and need to be replaced. Equalizer User Source Tuner, FM1, 87.5 1 Detach the front panel and ...
Page 30
Tuner 8 Product Frequency range 87.5 - 108.0 MHz information - FM (100k Hz per step in auto search and 50k Hz per step in manual search) Frequency range 522 - 1620 KHz (9 KHz) - AM(MW) 530 - 1710 KHz ...
Page 31
DRM protected WMA fi les (.wav, .m4a, • 9 Troubleshooting .m4p, .mp4, .aac) WMA fi les in Lossless format• ISO9660, Joliet• Maximum title number: 512 (depending • Caution on fi le name length) Maximum...
Page 32
Disc rating exceeds the restric setting. • 10 Glossary Change the rating settings to lower one (see ‘Adjust video DVD settings’ on page 27 ). Disc region code is not compatible with • the unit. Use di...
Page 33
© 2009 Koninklijke Philips Electronics N.V. All rights reserved. CED228_98_UM_V2.1