# A B C D E F G H I J K L M N O P Q R S T U V W X Y Z

Panasonic WV-Q151S Ceiling Mount Bracket Operating Instructions

Summary

This professional ceiling mount bracket is designed specifically for mounting the WV-NS202 network camera in embedded enclosures, making it ideal for ceilings with limited structure. The operating manual provides detailed installation guidelines, extensive safety precautions, and technical specifications necessary for proper setup. It is intended for experienced professionals or dealers who require expert instructions to ensure secure, long-lasting, and safe mounting of the camera system.
📄 Preview 📖 Table of Contents Contents PAGE OF 12

Page 1 Text Content

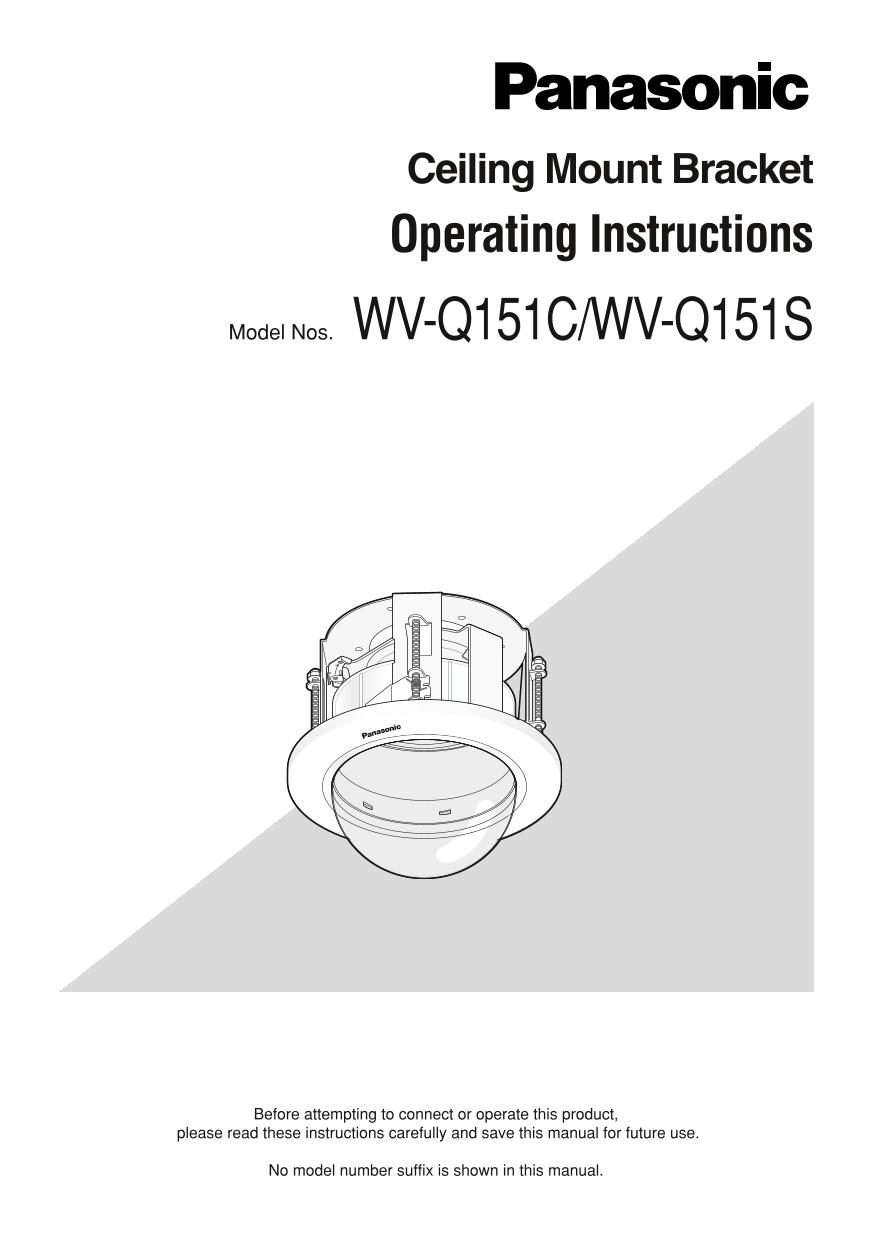
Ceiling Mount Bracket Operating Instructions Model Nos. WV-Q151C/WV-Q151S

Before attempting to connect or operate this product,

please read these instructions carefully and save this manual for future use.

No model number suffix is shown in this manual.

Page Summary Contents For Panasonic WV-Q151S Ceiling Mount Bracket Operating Instructions

Page 1 Ceiling Mount Bracket Operating Instructions Model Nos. WV-Q151C/WV-Q151S Before attempting to connect or operate this product, please read these instructions carefully and save this manual for future...
Page 2 CONTENTS Preface ....................................................................................................................................... Precautions ......................................
Page 3 Select an installation area that can support the total weight. If a selected area is too weak to support the total weight, a fall of the product may occur resulting in injury. Installation work shall ...
Page 4 Major Operating Controls and Their Functions Mounting base Camera mounting plate Fixing screw to be used for cover fall prevention Hole for microphone cable Microphone stand* Decorative cover Dome cov...
Page 5 Installations Be sure to read "Precautions" on the page xx before installation. The Installation Guide of the network camera, WV-NS202, shall be read as well. 1. Remove the decorative cover....
Page 6 3. Put Template A (accessory) against the ø12 mm {1/2"} Ceiling face ceiling and make a hole. (4 positions) Make 4 holes of 12 mm {1/2"} in diam- ø160 mm eter. {6-5/16"} Remove the cent...
Page 7 5. Mount the safety wire angle (accessory) on the 2nd anchor bolt and connect the safe- ty wire (accessory) to the angle. Disconnect the safety wire from the Upper side Anchor bolt safety wire angle. ...
Page 8 7. Insert the mounting base into the hole made in Step 1. 8. Secure the mounting base to the ceil- ing board with the ceiling board fixing 1st anchor bolt screws (4 positions). Engage the top of the m...
Page 9 10. Install the inner shell. Inner shell Slide the covers located on the both lat- eral sides of the camera and put the inner shell on the camera until the hooks inside the inner shell are held in the...
Page 10 11. Mount the camera on the camera Camera fixing mounting plate. screw Put the camera onto the camera mounting plate with aligning the lock plate of the camera with the guide of the camera mounting pl...
Page 11 14. Mount the camera mounting plate on the mounting base. Align the marks (A to A and B to B) between the camera mounting plate and mounting base. Mount the camera mounting plate on Align A with A the...
Page 12 Specifications Ambient temperature: –10 °C- + 50 °C {14 °F - 122 °F} Dimensions: 185 mm {7-5/16"} in diameter x 145 mm {6-7/16"} in height Weight: Approx. 800 g {1.77 lbs.} Finish: Main body...

Manual Details

Brand Panasonic
Pages 12
File Size 409.24 KB
Published July 16, 2026
0 views

Enter the captcha to get the download link:

captcha

Frequently Asked Questions

What specific camera model is designed to use this bracket?

This ceiling mount bracket is exclusively designed to mount the network camera, WV-NS202.

How strong must the installation area be for safe mounting?

The pull-out strength of the installation area shall be 196 N or more per one screw.

Can this product be installed in wet areas or near swimming pools?

No. Do not install it where it may get wet from rain/water splash, or where chemical agents are used such as a swimming pool.

What must I do with the dome cover after installation?

The protection sheet attached to the dome cover shall be peeled off immediately after installation.