Page 1
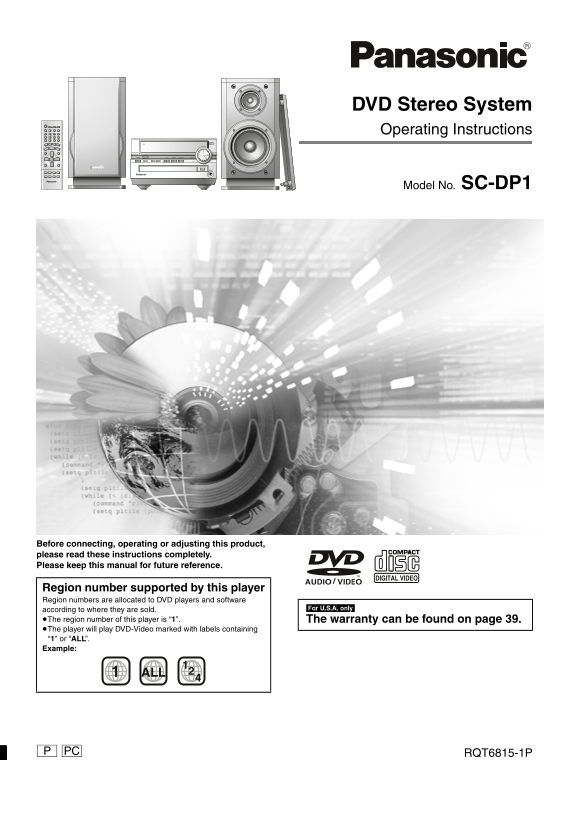
DVD Stereo System Operating Instructions AC IN ADVANCED SURROUND -DEMO VOLUMETUNER/AUXDVD/CDPOWER /I UPDOWN OPEN/CLOSE PHONES Model No. SC-DP1 Before connecting, operating or adjusting this product, p...
Page 2
et ti ta rt ed Dear customer Thank you for purchasing this product. For optimum performance and safety, please read these instructions carefully. System SC-DP1 Operations in these instructions are des...
Page 3
Accessories Table of contents Please check and identify the supplied accessories. Use numbers indicated in parentheses when asking for replacement parts. Getting started (Only for U.S.A.) To order acc...
Page 4
et ti ta rt ed IMPORTANT SAFETY INSTRUCTIONS Read these operating instructions carefully before using the unit. Follow the safety instructions on the unit and the applicable safety instructions listed...
Page 5
Disc information Discs that can be played Playing DVDs and Video CDs Disc type Logo Indication used The producer of these discs can control how they are played so you may not always be able to control...
Page 6
im le et Simple setup STEP1 Locating AC IN ADVANCED SURROUND -DEMO VOLUMETUNER/AUXDVD/CDPOWER /I UPDOWN OPEN/CLOSE PHONES [Note] Speaker Main unit Speaker Keep your speakers at least 10 mm (13/32″ ) a...
Page 7
STEP2 Connecting the speakers [Note] Twist the vinyl tip and pull off. Confirm the colors of the tags on the ≥Never short-circuit positive (i) and negative (j) ends of the cords. speaker wires. ≥Be su...
Page 8
im le et STEP3 Television Video cable Connecting a television with a VIDEO IN terminal Connect directly to your television. Do not connect the unit through a video cassette recorder, because the pictu...
Page 9
STEP4 Connecting the antennas and AC power supply cord Connect the AC power supply cord after AM loop antenna FM indoor antenna AC power supply cord all other connections are complete. AM loop antenna...
Page 10
im le et STEP6 QUICK SETUP Press [Í] to turn on the unit. TV/VIDEO CLOCK/ SLEEP SETUP TIMER FPLAY Press [1 DVD/CD] to select “DVD/ 3, 7 PROGRAM CD” as the source. PLAY MODE Press [∫] when a disc is in...
Page 11
STEP7 Setting the time This is a 12-hour clock. TV/VIDEO CLOCK/ SLEEP SETUP TIMER FPLAY Press [CLOCK/TIMER] to select the PROGRAM 1, 3 clock. PLAY MODE REPEAT AM : AUDIO SUBTITLE S10 Each time you pre...
Page 12
et ti ta rt ed Control reference guide Remote control Standby/on, TV standby/on switch [Í, TVÍ] . . . . . . . . .10, 28 Setup, TV/VIDEO button [SETUP, TV/VIDEO] . . . . . . . . .10, 28 TV/VIDEO CLOCK/...
Page 13
Discs—Basic play If play doesn’t start after step 2 Press [1 DVD/CD]. AC IN [CD] (CD text only) [WMA] [MP3] Track information appears on the television. Press [SUBTITLE] to turn the display on or off....
Page 14
is er at io Discs—Basic play Skipping items TV/VIDEO CLOCK/ SLEEP SETUP TIMER FPLAY [RAM] [DVD-A] [DVD-V] [VCD] [CD] [WMA] [MP3] During play or while paused PROGRAM Press [:] or [9]. PLAY MODE Numbere...
Page 15
Discs—Convenient functions TVÍ A-B repeat play TV/VIDEO CLOCK/ SLEEP SETUP TIMER FPLAY [RAM] [DVD-A] [DVD-V] [VCD] [CD] [WMA] [MP3] PROGRAM You can repeat a section between points A and B within a pro...
Page 16
is er at io Discs—Convenient functions TVÍ Program play TV/VIDEO CLOCK/ SLEEP SETUP TIMER FPLAY [DVD-A] [DVD-V] [VCD] [CD] [WMA] [MP3] PROGRAM You can select up to 24 items to play in the order you ch...
Page 17
≥“–” or “––” is displayed instead of the language number in circumstances such as when no language is recorded on the disc. Subtitles [VCD] (SVCD only) Soundtrack and subtitle numbers may change even ...
Page 18
is er at io Discs—Convenient functions [RAM] To mark the eleventh point and beyond TV/VIDEO CLOCK/ SLEEP Press [2, 1] to select the marker pin icon. SETUP TIMER FPLAY PROGRAM PLAY MODE Press [3, 4] to...
Page 19
Advanced surround Dialogue enhancer [RAM] [DVD-A] [DVD-V] [VCD] [CD] [WMA] [MP3] [DVD-V] (only for 2 or more channels) (Dolby Digital, DTS, 3 or more channels, where the dialogue is Enjoy a surround-l...
Page 20
is er at io Navigation menus Track title search [CD] (CD text only) [WMA] [MP3] TV/VIDEO CLOCK/ SLEEP SETUP TIMER FPLAY Example: finding a track including the word “LOVE” PROGRAM While the menu is dis...
Page 21
To use the contents screen to find a track Playing High MAT discs [CD] (CD text only) A menu appears after you insert the disc. You can use the text information recorded on these discs to find a track...
Page 22
is er at io Playing the programs or play lists on DVD-RAM TVÍ Using the play list menu TV/VIDEO CLOCK/ SLEEP SETUP TIMER FPLAY You can play a group of scenes, a play list, created on other PROGRAM equ...
Page 23
Using On-Screen Menu Icons Press [3, 4] to select the setting. TV/VIDEO CLOCK/ SLEEP ≥Items with “3” or “4” above and below can be changed by SETUP TIMER FPLAY PROGRAM ≥Press [ENTER] if the setting do...
Page 24
is er at io Using On-Screen Menu Icons Unless otherwise indicated, select items with [2, 1] and change with [3, 4]. Disc information PG:Program number [RAM] PL: Play list number [RAM] G: Group number ...
Page 25
[Display\menu] [Picture\menu] Only when “PROGRESSIVE” is on 4:3 Aspect [RAM] [DVD-A] [DVD-V] [VCD] [JPEG] Picture mode (➡ page 19, Cinema) Select how to show images made for 4:3 aspect screens on [RAM...
Page 26
ad io er at io The radio FM frequency step (Main unit only) AC IN The step is factory-set to 0.2 MHz, but you can change it to receive broadcasts allocated 0.1-MHz steps. Press [TUNER/AUX] to select “...
Page 27
Convenient functions Adjusting the bass and treble with TV/VIDEO CLOCK/ SLEEP manual equalizer SETUP TIMER FPLAY PROGRAM Press and hold [SOUND] to select PLAY MODE REPEAT “MANUAL EQ”. AUDIO SUBTITLE S...
Page 28
th er ct io Convenient functions Muting the volume TV/VIDEO CLOCK/ SLEEP SLEEP SETUP TIMER FPLAY Press [MUTING]. PROGRAM TV/VIDEO CLOCK/TIMER PLAY MODE MUTING REPEAT AUDIO SUBTITLE Volume is reduced t...
Page 29
To enjoy the desired source after the timer setting is completed The play timer Turn the unit on and play the desired source. After playing, turn the unit off. This timer starts play of the selected s...
Page 30
th er ct io Changing settings This chart shows the settings for this unit. Change the settings to suit your preferences and to suit the unit to the environment in which it is being used. These setting...
Page 31
Entering a password (Ratings) TV/VIDEO CLOCK/ SLEEP SETUP TIMER FPLAY [DVD-V] SETUP PROGRAM The password screen is shown when you select levels 0 to 7. Input a 4-digit password with the numbered butto...
Page 32
th er ct io Language code list Abkhazian: Chinese: Hausa: Lithuanian: Romanian: Telugu: Afar: Corsican: Hebrew: Macedonian: Russian: Thai: Afrikaans: Croatian: Hindi: Malagasy: Samoan: Tibetan: Albani...
Page 33
Using other equipment Before connection ≥Disconnect the AC power supply cord. ≥Turn off all equipment and read the appropriate operating instructions. ≥The equipment connections described are examples...
Page 34
ef er en ce Glossary Decoder WMA/MP3/JPEG and CD text information A decoder restores the coded audio signals on DVDs to normal. This ≥Discs must conform to ISO9660 level 1 or 2 (except for extended is...
Page 35
Specifications AMPLIFIER SECTION Audio Sampling frequency RMS Output Power both channel driven CD 44.1 k Hz 10 % total harmonic distortion MP3 32 k Hz, 44.1 k Hz, 48 k Hz 1 k Hz (Low-channel) 25 W per...
Page 36
ef er en ce Troubleshooting guide Before requesting service, make the below checks. If you are in doubt about some of the check points, or if the remedies indicated in the chart do not solve the probl...
Page 37
Sound No sound. ≥Check the connections. Distorted sound. ≥Turn the volume up. ≥Turn muting off. ≥Turn Advanced surround off if it causes distortion. ≥Switch off the unit, determine and correct the cau...
Page 38
ef er en ce Troubleshooting guide Unit displays The display is dark. ≥Press and hold [SHIFT]i[DISPLAY] until the display returns to the original brightness. “DVD NO PLAY” ≥You inserted a disc the unit...
Page 39
Limited Warranty (U.S.A.) Panasonic Consumer Electronics Company, Panasonic Sales Company, Division of Matsushita Electric of Puerto Division of Matsushita Electric Corporation of America Rico, Inc. O...
Page 40
Listening caution EST. 1924 Selecting fine audio equipment such as the unit you’ve just purchased is only the start of your musical enjoyment. Now it’s time to consider how you can maximize the fun an...