Page 1
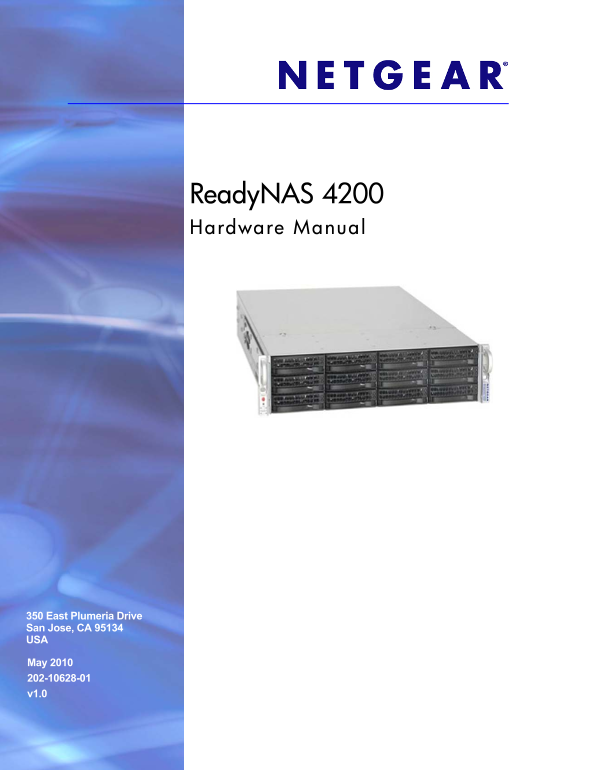
Ready NAS 4200 Hardware Manual 350 East Plumeria Drive San Jose, CA 95134 USA May 2010 202-10628-01 v1.0
Page 2
Ready NAS 4200 Hardware Manual © 2010 NETGEAR, Inc. All rights reserved. No part of this publication may be reproduced, transmitted, transcribed, stored in a retrieval system, or translated into any l...
Page 3
Table of Contents Chapter 1 Getting Started Control Panel, Status Displays, Ports, and Drive Bays . . . . . . . . . . . . . . . . 6 Front Panel . . . . . . . . . . . . . . . . . . . . . . . . . . . . ...
Page 4
Ready NAS 4200 Hardware Manual Appendix A Default Settings and Specifications Factory Default Settings . . . . . . . . . . . . . . . . . . . . . . . . . . . . . . . . . . . . . . .32 Technical Specifi...
Page 5
1 Getting Started Ready NAS 4200 This chapter provides an overview of the unit’s physical features. Topics discussed in this chapter include: • Control Panel, Status Displays, Ports, and Drive Bays • ...
Page 6
Ready NAS 4200 Hardware Manual Control Panel, Status Displays, Ports, and Drive Bays This section introduces the Ready NAS control panel, status display, ports, and disk bays. Front Panel 1. Twelve di...
Page 7
Ready NAS 4200 Hardware Manual Rear Panel 1. Dual power supplies 2. PS2 keyboard and mouse ports 3. Two USB ports 4. RS232 console port 5. VGA monitor port 6. Two Gigabit Ethernet ports with failover ...
Page 8
Ready NAS 4200 Hardware Manual Rack Mount Setup Use the included rack mount hardware to install the unit according to the following instructions. DANGER: A unit with installed drives can weigh more th...
Page 9
Ready NAS 4200 Hardware Manual Choosing a Setup Location Note: This product is intended for installation in a restricted access location (dedicated equipment rooms, service closets, and the like) only...
Page 10
Ready NAS 4200 Hardware Manual 2. Use the provided mounting screws to mount the inner rails to the system chassis. 3. Fasten the backs of the outer rails to the rack with screws. Press the release to ...
Page 11
Ready NAS 4200 Hardware Manual Initial Setup, IP Address, and Login Password Follow the instructions in the NETGEAR Ready NAS Installation Guide that came with your unit to install it. An electronic c...
Page 12
Ready NAS 4200 Hardware Manual Safety Warning 1. The equipment contains no operator access areas and is certified for installation only by trained personnel, according to the installation instructions...
Page 13
Ready NAS 4200 Hardware Manual General Safety Precautions Follow these rules to ensure general safety: • Keep the area around the Ready NAS 4200 clean and free of clutter. • The Ready NAS 4200 weighs ...
Page 14
Ready NAS 4200 Hardware Manual Electrostatic Discharge (ESD) Precautions Electrostatic discharge is generated by two objects with different electrical charges coming into contact with each other. An e...
Page 15
2 Diagnostics and Maintenance This chapter includes topics on system status, system shutdown, using the diagnostics menu, and adding, replacing, or formatting disks. • Control Panel Diagnostic and Sta...
Page 16
Ready NAS 4200 Hardware Manual Control Panel Diagnostic and Status Information The control panel for the Ready NAS 4200 is located on the bottom left corner of the unit. Each function on the control p...
Page 17
Ready NAS 4200 Hardware Manual Item Activity Description LAN LEDs Green: Power is on and LAN cable connected. Blink green: LAN activity. Off: LAN cable disconnected. On (Green) Blink (Green) Off Power...
Page 18
Ready NAS 4200 Hardware Manual Performing System Shutdown You can shut down the unit using the power button, or from the Front View browser user interface. Using the Power Button There are two ways to...
Page 19
Ready NAS 4200 Hardware Manual Understanding the System Diagnostics Boot Menu This section introduces the system diagnostics boot menu. Control Panel Selecting Boot Menu Options To select a boot menu ...
Page 20
Ready NAS 4200 Hardware Manual 4. OS Reinstall: While keeping the data volume in tact, re-install the RAIDiator firmware on the Ready NAS, reset the admin password, and change the DHCP assignment to D...
Page 21
Ready NAS 4200 Hardware Manual Reinstall Firmware using OS Reinstall Option To reinstall the RAIDar firmware on the Ready NAS without touching the data volume, follow these steps. 1. While using a pap...
Page 22
Ready NAS 4200 Hardware Manual Using the Boot Menu to Format a RAID Volume WARNING! Using the Factory Default boot menu option will erase all the data on the hard disks. Do a full backup before using ...
Page 23
Ready NAS 4200 Hardware Manual 4. Press and hold the Reset button for 3 seconds to confirm the menu selection and proceed with that option. The system does the following: a. Blinks both LEDs twice to ...
Page 24
Ready NAS 4200 Hardware Manual 8. Select either the Expandable Volume (X-RAID2) or the Flexible Volume (Flex-RAID) radio button, configure the options accordingly, and click Create volume now. The vol...
Page 25
Ready NAS 4200 Hardware Manual Adding or Replacing Disks Adding and replacing failed disks are similar processes. Note: Be sure to check the Hardware Compatibility list on the NETGEAR Support site for...
Page 26
Ready NAS 4200 Hardware Manual Failed Disk Notification When a disk fails in your Ready NAS, you are notified of the failure by e-mail. The Front View Health screen provides information about the fail...
Page 27
Ready NAS 4200 Hardware Manual Replacing a Failed Disk Ready NAS supports hot-swap bays, so there is no need to power it down when a disk fails. To replace the failed disk: 1. View the disk tray faile...
Page 28
Ready NAS 4200 Hardware Manual Replacing System Components You can replace failed components such as power supplies, fans, and the system battery. This section explains how to replace failed component...
Page 29
Ready NAS 4200 Hardware Manual Replacing a System Fan Fan speed is controlled by system temperature, as monitored by the RAIDiator firmware. If a fan fails, the remaining fans ramp up to full speed, t...
Page 30
Ready NAS 4200 Hardware Manual Replacing a Power Supply The Ready NAS 4200 has a 700 watt redundant power supply consisting of two power modules. Each power supply module has an auto-switching capabil...
Page 31
A Default Settings and Specifications This appendix provides the factory default settings and system specifications. • Factory Default Settings • Technical Specifications Appendix A: Default Settings ...
Page 32
Ready NAS 4200 Hardware Manual Factory Default Settings To return the Ready NAS to its factory default configuration settings shown below, see “Reinstall Firmware using OS Reinstall Option” on page 21...
Page 33
Ready NAS 4200 Hardware Manual Technical Specifications The table below lists the system specifications. Feature Specification Electrical Power supplies (PSU) Two 700W server rated AC power supplies I...
Page 34
B Notification of Compliance Certificate of the Manufacturer/Importer It is hereby certified that the TBD has been suppressed in accordance with the conditions set out in the BMPT-Amtsbl Vfg 243/1991 ...
Page 35
Ready NAS 4200 Hardware Manual Europe – EU Declaration of Conformity Marking by the above symbol indicates compliance with the Essential Requirements of the R&TTE Directive of the European Union (...
Page 36
Ready NAS 4200 Hardware Manual EDOC in Languages of the European Community Malti [Maltese] Hawnhekk, NETGEAR Inc., jiddikjara li dan Radiolan jikkonforma mal-htigijiet essenzjali u ma provvedimenti oh...
Page 37
Ready NAS 4200 Hardware Manual FCC Requirements for Operation in the United States FCC Information to User This product does not contain any user serviceable components and is to be used with approved...
Page 38
Index fan, replace 29 firmware 21 activity light 6 front panel 6 airflow 8 Front View 18 battery 12 general safety 13 replace 12 grounding 8 battery, replace 30 boot menu 19 mechanical loading 8 chang...
Page 39
Ready NAS 4200 Hardware Manual safety 12, 13 setup location 9 Shutdown 24 socket-outlet 12 status display 6 system specifications 33 technical specifications 33 tray handle 6 weight 8 Index | 39