Lexmark X463 Quick Reference (X463, X464, X466)
Summary
Effortlessly manage your digital workflow with this comprehensive multifunction printer and scanner. This guide provides detailed instructions on core office functions, including high-speed copying using both the scanner glass and ADF, secure document e-mailing setup, sending faxes from your computer, and multiple scanning options to local folders or USB flash drives. Ideal for professionals and small offices needing reliable, versatile tools for replicating, digitizing, and transmitting documents seamlessly.
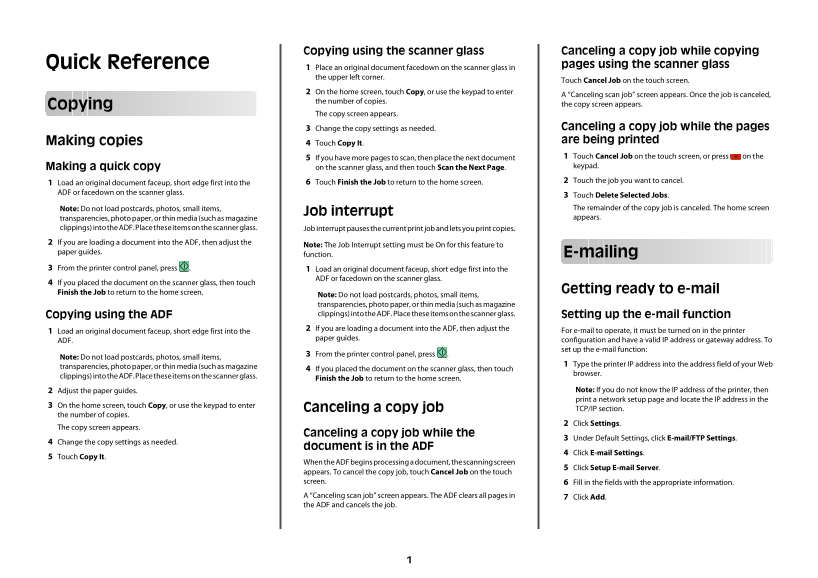
Page 1 Text Content
Copying using the scanner glass Canceling a copy job while copying
Quick Reference pages using the scanner glass
Place an original document facedown on the scanner glass in the upper left corner.
Touch Cancel Job on the touch screen.
On the home screen, touch Copy, or use the keypad to enter
A “Canceling scan job” screen appears. Once the job is canceled,
the number of copies.
Copying the copy screen appears.
The copy screen appears.
Change the copy settings as needed. Canceling a copy job while the pages Making copies are being printed
Touch Copy It.
If you have more pages to scan, then place the next document Touch Cancel Job on the touch screen, or press on the Making a quick copy on the scanner glass, and then touch Scan the Next Page. keypad. Touch Finish the Job to return to the home screen. Touch the job you want to cancel.
Load an original document faceup, short edge first into the ADF or facedown on the scanner glass.
Touch Delete Selected Jobs. Note: Do not load postcards, photos, small items, The remainder of the copy job is canceled. The home screen
Job interrupt
transparencies, photo paper, or thin media (such as magazine appears.
clippings) into the ADF. Place these items on the scanner glass. Job interrupt pauses the current print job and lets you print copies. If you are loading a document into the ADF, then adjust the
Note: The Job Interrupt setting must be On for this feature to
paper guides. E-mailing
function.
From the printer control panel, press . Load an original document faceup, short edge first into the
ADF or facedown on the scanner glass.
If you placed the document on the scanner glass, then touch
Finish the Job to return to the home screen. Getting ready to e-mail
Note: Do not load postcards, photos, small items, transparencies, photo paper, or thin media (such as magazine Copying using the ADF clippings) into the ADF. Place these items on the scanner glass. Setting up the e-mail function If you are loading a document into the ADF, then adjust the
Load an original document faceup, short edge first into the For e-mail to operate, it must be turned on in the printer
paper guides. configuration and have a valid IP address or gateway address. To
set up the e-mail function:
From the printer control panel, press .
Note: Do not load postcards, photos, small items,
Type the printer IP address into the address field of your Web
transparencies, photo paper, or thin media (such as magazine
If you placed the document on the scanner glass, then touch
browser.
clippings) into the ADF. Place these items on the scanner glass.
Finish the Job to return to the home screen.
Adjust the paper guides. Note: If you do not know the IP address of the printer, then print a network setup page and locate the IP address in the
On the home screen, touch Copy, or use the keypad to enter
Canceling a copy job TCP/IP section.
the number of copies.
Click Settings.
The copy screen appears.
Canceling a copy job while the
Under Default Settings, click E-mail/FTP Settings.
Change the copy settings as needed.
document is in the ADF
Click E-mail Settings.
Touch Copy It.
When the ADF begins processing a document, the scanning screen
Click Setup E-mail Server.
appears. To cancel the copy job, touch Cancel Job on the touch screen. Fill in the fields with the appropriate information. A “Canceling scan job” screen appears. The ADF clears all pages in Click Add. the ADF and cancels the job.
Page Summary Contents For Lexmark X463 Quick Reference (X463, X464, X466)
Manual Details
| Brand | Lexmark |
|---|---|
| Pages | 4 |
| File Size | 101.48 KB |
| Published | June 03, 2026 |
Enter the captcha to get the download link:

Frequently Asked Questions
What should I do if I need to cancel a copy job during printing?
Touch Cancel Job on the touch screen. A 'Canceling scan job' screen will appear.
Where should I place fragile items like photos or transparencies when copying or scanning?
Do not load them into the ADF; place these items directly on the scanner glass.
How do I set up email functionality for copy jobs using the ADF?
From the printer control panel, press Copy, click Settings, select E-mail/FTP Settings, and then follow the prompts to fill in necessary details.
Can I send documents directly from a computer program?
Yes, faxing from a computer allows you to send electronic documents without leaving your desk.