HP Officejet 5600 Series All-in-One Printer Setup Flyer
Summary
Introducing your HP All-in-One printer/scanner system. This setup guide provides comprehensive instructions designed to ensure a smooth and efficient start. The manual walks you through every stage of initial assembly—from removing protective materials and attaching the control panel to properly loading paper, installing ink cartridges, and connecting power. It also details critical steps like scanner alignment and software installation, ensuring that you can get printing and scanning effortlessly right out of the box.
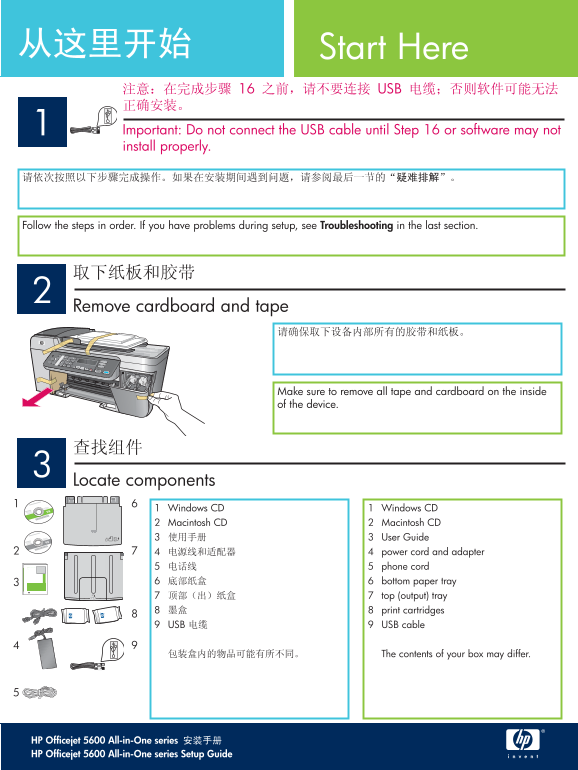
Page 1 Text Content
Start Here USB
Important: Do not connect the USB cable until Step 16 or software may not install properly.
Follow the steps in order. If you have problems during setup, see Troubleshooting in the last section.
Remove cardboard and tape
Make sure to remove all tape and cardboard on the inside of the device.
Locate components
1 Windows CD 1 Windows CD 2 Macintosh CD 2 Macintosh CD
3 User Guide 4 power cord and adapter
HP Photosmart 2600/2700 series all-in-one User Guide 5 phone cord
6 bottom paper tray 7 top (output) tray 8 print cartridges
9 USB 9 USB cable
The contents of your box may differ.
HP Offi cejet 5600 All-in-One series HP Offi cejet 5600 All-in-One series Setup Guide
Page Summary Contents For HP Officejet 5600 Series All-in-One Printer Setup Flyer
Manual Details
| Brand | HP |
|---|---|
| Pages | 12 |
| File Size | 2.69 MB |
| Published | June 16, 2026 |
Enter the captcha to get the download link:

Frequently Asked Questions
What should I do if the 'Carriage jam' message appears on display?
Turn off the device, check the tray area for cardboard or tape, ensure the print carriage can move freely, and press ON after clearing materials.
When should I connect the USB cable to avoid setup errors?
Do not connect the USB cable until Step 16; connecting it earlier may prevent proper software installation.
My print cartridges don't work after installation. What is the common mistake?
You must remove all tape from the copper contacts of both print cartridges before re-inserting them and closing the access door.