Page 1
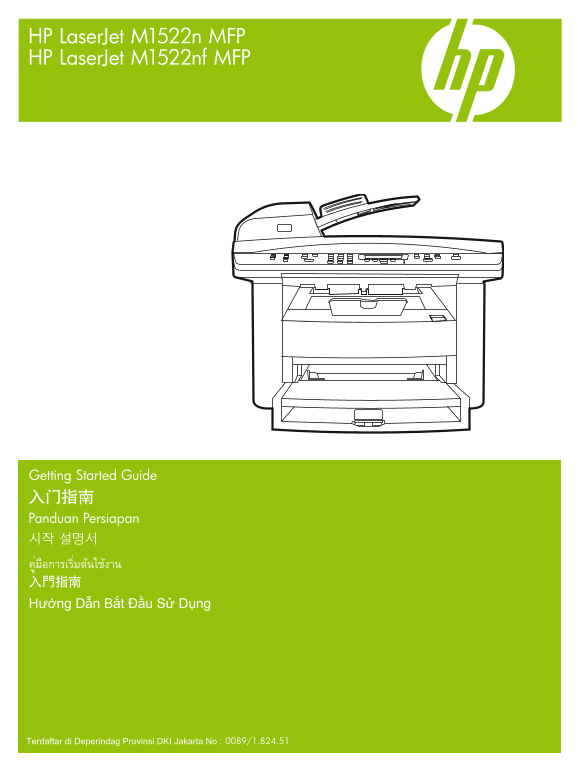
HP Laser Jet M1522n MFP HP Laser Jet M1522nf MFP Getting Started Guide 入门指南 Panduan Persiapan 시작 설명서 คู่มือการเริ่มต้นใช้งาน 入門指南 Hướng Dẫn Bắt Đầu Sử Dụng 0089/1.824.51Terdaftar di Deperindag Provins...
Page 2
Copyright and License 版权与许可 © 2008 Copyright Hewlett-Packard Development Company, L.P. © 2008 Copyright Hewlett-Packard Development Reproduction, adaptation or translation without prior written Compan...
Page 3
Select a sturdy, well-ventilated, dust-free area to position the product. 选择一个稳固、通风良好且无尘的区域放置产品。 Pilih tempat yang kokoh, berventilasi baik, dan bebas debu untuk meletakkan produk. 단단하고 환기가 잘 되며 먼지가 없...
Page 4
There are three sections in this guide: • Set up the hardware • Install the software • Set up the fax hardware for copy and fax only 本指南包括三部分: • 安装硬件 • 安装软件 • 仅针对复印和传真功能设置传真硬件 Ada tiga bagian dalam pa...
Page 5
Set up the hardware. Unpack the product. 安装硬件。打开产品包装。 Pasang perangkat keras. Buka kemasan produk. 하드웨어 설정. 제품을 개봉하십시오. ติดตั้งฮาร์ดแวร์ นำเครื่องออกจากกล่องบรรจุ 設定硬體。 拆開產品的包裝。 Cài đặt phần cứng. Mở ...
Page 6
Remove all orange shipping tape. 撕下所有橙色装运胶带。 Lepas semua pita pengiriman warna jingga. 주황색 포장용 테이프를 제거하십시오. แกะเทปสีส้มที่ติดมากับเครื่องออกทั้งหมด 撕下所有橙色膠帶。 Tháo tất cả băng dán vận chuyển màu cam. I...
Page 7
Install the automatic document feeder (ADF) input tray. 安装自动文档进纸器 (ADF) 进纸盘。 Pasang baki masukan pengumpan dokumen otomatis (ADF). 자동 문서 공급기(ADF) 입력함을 설치하십시오. ติดตั้งถาดป้อนกระดาษของอุปกรณ์ป้อนกระดาษอ...
Page 8
Install the paper tray, adjust the paper guides, and then load paper. 安装纸盘,调整纸张导板,然后装入纸张。 Pasang baki kertas, sesuaikan pemandu kertas, kemudian muatlah kertas. 용지함을 설치하고 용지 조정대를 조정한 다음 용지를 넣습니다. ติดต...
Page 9
Install the print cartridge. 安装打印碳粉盒。 Pasang kartrid cetak. 카트리지를 설치하십시오. ติดตั้งตลับหมึกพิมพ์ 安裝碳粉匣。 Lắp hộp mực.
Page 10
Connect the phone cord for the fax. (Fax models only.) 连接传真电话线。(仅限传真型号。) Hubungkan kabel telepon untuk faks. (Model faks saja.) 팩스에 사용할 전화 코드를 연결하십시오. (팩스 모델만) เชื่อมต่อสายโทรศัพท์สำหรับแฟกซ์ (รุ่นแฟก...
Page 11
For network setup, connect the network cable now. 对于网络安装,请现在连接网络电缆。 Untuk pengaturan jaringan, hubungkan kabel jaringan sekarang. 네트워크 설정을 위해 지금 네트워크 케이블을 연결하십시오. สำหรับการตั้งค่าเครือข่าย ให้เชื่อมต่...
Page 12
Control panel features. Press Setup to view menus. Use the arrows to select the menu options. Press OK to accept the selection. Press Cancel to return to the ready screen. 控制面板功能。按下设置以查看菜单。使用箭头选择菜单选项。...
Page 13
Install the software. 安装软件。 Instal perangkat lunak. 소프트웨어 설치. ติดตั้งซอฟต์แวร์ 安裝軟體。 Cài đặt phần mềm. Go to step 14. 转至步骤 14。 Pindah ke langkah 14. 14단계로 이동하십시오. ไปที่ขั้นตอนที่ 14 請跳至步驟 14。 Thực hiệ...
Page 14
Insert the CD and follow the instructions onscreen to install the software. • If the installation program does not start, click Start, click Run, click Browse, select the Setup.exe file on the CD, and...
Page 15
For USB, connect the USB cable when prompted. 对于 USB,请在出现提示时连接 USB 电缆。 Untuk USB, hubungkan kabel USB bila diminta. USB의 경우, USB를 연결하라는 메시지가 나타나면 USB를 연결하십시오. สำหรับ USB ให้เชื่อมต่อสายเคเบิล USB เมื่...
Page 16
Program the Scan-to Button, for Recommended installs with network connections only. Click Start, click Programs (or All Programs in Windows XP and Vista), click HP, click the product, click Scan, and ...
Page 17
The product is pre-configured with the following destinations in the dialog box. • Scan a document and attach it to an e-mail • Scan a photo and attach it to an email • Scan a photo and save it as a f...
Page 18
Highlight a destination and click the arrow to move to the destinations currently on the dialog box. Repeat for all three destinations. Click Update. 突出显示目标位置,然后单击箭头以移至对话框中的当前目标位置。对所有三个目标重复 此操作。单击更新。 ...
Page 19
For Macintosh, connect the USB cable or the network cable. Insert the CD and double-click the installer icon. Follow the instructions onscreen to install the software. 对于 Macintosh,请连接 USB 电缆或网络电缆。插入 ...
Page 20
Set up the fax. If you did not complete a recommended install, set time, date and fax header. 设置传真。如果您未完成推荐安装,请设置时间、日期和传真标题。 Pasang faks. Jika Anda tidak melakukan instalasi yang dianjurkan, aturlah w...
Page 21
Use the arrow buttons to select System setup, and then press OK. 使用箭头按钮选择系统设置,然后按下 OK。 Gunakan tombol panah untuk memilih System setup [Pengaturan sistem], kemudian tekan OK. 화살표 버튼을 사용하여 시스템 설정을 선택한 ...
Page 22
Use the arrow buttons to select the 12-hour clock or the 24-hour clock, and then press OK. 使用箭头按钮选择 12 小时时钟或 24 小时时钟,然后按下 OK。 Gunakan tombol panah untuk memilih sistem 12-jam atau 24-jam, kemudian tek...
Page 23
Complete one of the following: • For the 12-hour clock, use the arrow buttons to move past the fourth character. Select 1 for a.m. or 2 for p.m. Press OK. • For the 24-hour clock, press OK. 完成以下操作之一: ...
Page 24
Use the alphanumeric buttons to enter the current date. Use two digits to specify the month, day, and year. Press OK. 使用字母数字按钮输入当前日期。使用两位数来指定月份、日期和年份。按下 OK。 Gunakan tombol alfanumerik untuk memasukkan...
Page 25
Use the arrow buttons to select Fax setup, and then press OK. 使用箭头按钮选择传真设置,然后按下 OK。 Gunakan tombol panah untuk memilih Fax setup [Pengaturan faks], kemudian tekan OK. 화살표 버튼을 사용하여 팩스 설정을 선택한 다음 확인을 누르...
Page 26
Use the alphanumeric buttons to enter the fax number and a company name or header. Press OK. 使用字母数字按钮输入传真号码和公司名称或标题。按下 OK。 Gunakan tombol alfanumerik untuk memasukkan nomor faks dan nama atau kop peru...
Page 27
Test the product. From the control panel, press Setup, use the arrow buttons to select Reports, select Config report, and then press OK. 测试产品。在控制面板上按下设置,使用箭头按钮选择报告,选择配置报告, 然后按下 OK。 Lakukan tes pada pr...
Page 28
Test the ADF. Load the configuration report in the ADF, and then press Start Copy. 测试 ADF。将配置报告装入 ADF,然后按下开始复印。 Lakukan tes pada ADF. Muat laporan konfigurasi dalam ADF, kemudian tekan Start Copy [Mul...
Page 29
Product Documentation The electronic User Guide is on the CD-ROM that came with the product or is in the HP program folder on your computer. It contains the following: • Problem Solve • Important safe...
Page 32
© 2008 Hewlett-Packard Development Company, L.P. www.hp.com *CB534-90907* *CB534-90907* CB5��-90907