Page 1
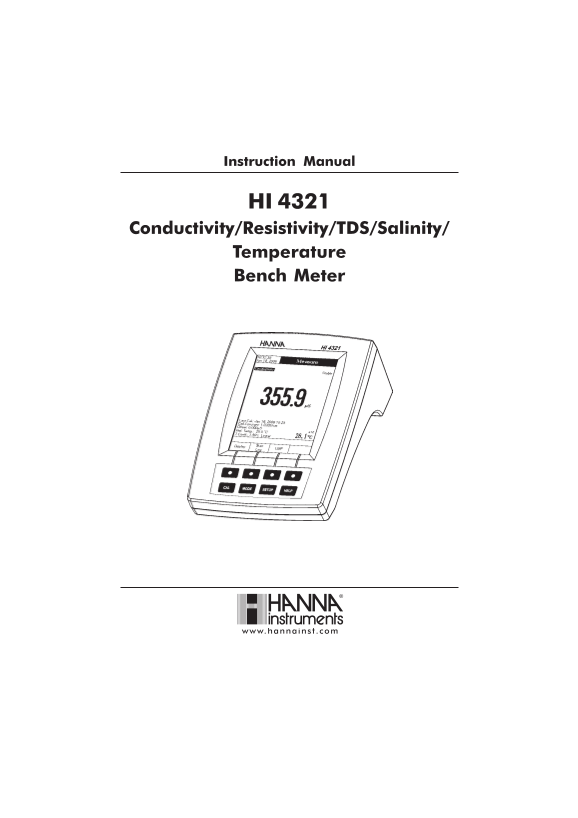
Instruction Manual HI 4321 Conductivity/Resistivity/TDS/Salinity/ Temperature Bench Meter www.hannainst .com
Page 2
Dear Customer, Thank you for choosing a Hanna Instruments product. This manual will provide you with the necessary information for correct use of the instrument. Please read this instruction manual ca...
Page 3
TABLE OF CONTENTS WARRANTY ...................................................................................................................................... 2 PRELIMINARY EXAMINATION ...............
Page 4
PRELIMINARY EXAMINATION Remove the instrument from the packing material and examine it carefully to make sure that no damage has occurred during shipping. If there is any damage, notify your dealer or...
Page 5
FUNCTIONAL DESCRIPTION HI 4321 DESCRIPTION FRONT PANEL REAR PANEL 1) Liquid Crystal Display (LCD) 2) Main Keyboard 3) USB connector 4) ON/OFF switch 5) Power adapter socket 6) RS232 serial communicati...
Page 6
KEYBOARD DESCRIPTION FUNCTION KEYS To enter / exit calibration mode. To select the desired measurement mode: Conductivity, Resistivity, TDS, Salinity. To enter Setup (System Setup, Conductivity Setup,...
Page 7
SPECIF ICATIONS 1234IH mc/Sµ999.9ot000.0 mc/Sµ99.99ot00.01 egna R mc/Sµ9.999ot0.001 mc/Sm999.9ot000.1 mc/Sm99.99ot00.01 mc/Sm0.0001ot0.001 mc/Sµ100.0 mc/Sµ10.0 mc/Sµ1.0 noitulose R mc/Sm100.0 mc/Sm10....
Page 8
1234IH elac Sytinila Slacitcar P usp00.24ot00.0 egna R elac Sreta Wae Slaruta N tpp00.08ot00.0 elac Stnecre P ytinila S %0.004ot0.0 ae Slaruta N/elac Sytinila Slacitcar Prof10.0 noitulose R reta W ela...
Page 9
OPERATIONAL GUIDE POWER CONNECTION Plug the 12 Vdc adapter into the power supply socket. Note: These instruments use non volatile memory to retain the meter settings, even when unplugged. PROBE CONNEC...
Page 10
DISPLAY ING MODES For each measurement mode (Conductivity, Resistivity, TDS or Salinity) the following display configurations are available: Basic, Good Laboratory Practice (GLP), Graph and Log Histor...
Page 11
Graph Accessing this option, the online graph with currently logged values (Conductivity, Resistivity, TDS or Salinity vs. Seconds) could be displayed. If there is no active log, the previously logged...
Page 12
Log History Accessing this option, last logged records will be displayed on the LCD. The log history list also contains the appropriate conductivity / resistivity / TDS / salinity values, the logged t...
Page 13
SYSTEM SETUP The System Setup menu allows the user to customize the user interface, consult the meter information, set the external serial communication interface and to restore the manufacturer setti...
Page 14
To set the Beeper: Use or to select the Beeper option. Press and use or to highlight the desired beeper associated event you want to modify. Press and use or to highlight the beeper status option. Pre...
Page 15
To set the GLP data: Use or to select the GLP Data option. Press and use or to highlight the desired option. Press to edit the desired information. The Text Editor menu will be displayed on the LCD. E...
Page 16
To set the Date & Time: Use or to select the Date & Time option. Press and use or to highlight the desired option you want to modify. Press to confirm your selection. Use and and then use to m...
Page 17
Language This option allows the user to choose the desired language for the user interface. To select the Language: Use or to select the Language option. Press and use or to highlight the desired lang...
Page 18
Meter Information This option provides general information about the instrument serial number (each instrument has an unique identification serial number), the software version and the factory calibra...
Page 19
Conduc SETUP The Conductivity Setup menu allows the user to set the parameters related to the conductivity measurement. Accessing Conductivity Setup Press while in Measure mode and then to select the ...
Page 20
Save Current Profile To save the current profile: Use or to select the Profile option. Press and then select Save Current Profile option. The text editor box will be displayed on the LCD. Enter the de...
Page 21
Delete Profile To delete one of the existing profiles: Use or to select the Profile option. Press and use or to highlight the Delete Profile option. Press . A list with all customised profiles will ap...
Page 22
Temperature From the Temperature menu the user can choose the temperature source and units, as well as the temperature compensation mode, reference temperature and compensation coefficient. To access ...
Page 23
Temperature Compensation The user can choose from the following options: Linear - the meter will compensate automatically the conductivity using the following formula: where: C ref - conductivity at r...
Page 24
Table for non-linear temperature compensation:
Page 25
Temperature Unit The user can choose from the Celsius, Fahrenheit or Kelvin temperature units. To set the temperature unit: Use or to highlight the Temperature Units option. Press and then use or to s...
Page 26
Compensation Coefficient (only for linear temperature compensation) To set the compensation coefficient: Use or to highlight the Compensation Coefficient option. Press and set the desired compensation...
Page 27
Calibration Points The user can choose between Single Point and Multi Points calibration. To select the calibration points type: Use or to highlight the Calibration Points option. Press to confirm you...
Page 28
Calibration Reminder This option allows the user to set the calibration reminder as Daily, Periodic or Disabled. To set the calibration reminder: Use or to highlight the Calibration re- minder option....
Page 29
Clear Calibration Accessing this option, the existent conductivity calibration can be cleared (the probe cell constant will be reset to default). If the calibration is cleared, another calibration has...
Page 30
Sample ID This option allows the user to give to the measured samples an identification number/name. Two Sample ID options are available: ID Increment and Edit Sample ID. ID Increment None – the sampl...
Page 31
Log This option allows the user to edit the settings related to the logging feature, as following: Logging Type Three logging types are available: Automatic, Manual and Auto Hold. Automatic logging - ...
Page 32
Sampling Period This option allows the user to select the desired sampling period for automatic logging. To set the sampling period: Use or to highlight the Sampling Period option. Press and use or to...
Page 33
Alarm This option allows the user to define two alarm limits for the measurements. Alarm State The following options are available: Disabled – the alarm will be disabled. Inside Limits – the alarm wil...
Page 34
Res SETUP The Resistivity Setup menu allows the user to set the parameters related to the resistivity measurements. Accessing Resistivity Setup Press while in Measure mode and then to select resistivi...
Page 35
Temperature - see Conductivity Setup section. Units The user can choose between Ohm, KOhm, MOhm, Auto Ranging measuring modes. To select the units: Use or to highlight the Units option. Press to confi...
Page 36
TDS SETUP The TDS Setup menu allows the user to set the parameters related to the TDS measurement. Accessing TDS Setup Press while in Measure mode and then to select TDS range. Press and then to acces...
Page 37
TDS factor Using this option the user can set the TDS factor. Use or to highlight the TDS Factor option. Press to confirm your selection and use or to increase / decrease the value. Press to confirm y...
Page 38
Sa in SETUP The Salinity Setup menu allows the user to set the parameters related to salinity measurement and calibration. Accessing Salinity Setup Press while in Measure mode and then to select Salin...
Page 39
Clear Calibration Accessing this option, the existent salinity calibration (Percent Scale only) can be cleared. To clear calibration: Use or to highlight the Clear Calibration option. Press to clear c...
Page 40
CONDUCTIVITY CAL IBRATION It is recommended to calibrate the instrument frequently, especially if high accuracy is required. The conductivity range should be recalibrated: Whenever the conductivity pr...