Page 1
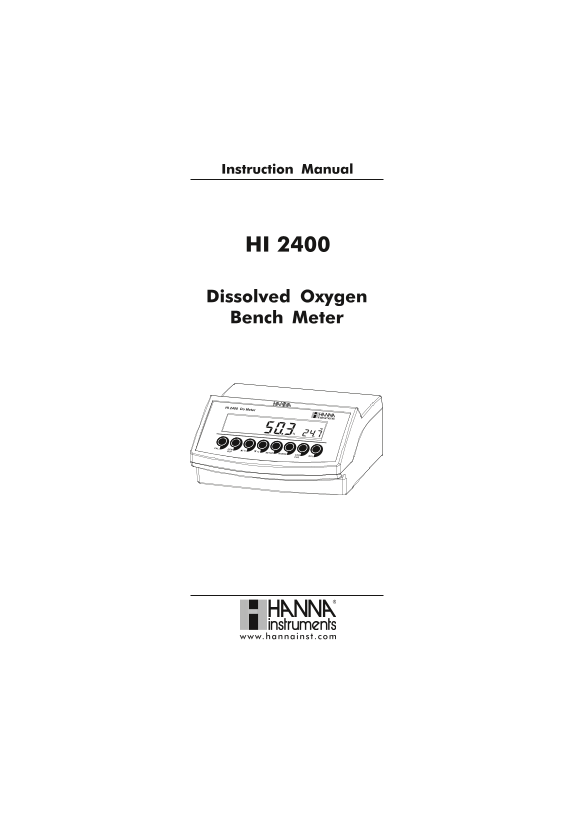
Instruction Manual HI 2400 Dissolved Oxygen Bench Meter www.hannains .com
Page 2
Dear Customer, Thank you for choosing a Hanna Instruments product. Please read this instruction manual carefully before using this instrument. This manual will provide you with the necessary informati...
Page 3
PRELIMINARY EXAMINATION Remove the instrument from the packing material and examine it carefully to make sure that no damage has occured during shiping. If there is any damage, notify your Dealer or t...
Page 4
PROBE FUNCTIONAL DESCRIPTION 1. DO Probe 2. Protective Cap 3. Watertight Shielded Cable 4. Polypropylene Probe Body 5. Temperature Sensor 6. O-Ring Seal 7. Silver Chloride Anode 8. Platinum Cathode (s...
Page 5
FUNCTIONAL DESCRIPT ION Front Panel Rear Panel 1) Liquid Crystal Display (LCD). 2) CAL key, to enter and exit calibration mode. 3) CFM/GLP key, to confirm calibration selection, different setup values...
Page 6
SPECIF ICATIONS mpp00.54ot00.0 EGNAR %0.003ot0.0 )F°221ot0.23(Cº0.05ot0.0 mpp10.0 NOITULOSER %1.0 ,tigid1±roelacslluffo%5.1± YCARUCCA retaergsirevehcihw )rorreeborpgnidulcxe(Cº2.0± elacslluffo%5.1± no...
Page 7
OPERATIONAL GUIDE POWER CONNECTION Plug the 12 VDC adapter into the power supply socket. Notes: This instrument use non volatile memory to retain the calibration parameters and all the other settings ...
Page 8
INSTRUMENT START-UP Turn the instrument on by pressing the ON/OFF switch. All LCD tags are displayed and a beep is generated while the instrument performs a self test. The instrument will display “ ” ...
Page 9
For an accurate calibration, it is recommended to wait at least 15 minutes to ensure precise conditioning of the probe. Keep the protective cap on during polarization time and remove it for calibratio...
Page 10
TEMPERATURE MEASUREMENTS The probe has a built-in temperature sensor. The measured temperature is indicated on the secondary LCD as shown above. Allow the probe to reach thermal equilibrium before tak...
Page 11
ZERO CALIBRATION Submerse the probe into HI 7040 zero oxygen solution and stir gently for 2-3 minutes. Press CAL. The “~” and “ ” tags will blink on the LCD until the reading is stable. When the readi...
Page 12
The instrument stores the slope calibration data and returns to measurement mode. Notes: If the reading is not close to the selected value, “WRONG“ tag will blink. If the temperature goes out of range...
Page 13
GOOD LABORATORY PRACTICE (GLP) GLP is a set of functions that allows storage and retrieval of data regarding the maintenance and status of the system. All data regarding DO calibration is stored for t...
Page 14
The instrument ID. Setup mode allows viewing and modifying the following parameters: Salinity Factor Altitude Factor Log Interval Current Time (hour & minute) Current Date (month, day & year) ...
Page 15
leve Lae Sta)l/g(ytinila S Note: The relationship between salinity and chlorinity for sea water is given by the equation below: Salinity (g/l) = 1.80655 Chlorinity (g/l) ALTITUDE FACTOR Press CAL when...
Page 16
leve Lae Sevobasrete M,edutitl A
Page 17
LOG INTERVAL Press CAL when log interval is displayed. The log interval and “CFM” tag is displayed blinking. Press the ARROW keys to change the custom buffer value. Press CFM to confirm the selection....
Page 18
Press CFM to save the modified value. Press CAL to escape without saving. BEEP STATUS Press CAL when the beep status is displayed. The beep status (“ON” or “OFF”) and “CFM” tag will start blinking. Pr...
Page 19
This function allows the user to log DO (in ppm or %) together with temperature automatically, for long periods of time. All logged data can be stored into a PC through the USB port. The memory used f...
Page 20
If the log space is full, the “FULL LOG” message will be displayed and no more data will be saved. Note: When pressing any key that is not active, while lot logging is running, the following message i...
Page 21
The date on the primary LCD, along with “DATE”, month and day tags. The salinity on the primary LCD and “SAL” message on the secondary LCD. The altitude on the primary LCD and “ALt” message on the sec...
Page 22
TEMPERATURE CALIBRATION fo te chn ca personne on ly) Each meter has been factory calibrated for temperature with the supplied DO probe and is ready for measurements. The DO probes are interchangeable ...
Page 23
Submerse the DO probe in the second vessel as near as possible to the reference thermom- eter. Allow a few seconds for the probe to stabilize. Use the ARROW keys to set the reading on the secondary LC...
Page 24
PC INTERFACE Data transmission from the instrument to the PC can be done with the HI 92000 Windows® compatible software (optional). HI 92000 also offers graphing and an on-line help feature. Data can ...
Page 25
CHR xx Change the instrument range according with the parameter value (xx): xx=06 % range xx=07 ppm range The instrument will answer for these commands with: <STX> <answer> <ETX> whe...
Page 26
MDR Requests the instrument model name and firmware code (16 ASCII chars). GLP Requests the calibration data record. The answer string contains: GLP status (1 char): represents a 4 bit hexadecimal enc...
Page 27
GLDxxxfff:Requests the records of the “xxx” lot number. The records are sent in frames of 10 records; “fff” is the frame number (01 first frame). (Example: Lot 13 has 53 records. The records will be s...
Page 28
PROBE & MEMBRANE MAINTENANCE The oxygen probe body is made of reinforced plastic for maximum durability. A thermistor temperature sensor provides temperature measurements of the sample. Use the pr...
Page 29
Important In order to have accurate and stable measurements, it is important that the membrane surface is in perfect condition. This semipermeable membrane isolates the sensor elements from the enviro...
Page 30
ACCESSORIES HI 7040M Zero Oxygen Solution, 230 ml HI 7040L Zero Oxygen Solution, 500 ml HI 7041S Refilling Electrolyte Solution, 30 ml HI 710005 115VAC to 12VDC converter HI 710006 230VAC to 12VDC con...
Page 31
RECOMMENDATIONS FOR USERS Before using this product, make sure that it is entirely suitable for the environment in which it is used. Operation of this instrument in residential areas could cause unacc...
Page 32
Hanna Instruments Inc. Highland Industrial Park 584 Park East Drive Woonsocket, RI 02895 USA Technical Support for Customers Tel. (800) 426 6287 Fax (401) 765 7575 E-mail [email protected] www.hannai...