Page 1
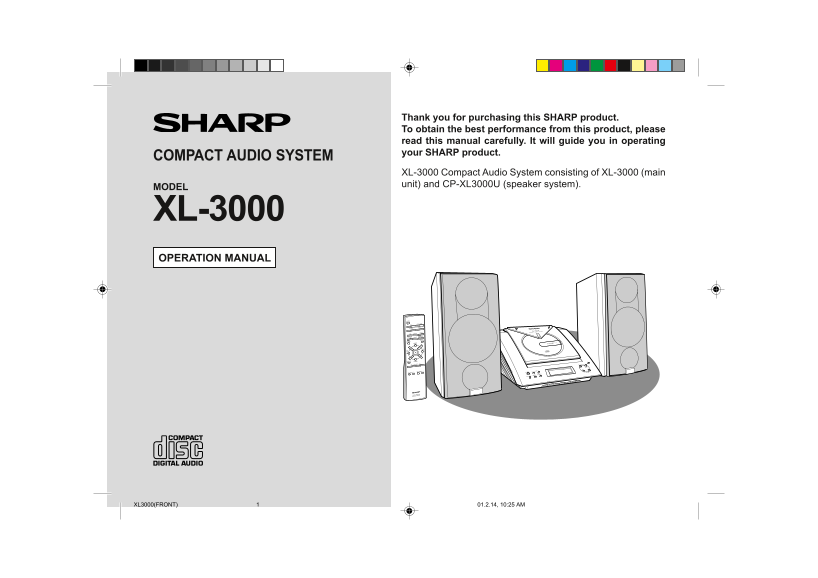
Thank you for purchasing this SHARP product. To obtain the best performance from this product, please read this manual carefully. It will guide you in operating your SHARP product. COMPACT AUDIO SYSTE...
Page 2
Special Notes NOTE This equipment has been tested and found to comply with the limits for a Class B digital device, pursuant to Part 15 of the FCC Rules. These limits are Im rt an t I st ru ct io desi...
Page 3
Important Safeguards CAUTION Outdoor Antenna Grounding - If an outside antenna is connected to the receiver, All the safety and operating instructions should be read before the appliance is be sure th...
Page 4
Contents Page Page General Information Radio Precautions . . . . . . . . . . . . . . . . . . . . . . . . . . . . . . . . . . . . . . . . 5, 6 en er al In fo rm at io Listening to the Radio . . . . . ....
Page 5
Precautions General In case of an electrical storm, unplug the unit for safety. Please ensure that the equipment is positioned in a well-venti- lated area and that there is at least 4" (10 cm) of...
Page 6
Precautions (continued) Accessories Please confirm that the following accessories are included. Care of compact discs Compact discs are fairly resistant to damage, however mistracking en er al In fo r...
Page 7
Controls and Indicators Front panel Reference page 1. CD Compartment . . . . . . . . . . . . . . . . . . . . . . . . . . . . . . . . . 18 2. Volume Up and Down Buttons . . . . . . . . . . . . . . . . ...
Page 8
Controls and Indicators (continued) Rear panel Reference page en er al In fo rm at io 1. Headphone Jack . . . . . . . . . . . . . . . . . . . . . . . . . . . . . . . . . . 28 tr ls In ic at rs 2. AM A...
Page 9
Remote control Reference page 1. Remote Control Transmitter . . . . . . . . . . . . . . . . . . . . . . . . . . 11 2. Power Button . . . . . . . . . . . . . . . . . . . . . . . . . . . . . . . . . . ....
Page 10
Controls and Indicators (continued) Speaker grilles are removable: Make sure nothing comes into contact with en er al In fo rm at io the speaker diaphragms when you remove the speaker grilles. tr ls I...
Page 11
Remote Control Battery installation Test of the remote control Check the remote control after checking all connections have been Use 2 "AAA" size batteries (UM-4, R03, HP-16 or similar). cor...
Page 12
System Connections re pa ra ti fo se ys te ec ti FM antenna Right speaker AM loop antenna Left speaker Speaker with a built-in amplifier (This speaker is not included.) VCR, DVD, etc. not supplied not...
Page 13
Antenna connection Outdoor FM or AM antenna: Use an outdoor FM or AM antenna if you require better reception. Supplied FM antenna: Consult your dealer. Connect the FM antenna wire to the FM 75 OHMS ja...
Page 14
System Connections (continued) Speaker connection Subwoofer connection Connect the wire with the white line to the minus (-) terminal and the When a commercially available speaker with a built-in ampl...
Page 15
General Control To turn the power on Press the POWER button to turn the power on. To set the unit to stand-by mode: Press the POWER button again. To change the display brightness (2 levels) You can sw...
Page 16
Sound Control Adjusting the bass Main unit operation: as ic pe ra tio Press the BASS/TREBLE button until "BASS" appears on the un tr l - display. Within 5 seconds, press the VOLUME ( or ) bu...
Page 17
Setting the Clock Within 1 minute, press the PRESET ( or ) button to adjust the hour and then press the MEMORY button. When the 12-hour display is selected, "AM" will change au- tomatically ...
Page 18
Listening to a CD Press the POWER button to turn the power on. la yb ac Press the FUNCTION button until "CD STOP" or "NO is te in DISC" appears on the display. When operating with ...
Page 19
To interrupt playback: Caution: Main unit operation: Do not stop or move the CD compartment cover manually. It Press the button. may cause malfunctions to the unit. To resume playback from the same po...
Page 20
Listening to a CD (continued) Repeat or Random Play You can select one of the CD playback mode; "Repeat play", "Ran- To locate the beginning of a track dom play" and "Normal p...
Page 21
Programmed Play By specifying tracks from 1 to 99, you can choose up to 20 selec- tions for playback in the order you like. Press the MEMORY/SET (MEMORY) button to save the track number. Playback orde...
Page 22
Listening to the Radio Press the POWER button to turn the power on. ad io Press the FUNCTION button until "FM" or "AM" ap- is te in ad io pears on the display. When operating with ...
Page 23
To receive an FM stereo transmission: Press the FUNCTION (BAND) button to display the "ST" indicator. " will appear when an FM broadcast is in stereo. FM stereo mode indicator FM stereo...
Page 24
Listening to the memorized station Memorizing a station To recall a memorized station You can store 30 AM and FM stations in memory and recall them at ad io Press the PRESET ( or ) button for less tha...
Page 25
Timer and Sleep Operation This may be operated only with the remote control. Timer playback Before setting timer: Timer playback: The unit turns on and plays the desired source (CD, tuner) at the Pres...
Page 26
Timer and Sleep Operation (continued) Notes: Within 1 minute, press the PRESET ( or ) button to Once the time is set, the setting will be retained until a new time dv an ce Fe at ur es is entered. spe...
Page 27
Sleep operation To use timer and sleep operation together Example: To fall asleep and wake to the same radio station Play back the desired sound source. You can play back the same source only (the fun...
Page 28
Enhancing Your System The connection cord is not included. Purchase a commercially avail- Listening to the playback sounds from able cord as shown below. VCR, DVD, etc. dv an ce Fe at ur es an ci ys t...
Page 29
Troubleshooting Chart Many potential "problems" can be resolved by the owner without Tuner calling a service technician. If something is wrong with this product, check the following before S...
Page 30
Troubleshooting Chart (continued) Maintenance If trouble occurs Cleaning the CD pickup lens Do not touch the laser pickup lens. If fingerprints or dust accumulate When this product is subjected to str...
Page 31
Specifications As part of our policy of continuous improvement, SHARP reserves CD player the right to make design and specification changes for product improvement without prior notice. The performanc...
Page 32
CONSUMER LIMITED WARRANTY SHARP ELECTRONICS CORPORATION warrants to the first consumer purchaser that this Sharp brand product (the “Product”), when shipped in its original con- tainer, will be free f...