Page 1
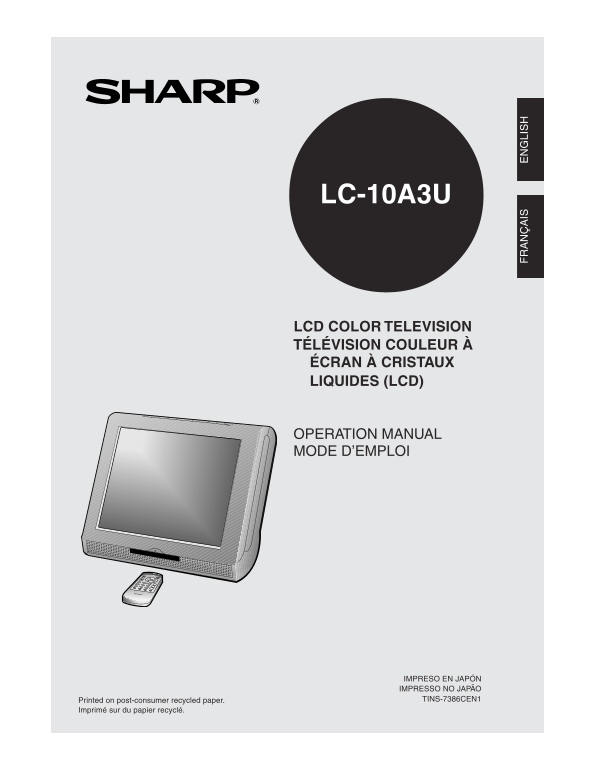
LC-10A3U LCD COLOR TELEVISION TÉLÉVISION COULEUR À ÉCRAN À CRISTAUX LIQUIDES (LCD) OPERATION MANUAL MODE D’EMPLOI IS LI IMPRESO EN JAPÓN IMPRESSO NO JAPÃO Printed on post-consumer recycled paper. TINS...
Page 2
LC-10A3U LCD COLOR TELEVISION ENGLISH OPERATION MANUAL IMPORTANT: Model No.: To aid reporting in case of loss or theft, please record the TV’s model and serial numbers in the space provided. The numbe...
Page 4
IMPORTANT INFORMATION WARNING: FCC Regulations state that any unauthorized changes or modifications to this equipment not expressly approved by the manufacturer could void the user’s authority to oper...
Page 5
CONTENTS DEAR SHARP CUSTOMER IMPORTANT SAFETY PRECAUTIONS 5,6 SUPPLIED ACCESSORIES PREPARATION ............................................................................................................
Page 6
DEAR SHARP CUSTOMER Thank you for your purchase of the Sharp LCD Color TV product. To ensure safety and many years of trouble-free operation of your product, please read the Safety Precau- tions caref...
Page 7
IMPORTANT SAFETY PRECAUTIONS (Continued) 17. Servicing—Do not attempt to service the product yourself. Removing covers can expose you to high voltage and other dangerous conditions. Request a qualifie...
Page 8
SUPPLIED ACCESSORIES Make sure the following accessories are provided with the product. Operation Manual (×1) Wireless Remote Control (×1) LC-10A3U LCD COLOR TELEVISION TÉLÉVISION COULEUR À ÉCRAN À CR...
Page 9
PREPARATION Preparing and Using the Remote Control Use the remote control by pointing it towards the remote sensor window. Objects between the remote control and sensor window may prevent proper opera...
Page 10
PREPARATION (Continued) Power Connection Connect to the DC input terminal of the product. Plug into AC outlet. Household power outlet To DC input terminal (DC 12V) AC cord AC adapter Notes: Use a comm...
Page 11
PREPARATION (Continued) Antenna Connections Antennas ■ The antenna requirements for good color television reception are more important than those for black & white television reception. For this r...
Page 12
FRONT AND REAR CONTROL OPTIONS Main unit (front view) Remote sensor window (The actual location is not visible)Power/standby indicator A green indicator lights when the power is on and a red indicator...
Page 13
FRONT AND REAR CONTROL OPTIONS (Continued) Main unit (rear view) Adjust the set stand to an angle so that the screen is easily visible. The set stand can be opened up to 80 . Rear terminal section AV ...
Page 14
REMOTE CONTROL/BASIC OPERATION POWER MENU MENUPOWER TV/VIDEO TV/VIDEO CH (])/([) VOLVOL ]Selects next higher channel [Selects next lower channel CH FLASHBACK FLASHBACK Returns to previous channel DISP...
Page 15
BASIC OPERATION (Continued) Turning on POWER Control section of main unit Slide the MAIN POWER switch, ▼ ON-screen display located on the upper side of the TV/VIDEO MAIN POWERCHVOL main unit to ON. Th...
Page 16
BASIC OPERATION (Continued) Sound Volume Press the VOL (+) to increase sound POWER MENU volume. The segment of indicator CH increases. TV/VIDEO FLASHBACK DISPLAY Press the VOL (–) to decrease sound vo...
Page 17
BASIC OPERATION (Continued) Changing the Channels Changing channels using the CHANNEL SELECT on the remote control To handle the increasing number of channels available, this LCD TV set allows you to ...
Page 18
SELECTING THE MENU ITEMS Selecting a Menu Item This LCD TV set allows you to adjust the picture and sound, and set the channels and other features using the On Screen Display. Select the desired menu ...
Page 19
EZ SETUP DURING FIRST POWER ON When you turn on the LCD TV for the first time, it will automatically memorize the broadcasting channels. Please perform the following instructions before you press the ...
Page 20
ADJUSTMENT Adjusting the LANGUAGE Settings The language for the ON SCREEN DISPLAY can be ENGLISH, SPANISH or FRENCH. Setting the ON SCREEN DISPLAY Language. Press the MENU to display the MENU screen. ...
Page 21
ADJUSTMENT (Continued) Adjusting the VIDEO ADJUST Settings Press the MENU to display the MENU screen. POWER MENU CH MENU TV/VIDEO (MAIN MENU screen) CH (])/ FLASHBACK Press the CH (])/([) to move the ...
Page 22
ADJUSTMENT (Continued) Adjusting the VIDEO ADJUST Settings (Continued) TV mode Selected item Press the VOL (–). Press the VOL (+). PICTURE Decrease contrast Increase contrast TINT Toward purple Toward...
Page 23
ADJUSTMENT (Continued) Adjusting the PRESET Settings The PRESET items can be set by the user. Press the MENU to display the MENU screen. POWER MENU CH MENU TV/VIDEO Press the CH (])/([) to move the CH...
Page 24
ADJUSTMENT (Continued) SETUP EZ SETUP By operating the channel presetting functions, you can preset your LCD TV to the desired channels for viewing. Press MENU to display the MENU screen. Press CH (])...
Page 25
ADJUSTMENT (Continued) SETUP (Continued) CHANNEL SETTING If EZ SETUP does not memorize all the channels in your region, follow the instructions below to manually memorize the channel. Press MENU to di...
Page 26
ADJUSTMENT (Continued) SETUP (Continued) Saving broadcast TV channels into memory. 1.1 Press MENU to display the MENU screen, then press CH (])/([) to move the “>” mark to “SET UP”. 1.2 Press VOL (...
Page 27
ADJUSTMENT (Continued) Adjusting the BLUE SCREEN Settings BLUE SCREEN Automatically turns the screen blue if a broadcast signal is not received. Press the MENU to display the MENU screen. Press CH (])...
Page 28
LISTENING WITH A HEADPHONE Plug the headphone mini-plug into the headphone jack located on the rear side of the set. ▼ Screen display Mini-plug Headphone jack Headphone Notes: The headphone is not inc...
Page 29
CONNECTING WITH EXTERNAL DEVICES It is possible to enjoy video and sound by connecting VCR's and home video game systems to the terminals located on the rear of the main unit. When connecting an exter...
Page 30
CONNECTING WITH EXTERNAL DEVICES (Continued) Connecting a VCR or home video game system (AV-IN 1/2) AV-IN 1 Audio AV-IN 2 AUDIO AV-OUT Connect the video and audio cords correctly. To S-Video To AV inp...
Page 31
CONNECTING WITH EXTERNAL DEVICES (Continued) Outputting video and audio (video output) It is possible to output video and audio from the set through the AV output terminal (AV-OUT). AV-IN 1 AUDIO AV-I...
Page 32
TROUBLESHOOTING Before calling for repair service, check the following items for possible remedies to the encountered symptoms. TV set Reference Problem Check item Pages Make sure the AC adapter is pr...
Page 33
TROUBLESHOOTING (Continued) Antenna Problem Check item The reception may be weak. The state of the broadcast may also be bad. The picture is Make sure the antenna is facing the right direction. not sh...
Page 34
SPECIFICATIONS ITEMS LC-10A3UMODEL LCD panel 10.4” TFT LCD Number of pixels 921,600 pixels VGA Video color systems N358, N443, PAL, PAL-M, PAL-N, SECAM, PAL-60 Destination USA/Latin A/Twn TV Standard ...
Page 35
Calling for Service For location of the nearest Sharp Authorized Service, or to obtain product literature, accessories, supplies, or customer assistance, please call 1-800-BE-SHARP. LIMITED WARRANTY E...
Page 36
VALID IN CANADA ONLY LIMITED WARRANTY Consumer Electronics Products Congratulations on your purchase! Sharp Electronics of Canada Ltd. (hereinafter called “Sharp”) gives the following express warranty...
Page 37
SHARP CORPORATION OSAKA, JAPON