Page 2
To avoid injuries or damage to property, please read the following precautions carefully and use the product accordingly. The images here are for reference only, and are not applicable in all cases (o...
Page 3
Always unplug the unit by holding the power plug. Pulling the power cable may damage the inside of it. There is a danger of fire. Unplug the power plug before cleaning the product. There is a danger o...
Page 4
When installing the product in a cabinet or on a shelf, make sure the front end of the base does not protrude. Dropping the product may damage it or cause injury. Keep the power cord away from heaters...
Page 5
Do not drop the product while carrying it. Doing so may cause damage or injury. Keep the product out of children’s reach. If the product falls it may cause harm to children. Install on a flat and stab...
Page 6
If the product emits smoke, unusual noise, or there is a burning smell,disconnect the power plug immediately, and contact a Service Center. There is a danger of electric shock or fire. If the power pl...
Page 7
Correct Disposal of This Product (Waste Electrical & Electronic Equipment) - Europe only (Applicable in the European Union and other European countries with separate collection systems) This marki...
Page 8
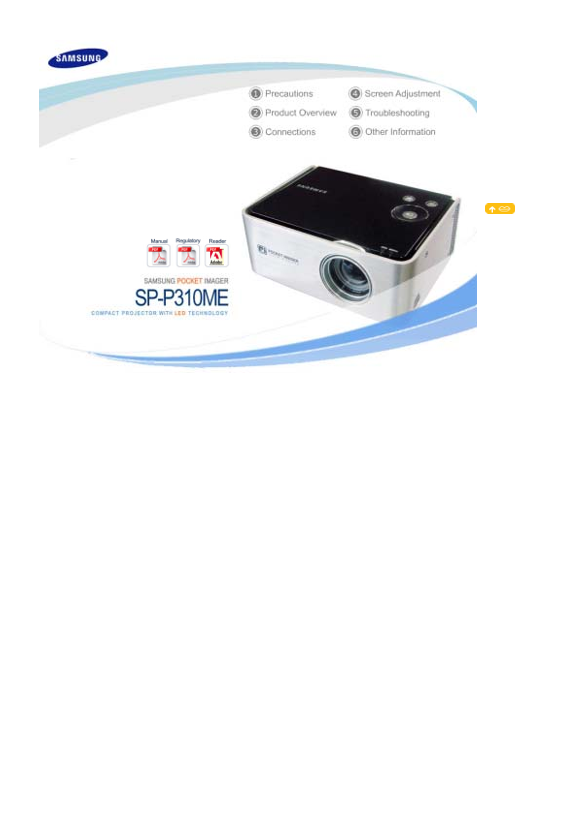
| Product Features | Product Views | Battery (sold separately) | Product Specifications | The SP-P310 is a custom made projector designed for important marketing activities and presentations of the ac...
Page 9
| Product Features | Product Views | Battery (sold separately) | Product Specifications | Your Projector 1. Power Button [ 7. POWER LED To turn it on If you turn the projector on, the Power LED lights...
Page 10
Accessories Warranty Quick Installation Guide User Manual CD (Not available in all locations) Adapter Power Cord PC/Composite cable Lens Cover Stand (View Stand Installation) Carrying Case Use only th...
Page 11
| Product Features | Product Views | Battery (sold separately) | Product Specifications Your Battery 1. Locking hole Locks the battery to the projector. 2. Power Terminal Connect the power cord here t...
Page 12
This displays the remaining battery power in a percentage. To check the remaining battery power, press the PUSH button at the bottom right of the battery pack. The green LEDs will show the remaining b...
Page 13
Charge time : About 3 hours when charging separately from the projector 4. Charging the Battery Charging the battery when the battery is separated from the projector. Adapter Standard : DC 14 V, 3.5 A...
Page 14
Do not look directly at the lens when installing the battery. When the battery is connected to the projector, the screen is automatically turned on. Looking directly at the lamp light may cause damage...
Page 15
This Class B equipment is designed for home and office use. The equipment has been registered regarding EMI for residential use. It may be used in all areas. Class A is for office use. Class A is for ...
Page 17
| Basic Settings | Connecting the Power | Connecting to a PC | Connecting to an AV device Installing the Projector Install the projector so that the beam from the projector is perpendicular to the scr...
Page 18
Screen Size and Projection Distance Distance Picture size Diagonal (inch) ft mm x mm inch x inch | Basic Settings | Connecting the Power | Connecting to a PC | Connecting to an AV device Connect the a...
Page 19
| Basic Settings | Connecting the Power | Connecting to a PC | Connecting to an AV device Connect the [PC/COMPOSITE] port on the side of the projector to the Monitor OUT port [D-Sub] of your PC using ...
Page 20
Connect a PC/Composite cable to the [PC/COMPOSITE] port on the side of the projector and then connect the [COMPOSITE Input (Yellow)] connector of the PC/Composite cable to the VIDEO OUT (Yellow) port ...
Page 21
| Buttons | Input | Picture | Setup | Menu Option | Information 1. Power Button[ To turn it on : Press the Power button. The Power LED will light up and the power is turned on. To turn it off : Press ...
Page 22
* Click the Play( )/Stop( ) button in the table below to view the video file. Screen Description Play/Stop Adjustment Source List Select an input signal connected to the projector. 1) Composite 2) PC ...
Page 23
* Click the Play( )/Stop( ) button in the table below to view the video file. Screen Description Play/Stop Adjustment Picture Mode You can select a preset screen mode or make your own custom settings....
Page 24
* Click the Play( )/Stop( ) button in the table below to view the video file. Screen Description Play/Stop Adjustment Install To support various Installation positions of the projector, horizontally a...
Page 25
| Buttons | Input | Picture | Setup | Menu Option | Information * Click the Play( )/Stop( ) button in the table below to view the video file. Screen Description Play/Stop Adjustment Language Selects t...
Page 26
* Click the Play( )/Stop( ) button in the table below to view the video file. Screen Description Play/Stop Adjustment Information Shows the setting information. (In Composite Mode, the Coarse, Fine, R...
Page 27
| Please check the Troubleshooting Guide below before calling for service Installation and Connection Symptom Solution Cannot turn the power on. When using the adaptor : Check the connection status be...
Page 28
| Care and Maintenance | Contact SAMSUNG WORLDWIDE | Other Authority To clean the exterior and lens of the projector Clean the projector using a soft dry cloth. Do not clean the projector with flammab...
Page 29
ARGENTINE 0800-333-3733 http://www.samsung.com/ar BRAZIL 4004-0000 http://www.samsung.com/br CHILE 800-726-7864 (SAMSUNG) http://www.samsung.com/cl COLOMBIA 01 8000 112 112 http://www.samsung.com/co C...
Page 30
Asia Pacific AUSTRALIA 1300 362 603 http://www.samsung.com/au CHINA 800-810-5858, 010- 6475 1880 http://www.samsung.com.cn HONG KONG 2862 6001 http://www.samsung.com/hk INDIA 3030 8282, 1800 1100 11 h...
Page 31
Convergence The alignment of the Red, Green and Blue video signals on the projected picture on the screen. Display Size The Display Size is determined by the diagonal length of the LCD panel. EGA Enha...
Page 32
Information in this document is subject to change without notice. ⓒ 2007 Samsung Electronics Co., Ltd. All rights reserved. Reproduction in any manner whatsoever without the written permission of Sams...