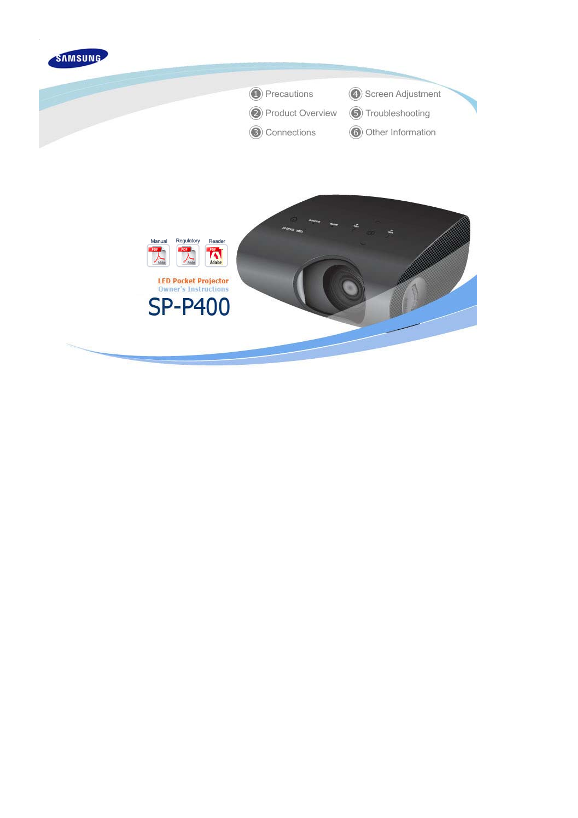
Page 2
To avoid injuries or damage to property, please read the following precautions carefully and use the product accordingly. Failure to follow the instructions marked with this symbol may cause personal ...
Page 3
To disconnect the apparatus from the mains, the plug must be pulled out from the mains socket, therefore the mains plug shall be readily operable. There is a danger of electric shock or fire. Always u...
Page 4
(rainwater), or in a vehicle. There is a danger of electric shock or fire. Do not install the product in locations with poor ventilation such as a bookshelf, closet, etc. An increase in the internal t...
Page 5
Do not insert metal items, such as chopsticks, steel wire, gimlets, or inflammable objects such as matches or paper into the product through the ventilating openings and the PC/Video and power termina...
Page 6
If the power plug pin or jack is exposed to dust, water or alien substances, clean it thoroughly. There is a danger of electric shock or fire. When cleaning the product, disconnect the power cord and ...
Page 7
their local government office, for details of where and how they can take this item for environmentally safe recycling. Business users should contact their supplier and check the terms and conditions ...
Page 8
| Product Features | Product Views | Remote Control | Product Specifications | High Mobility Design - Small Size. - Lightweight. Next Generation Backlight Light Source, LED Lamp - Effective energy sav...
Page 9
- TEMP (Red LED) / : Use this button to move to or - STAND BY (Blue LED) select an item within a menu. Refer to the LED Indications. : Use this button to adjust the volume. 2. Lens cover 7. MENU Butto...
Page 10
LED Indications :Light is On :Light is Blinking :Light is Off STAND BY TEMP Information This state occurs when power is supplied to the projector normally after the POWER button on the projector or th...
Page 11
1. VIDEO IN Input port 5. Kensington Lock 2. VIDEO/PC AUDIO IN Input ports 6. PC IN Input port 3. Remote Control Signal Receiver 7. SERVICE Input port 4. POWER Input port 8. Headphone Input port | Pro...
Page 12
15. MONITOR Button 16. P.MODE Button 17. MOVIE Button 1. POWER Button ( Use this button for turning the product on and off. 2. SOURCE Button Used to check or select the connection status of external d...
Page 13
Design and specifications of the product may be modified without prior notice for better performance. Specifications Model SP-P400 Size 13.97 mm/0.55 inch Panel Resolution 800 x 600 (SVGA) Light Sourc...
Page 14
MAC, 640 x 480 35.000 66.667 30.240 MAC, 832 x 624 49.726 74.551 57.284 VESA, 640 x 350 37.861 85.080 31.500 VESA, 640 x 400 37.861 85.080 31.500 VESA, 640 x 480 37.861 72.809 31.500 VESA, 640 x 480 3...
Page 15
| Basic Settings | Connecting the Power | Connecting to video equipment Installing the Projector Install the projector so that the beam from the projector is perpendicular to the screen. Place the pro...
Page 16
Focus Ring Focus the picture on the screen using the Focus Ring. If your product is installed at a location out of the specified projection distance (refer to Screen Size and Projection Distance), the...
Page 17
Setting up the PC Environment - Check the following items before connecting your PC to your projector. 1. Click the right mouse button on the Windows desktop and click on [Properties]. <Display Pro...
Page 18
Process might vary depending on the type of computers or Windows versions. (For example, [Properties] appears instead of [Properties (R)] as shown in 1.) This appliance supports up to 32 bits per pixe...
Page 19
- Connect [VIDEO IN(yellow)] input port of the projector to the VIDEO (yellow) OUT port of video equipment using the video cable. - Connect the [ ] input port of the projector to the Audio (L), Audio ...
Page 20
Connect [PC IN] port on the rear side of the projector to the monitor output port of the PC using a PC video cable. When connections are all completed, connect both power codes of the projector and th...
Page 21
Kensington Lock The Kensington Lock is a device used to physically fix the system when using it in a public place. The locking device has to be purchased separately. The appearance and locking method ...
Page 22
| Input | Picture | Setup | Option * Click the Play( )/Stop( ) button in the table below to view the video file. Screen Description Play/Stop Adjustment Source List You can select a device connected t...
Page 23
* Click the Play( )/Stop( ) button in the table below to view the video file. Screen Description Play/Stop Adjustment Mode Select a screen state which is customized to your projector or change the scr...
Page 24
8) Color Gamut Wide : Displays the native color gamut of panel device. Normal : Normal Color Gamut offers flat and natural color tone. Color SMPTE_C : Standardized for Video Equipment by the Society o...
Page 25
* Click the Play( )/Stop( ) button in the table below to view the video file. Screen Description Play/Stop Adjustment Install To tailor the picture to the installation location, you can invert the pro...
Page 26
shaking. If the noise is not removed using Fine Adjustment, adjust the frequency to the maximum and then perform Fine Adjustment again. Only activated in the PC environment. 1) Auto Adjustment : Used ...
Page 27
Menu Position You can move Menu Position up/down/left/right. Menu You can set the translucency of menu. Translucency 1) Opaque 2) Low 3) Medium 4) High Menu Display You can set the display time of the...
Page 28
| Before Contacting Service Personnel Installation and Connection Symptoms Troubleshooting No Power. Check the power cable connections. I want to install my projector on The ceiling installation suppo...
Page 29
again. Screen appears in black and white or As mentioned above, check the adjustment items such as the Brightness, odd color./ screen is too dark or Contrast and Color in the menu. bright. If you want...
Page 30
| Care and Maintenance | Contact SAMSUNG WORLDWIDE | Other Authority To clean the exterior and lens of the projector Clean the projector using a soft dry cloth. Do not clean the projector with flammab...
Page 31
LATIN AMERICA ARGENTINA 0800-333-3733 http://www.samsung.com BRAZIL http://www.samsung.com CHILE 800-SAMSUNG (726-7864) http://www.samsung.com COLOMBIA 01-8000112112 http://www.samsung.com COSTA RICA ...
Page 32
LATVIA 8000-7267 http://www.samsung.com LITHUANIA 8-800-77777 http://www.samsung.com LUXEMBURG 261 03 710 http://www.samsung.com MACEDONIA 023 207 777 - MONTENEGRO 020 405 888 - NETHERLANDS 0900 - SAM...
Page 33
http://www.samsung.com/hk HONG KONG (852) 3698-4698 http://www.samsung.com/hk_en/ INDIA http://www.samsung.com INDONESIA http://www.samsung.com JAPAN 0120-327-527 http://www.samsung.com MALAYSIA 1800-...
Page 34
Gamma Mode Gamma Mode compensates the video signal produced for analog display devices such as a CRT (Cathode Ray Tube) so that the video signal can be clearly displayed on a digital display device. B...
Page 35
Compression Mode A mode that displays video in a zoomed out format. Contrast Ratio The ratio of the brightest and dimmest points that can be displayed on the screen. Convergence The alignment of the R...
Page 36
Information in this document is subject to change without notice. ⓒ 2009 Samsung Electronics Co., Ltd. All rights reserved. Reproduction in any manner whatsoever without the written permission of Sams...