Page 1
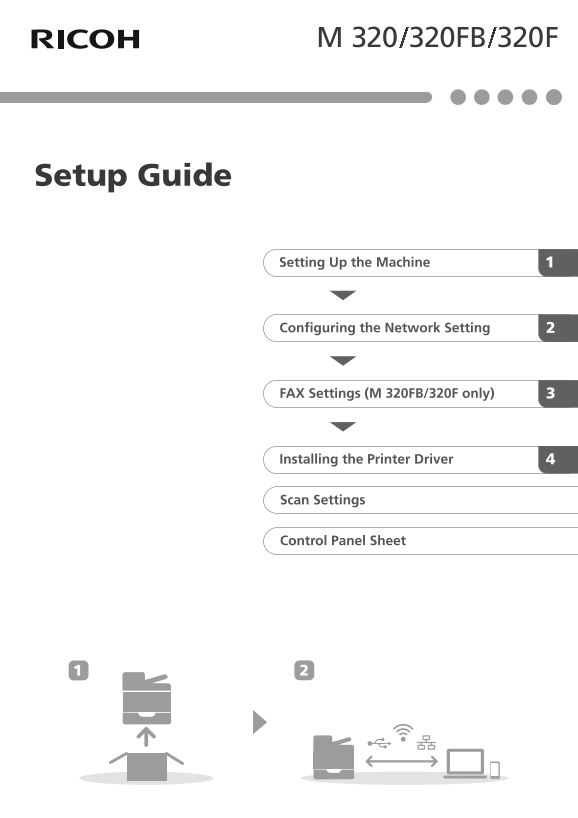
Setup Guide 1Setting Up the Machine 2Configuring the Network Setting 3FAX Settings (M 320FB/320F only) 4Installing the Printer Driver Scan Settings Control Panel Sheet
Page 3
1. Setting Up the Machine Do not install or use this device in any area that does not have adequate ventilation as shown. 32 cm (12.6 inches) 20 cm 89.6 (7.9 inches) 10 cm (4.0 inches) Power Source 12...
Page 4
DYG135 DYG136 DYG137 DYG138 DYG139 DYG140 DYG141 DYG142 DYG143 DYG144 DYG145 DYG146 DYG147
Page 5
DYG148 DYG149 When using a wireless (Wi-Fi) connection, connect the wireless LAN option and proceed to Step 26 (for M 320FB/320F) or Step 38 (for M 320). M0ESIC0005 When using a wired (Ethernet) conne...
Page 6
M 320FB/320F ECC283 ECC284 DYG150 ECC285 ECC286 ECC287 ECC288 ECC289 ECC290 ECC291 M0ESPC0024 M0ESPC0025 Configure the network setting. Go to page 6 "2. Configuring the Network Setting".
Page 7
Language English German French M0ESIC0022 M0ESIC0012 Password Password Setup initial password. Please Setup Password Apply the following func. Admin. Tools Lock. (8 chars) M0ESIC0006 M0ENIC0004 Passwo...
Page 8
2. Configuring the Network Setting Check How the Computer Is Connected Specify how to connect to your computer according to the communication environment of your system. The wireless LAN (Wi-Fi) conne...
Page 9
Use the machine from a smart device Android i OS ■How to use the machine from a ■How to use the NFC (Android smart device smart devices only) From smart device applications, you can use the 1. Configu...
Page 10
Connecting the Machine via Wireless (Wi-Fi) DYG155 4. Press [Change Wi-Fi Connection Mode]. Easy Setup Using the Wi-Fi Setup Wizard From the control panel of this machine, you can also configure the W...
Page 11
M 320 Connecting to devices using the WPA2-PSK or Mix Mode WPA2/WPA authentication 1. Check that the router (access point) is working correctly. 6. Enter the encryption key using the number keys, and...
Page 12
Connecting to the devices using the Open Easy Setup Using the WPS Button system or Shared Key authentication 6. Enter the encryption key and ID using the number keys, and M 320FB/320F then press the ...
Page 13
9. Check the result. 9. Press the [ ] or [ ] key to select [WPS], and then press the Connection has succeeded: [OK] key. "Connected to access point." is displayed. 96Wireless (Wi-Fi) Press [...
Page 14
8. Check the PIN code. Easy Setup Using a PIN Code Be sure not to press [Connect]. Write down the PIN code in case you might forget it. M 320FB/320F Make sure the Ethernet cable is not connected to t...
Page 15
M 320 10. Press the [ ] or [ ] key to select [WPS], and then press the [OK] key. 96Wireless (Wi-Fi) Make sure the Ethernet cable is not connected to the Current Connection machine. Input SSID In Step...
Page 16
16. Check the result. Connection has succeeded: PIN Connection to AP has Succeeded EXIT DSG368 Press [EXIT] to return to the screen displayed in Step 11, and then press the [User Tools] key to return ...
Page 17
Connecting the Machine via USB or Ethernet DYG154DYG153 For details about IPv4 or IPv6 settings manually, see User's Guide. When connecting the machine via USB, USB cable is necessary to set up. Do no...
Page 18
3. FAX Settings (M 320FB/320F only) Fax Setup Register the sender's information (this machine's number and name). The target destination will receive faxes with the number and name registered in this ...
Page 19
Selecting the Telephone Line Type and Telephone Network Connection Type 1. Press [Setting]. 4. Press [Dial/Push Phone]. 2. Press [Administrator Tools]. 5. Press the telephone line type appropriate for...
Page 20
Basic Operation for Sending a Fax 1. Press [Fax]. 3. Press the [Start] key. Depending on the machine’s settings, you may be prompted to enter the fax number again if you manually entered the fax numbe...
Page 21
4. Installing the Printer Driver 9. Click [Finish] in the [Setup Complete] dialog box. If the installer prompt you to restart Windows, reboot your If you connect the computer by a USB cable, do not co...
Page 22
Scan Settings ■For those using the scanner features for the first time User's Guide For information about specifying the initial scan settings, see “What You Can Do with the Scanner Function”, User’s ...
Page 23
Trademark Android is a trademark of Google Inc. IOS is a trademark or registered trademark of Cisco in the U.S. and other countries and is used under license. Wi-Fi, Wi-Fi Direct, Wi-Fi Protected Setu...
Page 24
M0ER-8503AAUENUSENGBEN